I took the Thanksgiving week off from the day job to work on the v-berth remodel. Except for the 2-day cold snap, it was a lovely week. I got a taste of what I’m looking for when I retire. Worked a few hours (some days 4 or 5, others 7 and 8) then kick back with an adult beverage and the Kindle to enjoy the sun.
I was a little hamstrung with this project area, so it’s going to have to happen in 2 phases. In December I have a contractor ( www.sparmanusa.com ) coming to do a rework of the sail plan and running rig. This work is what is needed to get the boat ready, so I can start sailing it single handed. Unfortunately, it’s left me tight on funds (the work costs as much as the original purchase price) so these painting projects are more work intense so fill the time well, but I’ve come to the end of my budget for the year so had to hold off on some items with the V-berth.
V-Berth Remodel
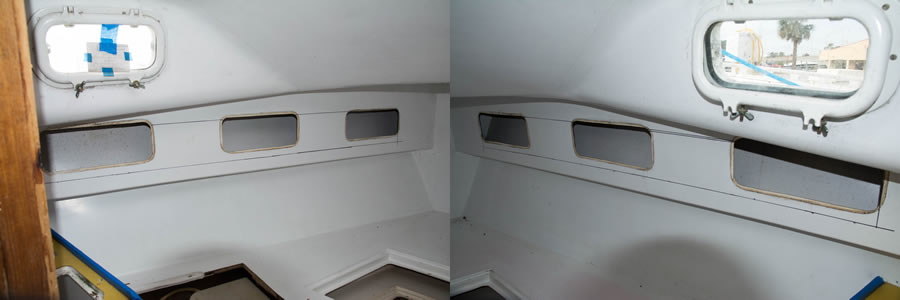
For starters here’s a before picture (actually a combination of both sides in one picture).
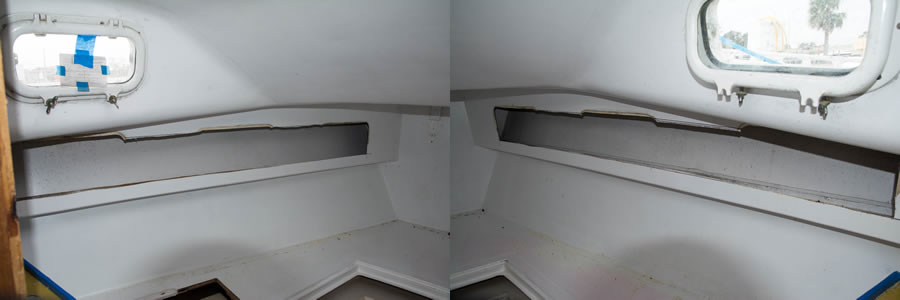
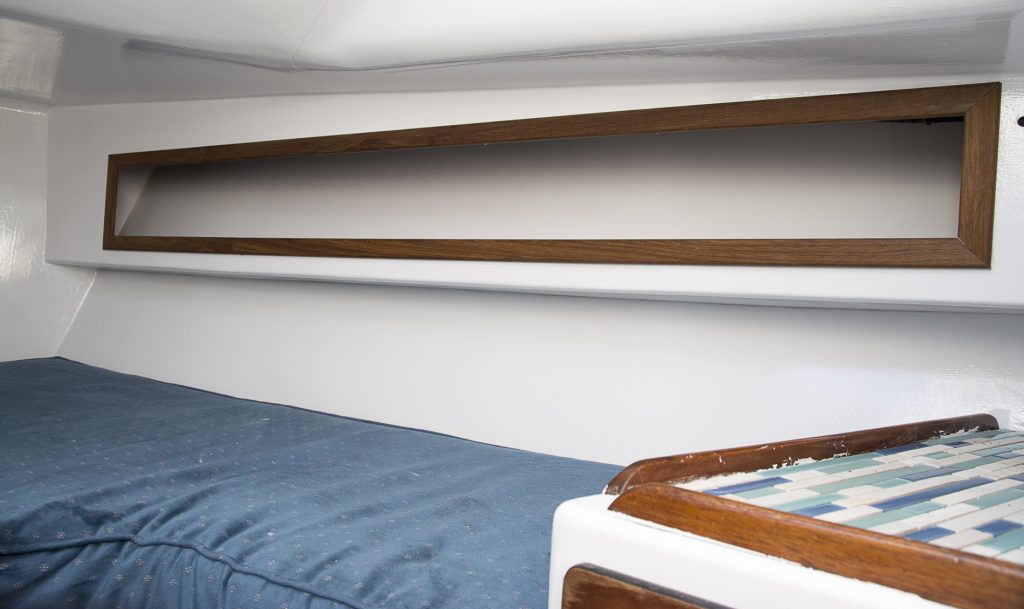
The shelving on both sides was not structural (it’s not holding the boat together). One thing I learned living in the jungle shack in Hawai’i was that open air shelving was way better for mold control than any enclosures. (View the video of the walk through of my time living in the jungle shack.) So the first thing I wanted to do was open up the shelving area. In the pictures above you can see where I drew the straight lines, I was going to try and match with the sawsall. This would turn this area into a single long shelf. Easy to get to, to paint and clean and will allow the airflow. I’ll make a netting roll to cover the opening for when under sail (so stuff doesn’t fly out).
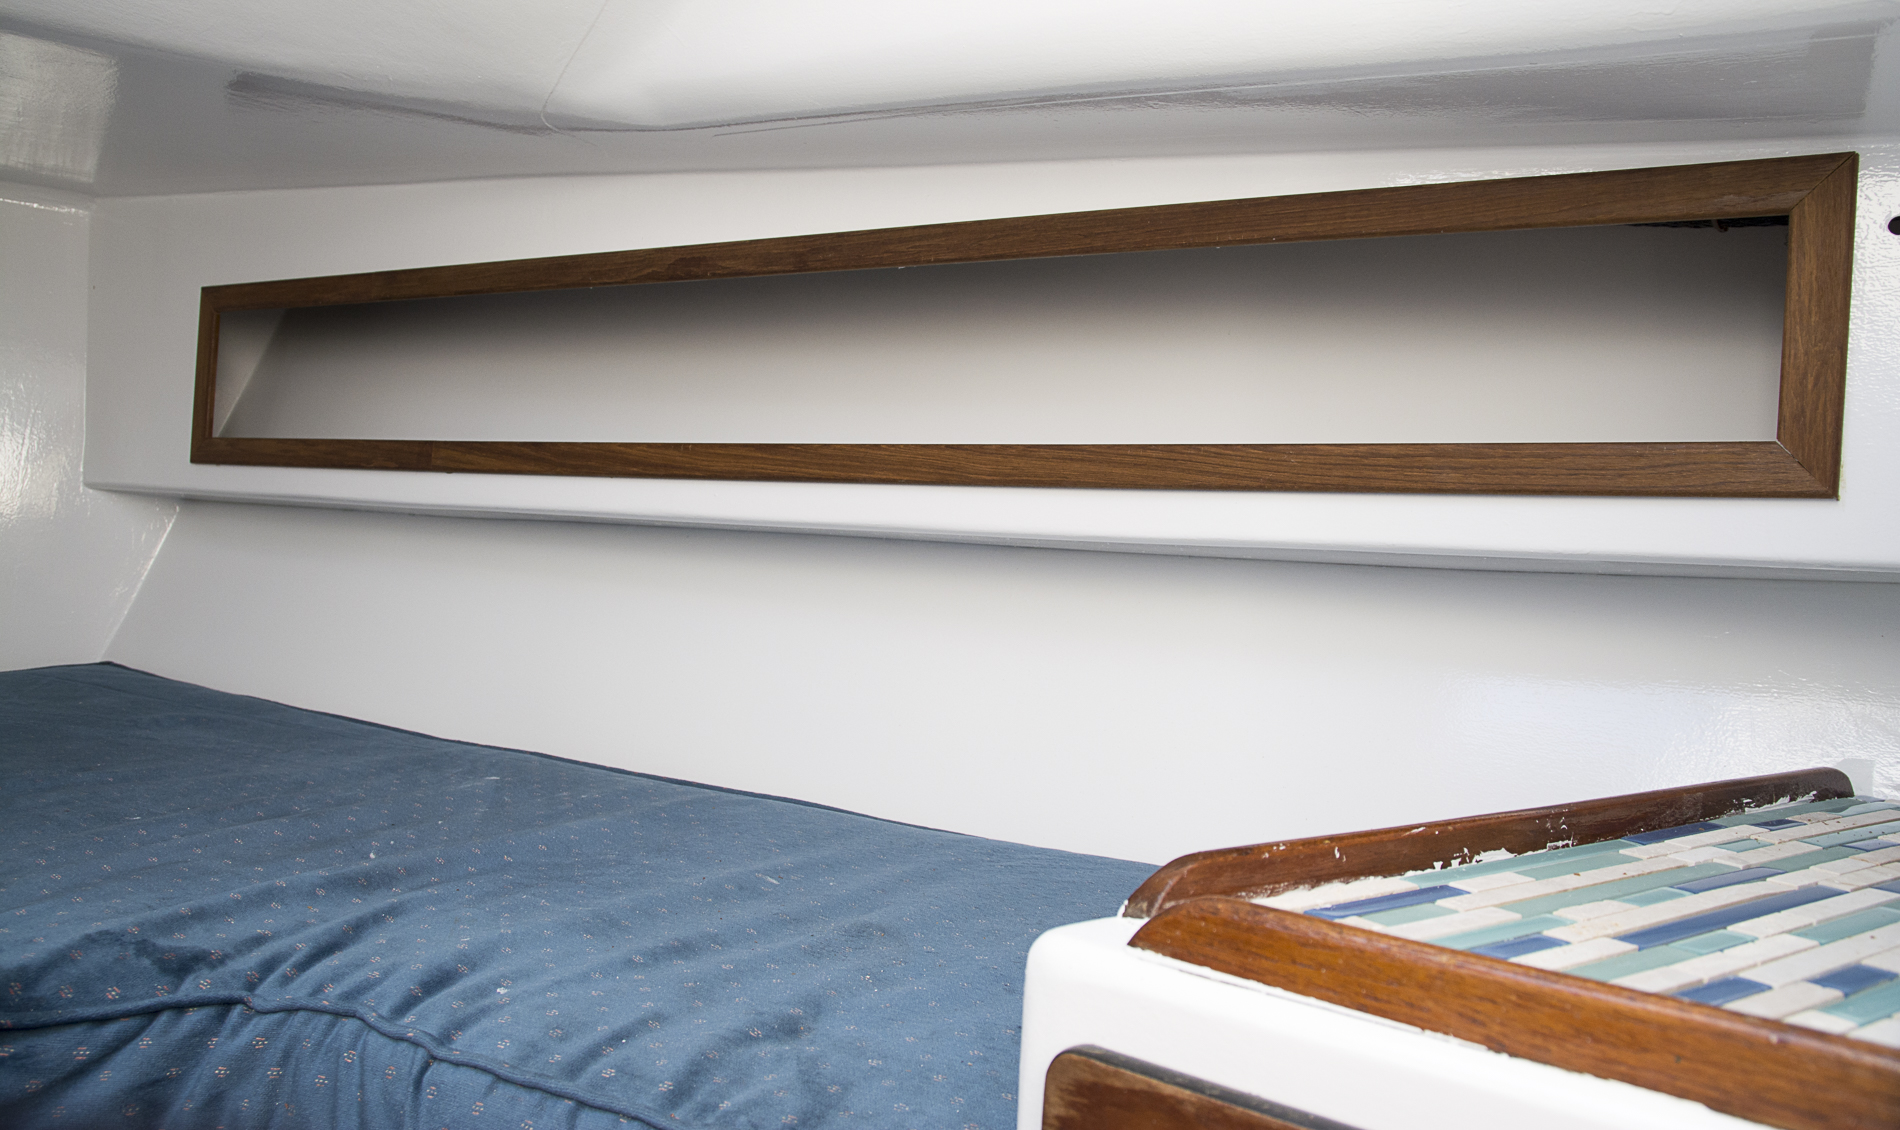
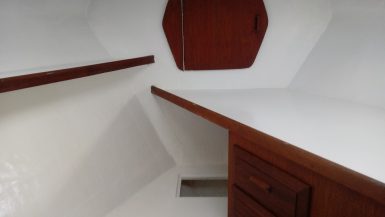
So all the sawsall work was done. I now had the basic structure I was looking for. I’m using 1 3/16″ teak trim, so the “unevenness” will be covered by the trim.
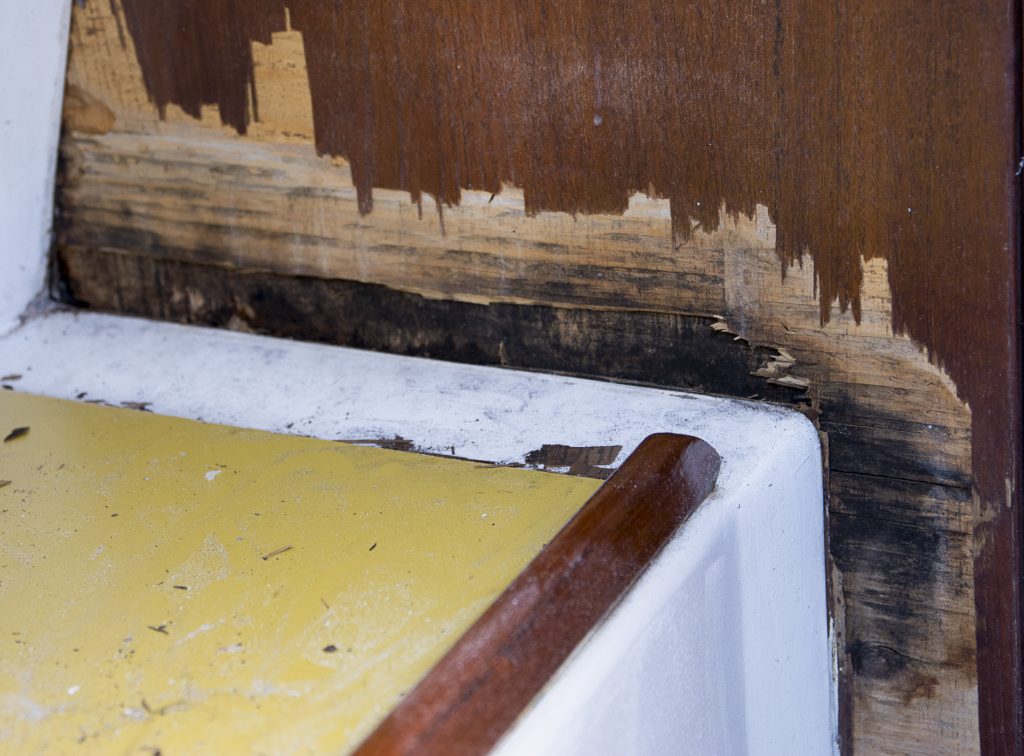
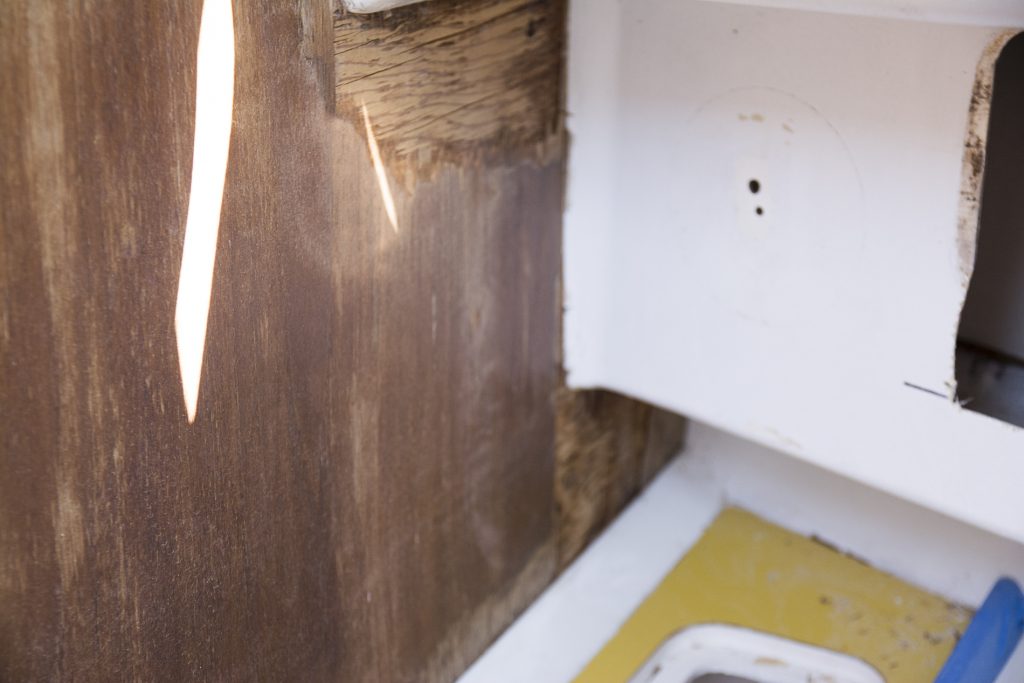
At one time, according to the previous owner’s daughter, hatches were left open, and there was a significant amount of water ingress. I knew about this prior to purchasing the boat, and it shows predominately in the flooring. When I started prepping the area for painting, I found other areas. On the starboard side, there is an area of rot that I’ll have to cut out the bulkhead and replace with starboard. In production, these boats were made with a significant amount of marine plywood (mostly epoxy covered plywood). Starboard is a solid epoxy board that is expensive but works well in small areas like this as it will never submit to rotting. There is another port on the other side of this rot that allowed the water in and allowed it to sit and soak into the wood rotting it. I’ll need to cut it out, through to the other side, place a piece of starboard cut to shape, then glass it in and paint then.
It seems a number of the ports and hatches were left open at one period. On the port side, you can see some minor delamination of the plywood. This will get primer and painted over (the paint I’m using is an epoxy, so it will seal this wood, I did the same in the head with one wall).
As with the head, it’s a simple process (that is a lot of manual work). 2 coats of primer, two coats of Brightside paint. Sand with 50 grit between primer applications. Sand with 120 grit between Brightside coats. With a boat it’s always fun as while these tasks seem simple, we must add Boat Yoga to the mix. Boat Yoga is the action of twisting and turning your body in a ton of directions to reach all the spots you’re working with. It builds core muscle structure, flexibility and in people over 40 sore muscles and pulled backs…
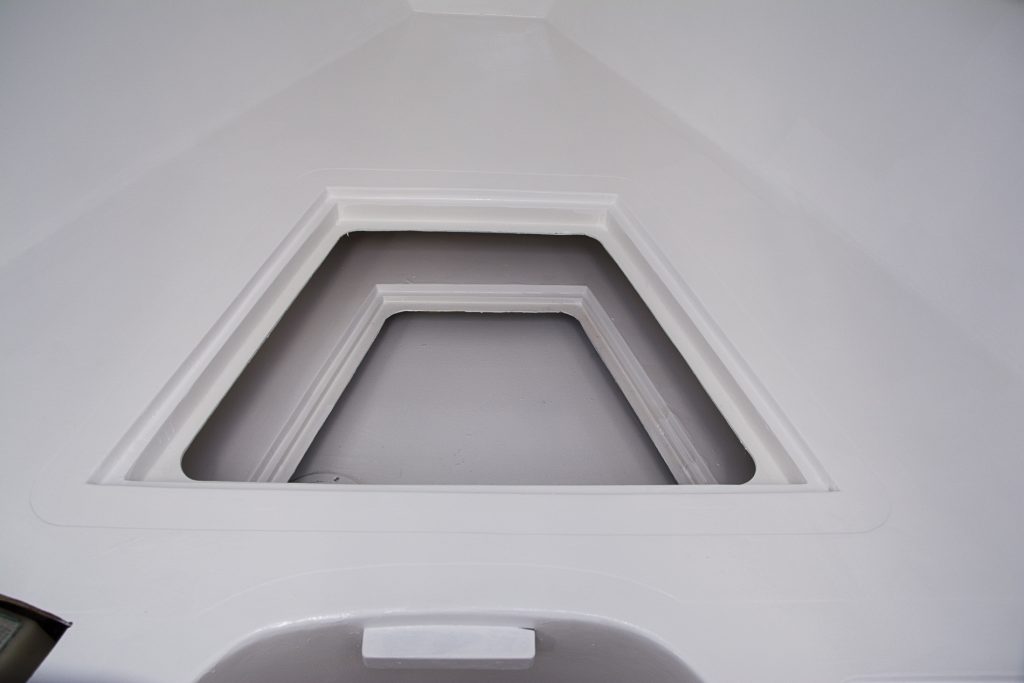
The picture below shows one of the fresh water tanks below the v-berth, with a small storage area above.
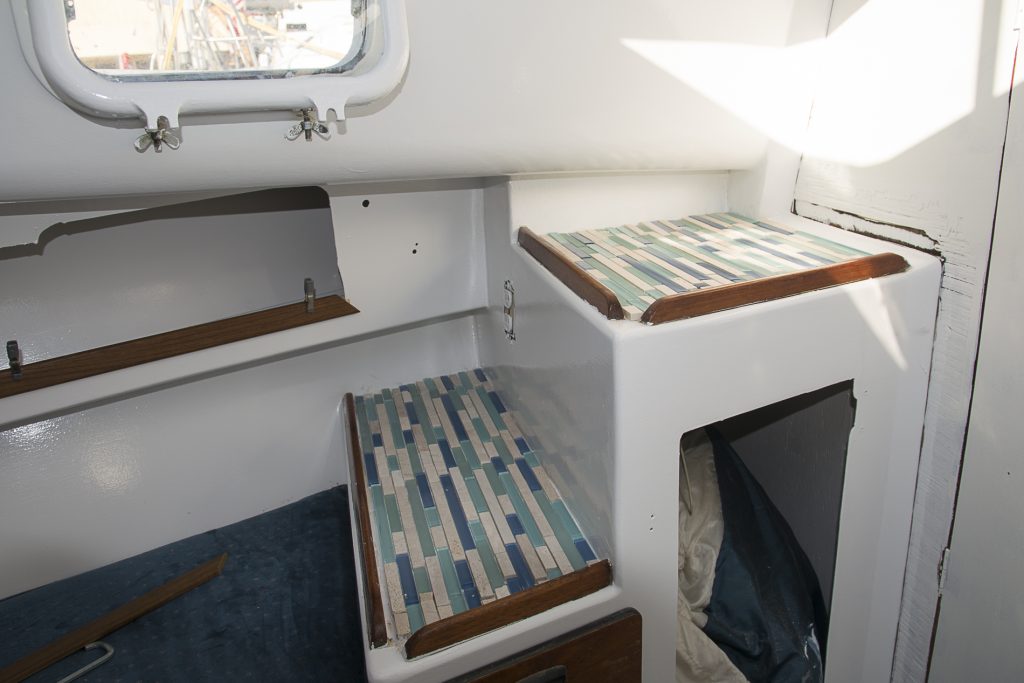
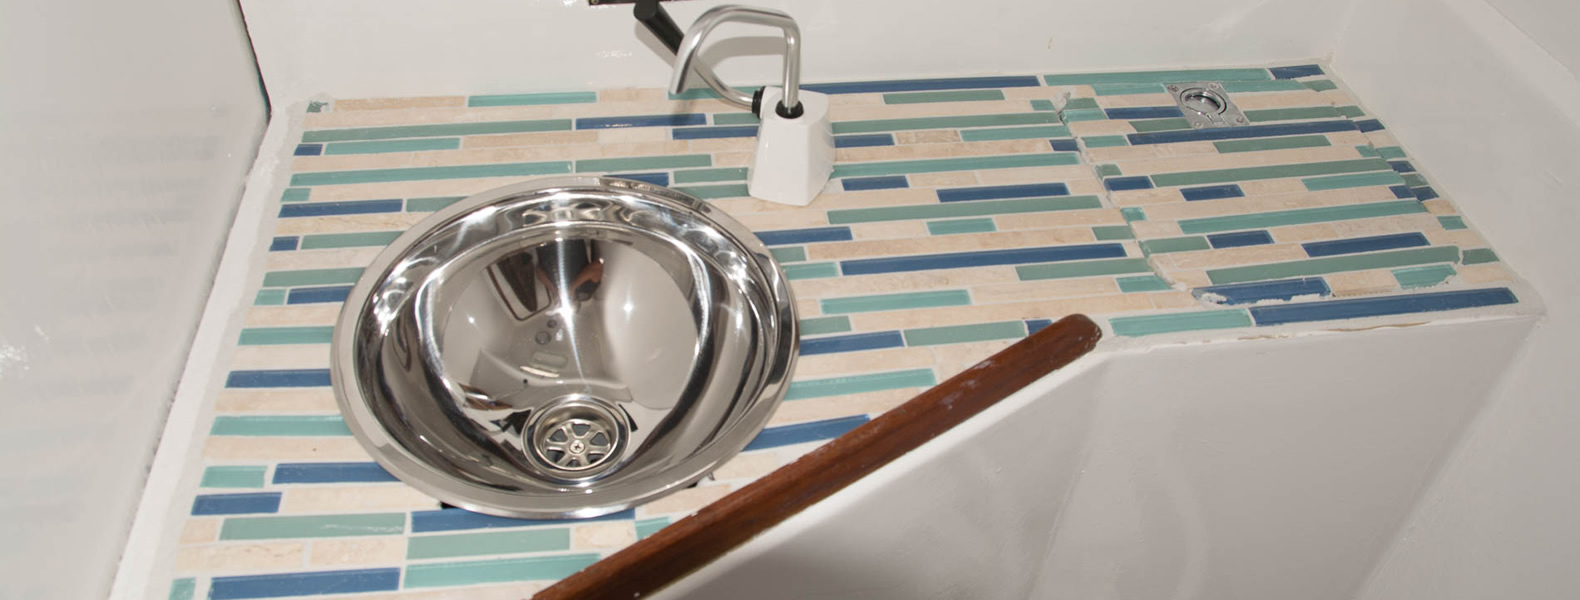
I’m hoping jig-saw puzzle goes to the next Olympics. I’m becoming quite proficient at making all these tile shapes fit together. I don’t think this boat has one straight line. Anyways, the tile looks much better than the yellow plastic garbage.
Overall I’m delighted with the way it came out. As usual, if you dig deep enough you can find signs that this was done by an amateur. But you’ll have to dig deeper than you had to on the bathroom remodel, by the time the main salon is done I’ll be a pro!. The 2nd phase will include the addition of LED reading lights, USB charger, and a fan. The original wiring was just a mish-mash of daisy chained wiring. I’m thinking on the starboard side, at least, to enlarging the wiring to a fuse panel, then break it apart to the individual items (the port side is only one light so that complexity isn’t needed.

[…] finished up the teak trim in the V-berth (I had run out of wood to finish this up a couple months […]
[…] a complete gut and remodel. I’ll be finishing up the painting this week (and starting on the V-Berth remodel) and should have all new fixtures and wood in place by next weekend, so will have pics […]