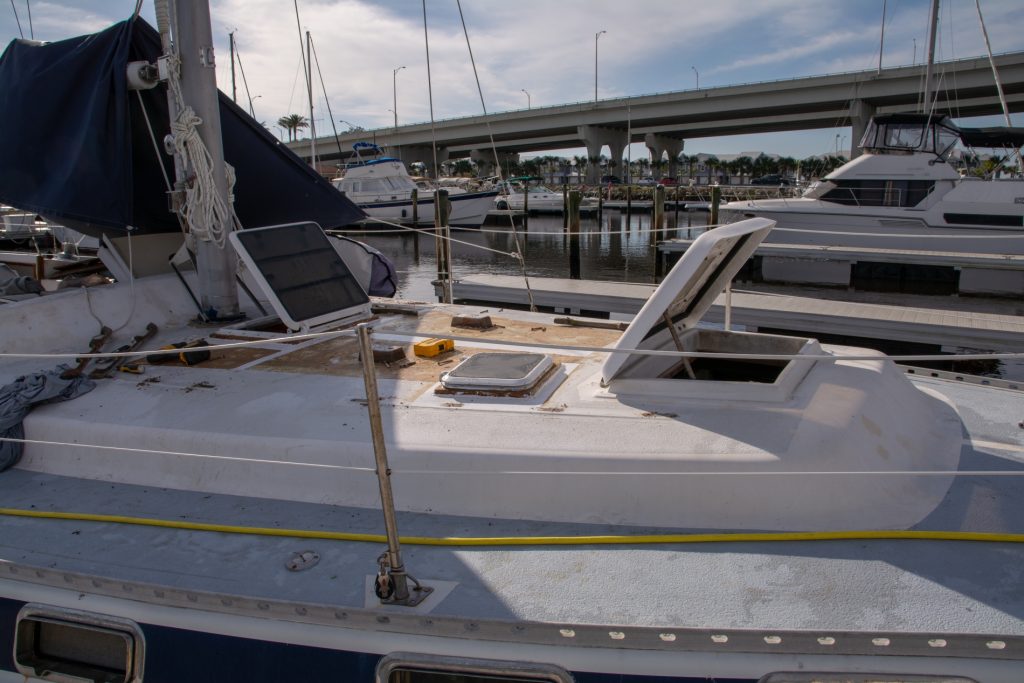
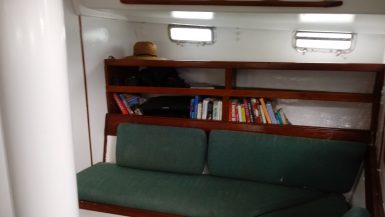
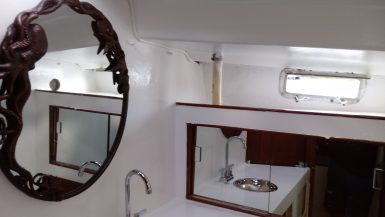
While this is a single post, the topsides painting project was spread out over the last six months. Logical project management would put a higher priority on redoing all the systems of the boat first. I chose to focus on the interior and exterior painting projects first for a few reasons. I live on Pomaika’i full time so the mental reinforcement I get from having a boat that is clean and looks good was something I needed to work through this marathon project, I figured the refit would take two years to complete, by myself. The second was that having dirty storage areas grossed me out, and I couldn’t see putting stuff into the various cabinets, the new gloss paints made everything easier to keep clean. The third, and this focuses on the deck painting, was that the previous owners had used a grey non-skid paint that was so hot in the Florida sun it made it painful to walk on the deck, and I am almost always barefoot.
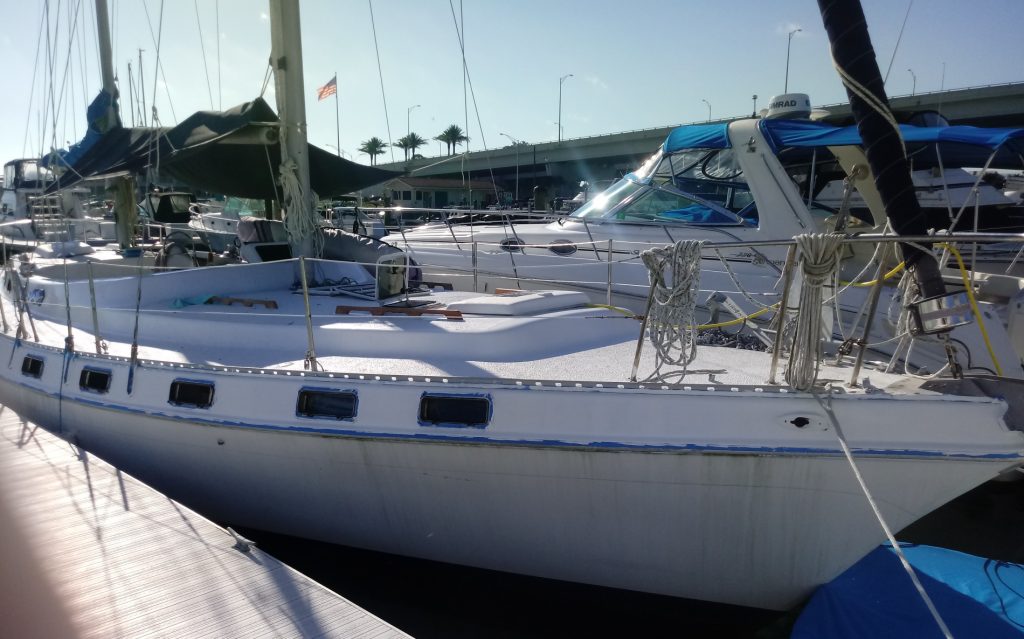
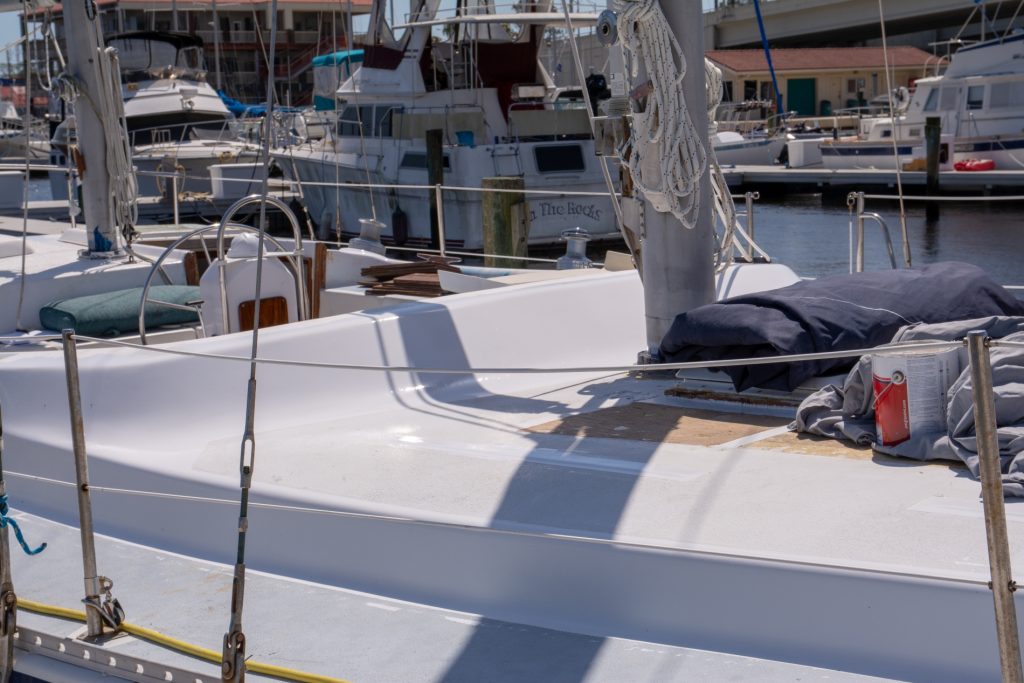
Make sure to check out the before and after photos at the end of this post.
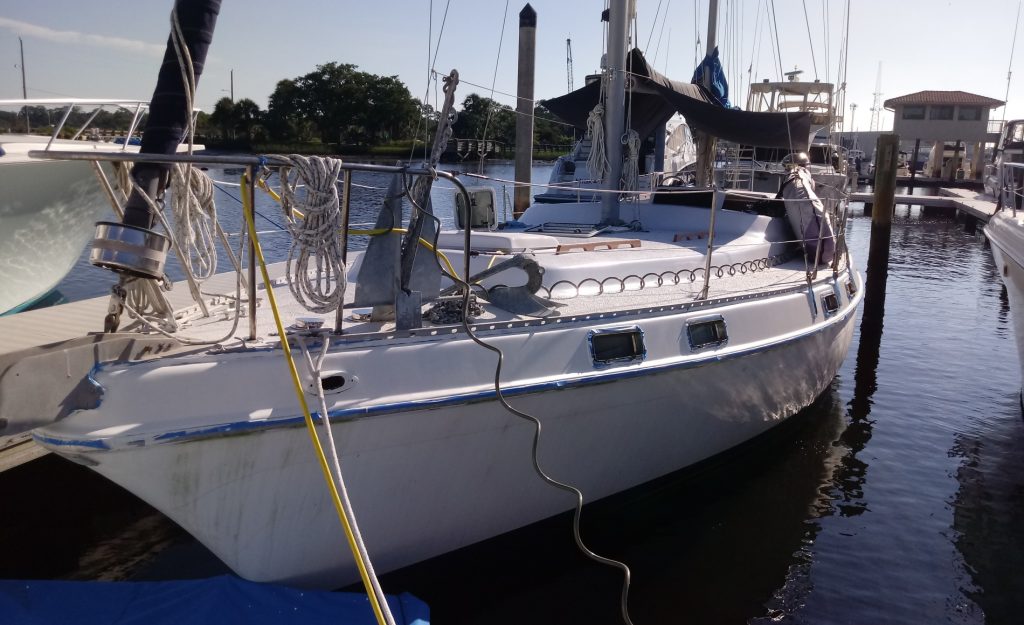
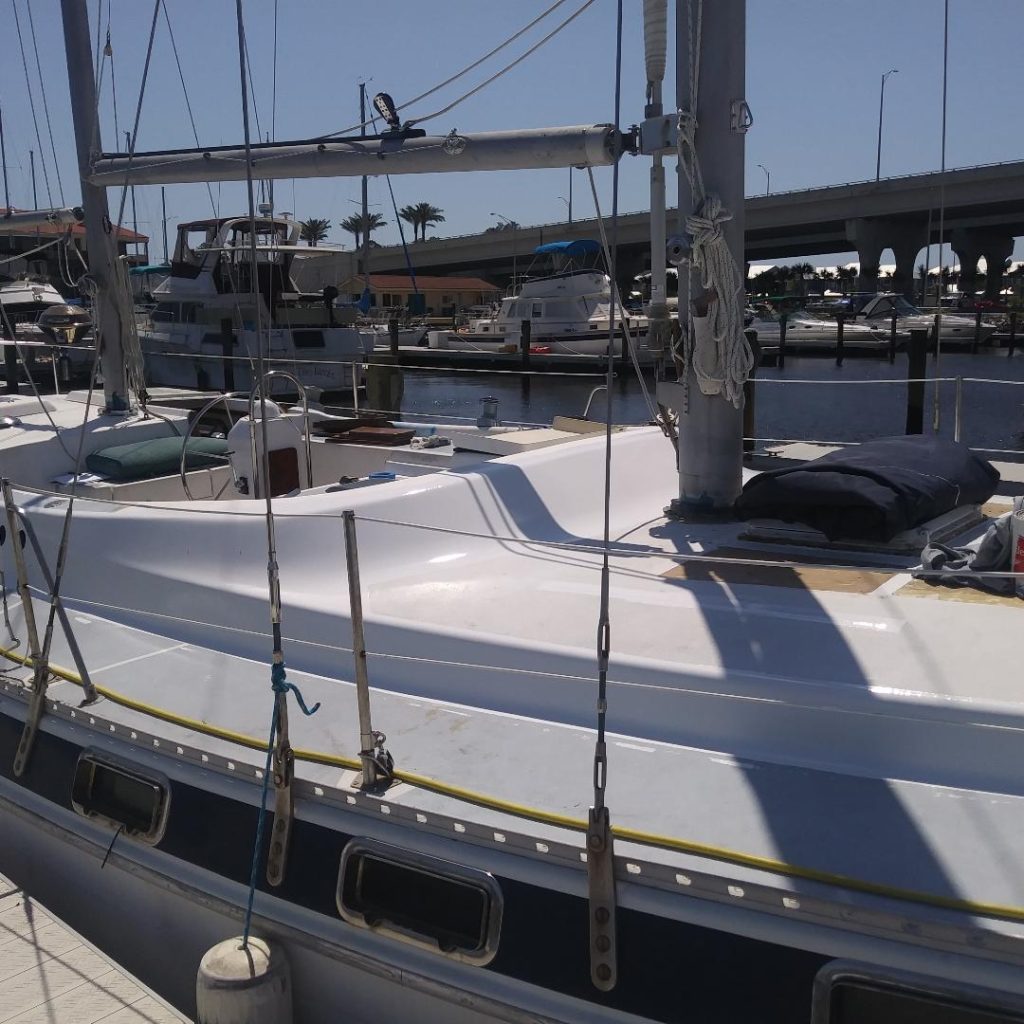
Painting Topsides
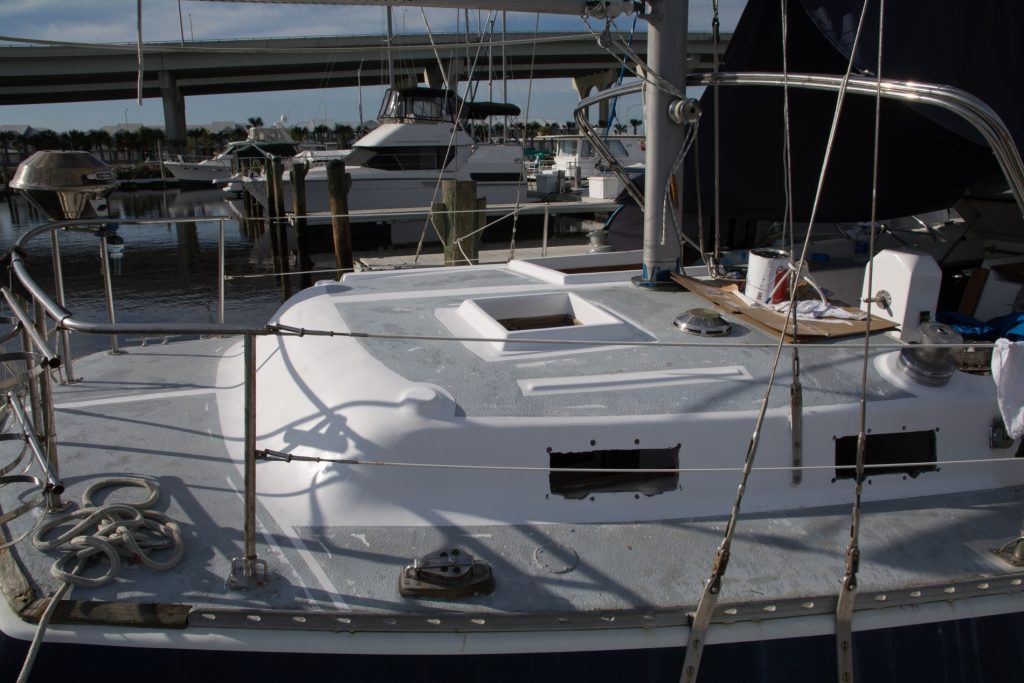
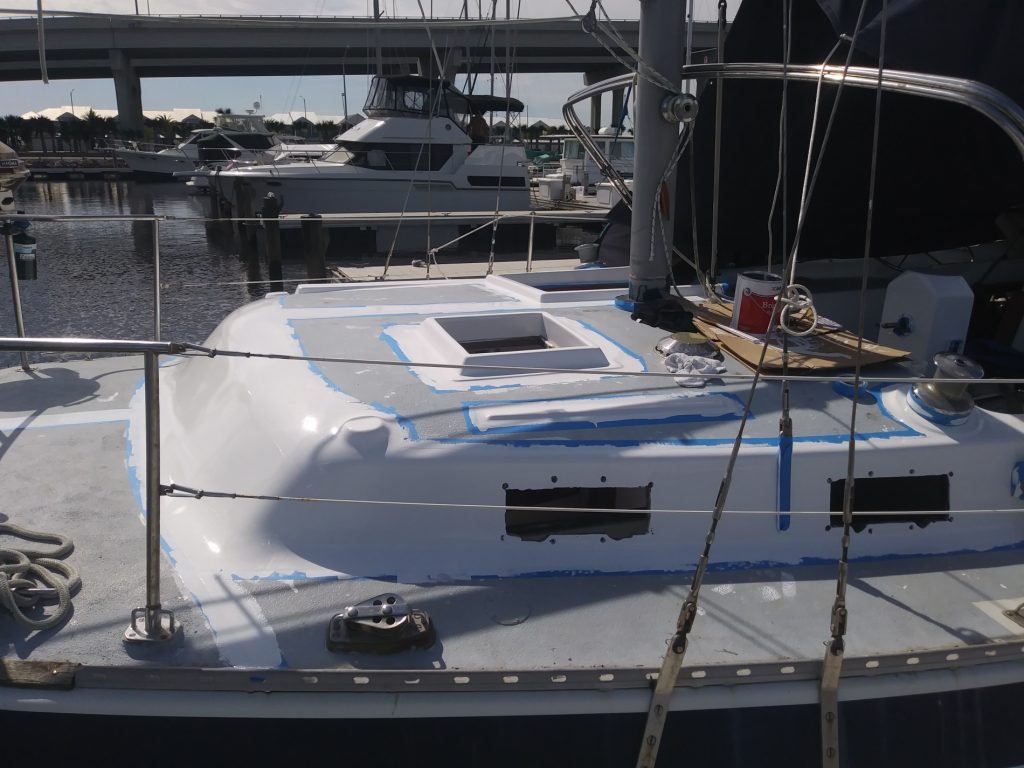
I did all the gloss areas with two coats of primer and then white Interlux Brightsides. Doing this during the Florida summers was a challenge. In North Florida summers mean almost daily thunderstorms. As I was working at the time I had to hope for good weather on the weekend, I even took a day off work to grab the weather break.
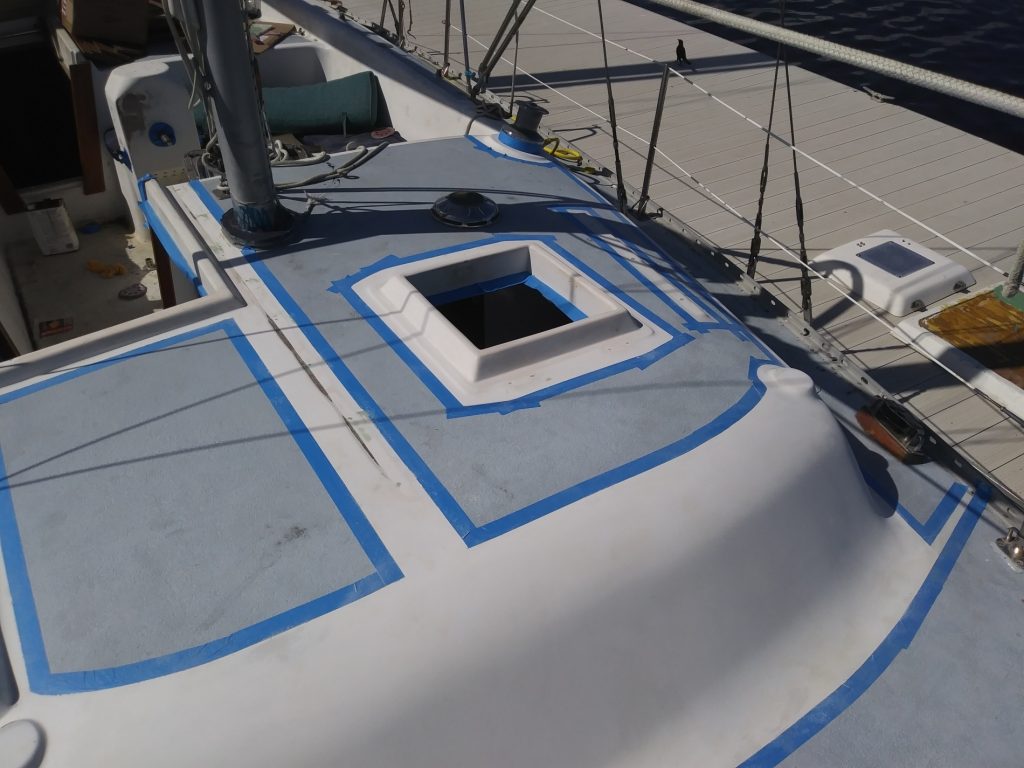
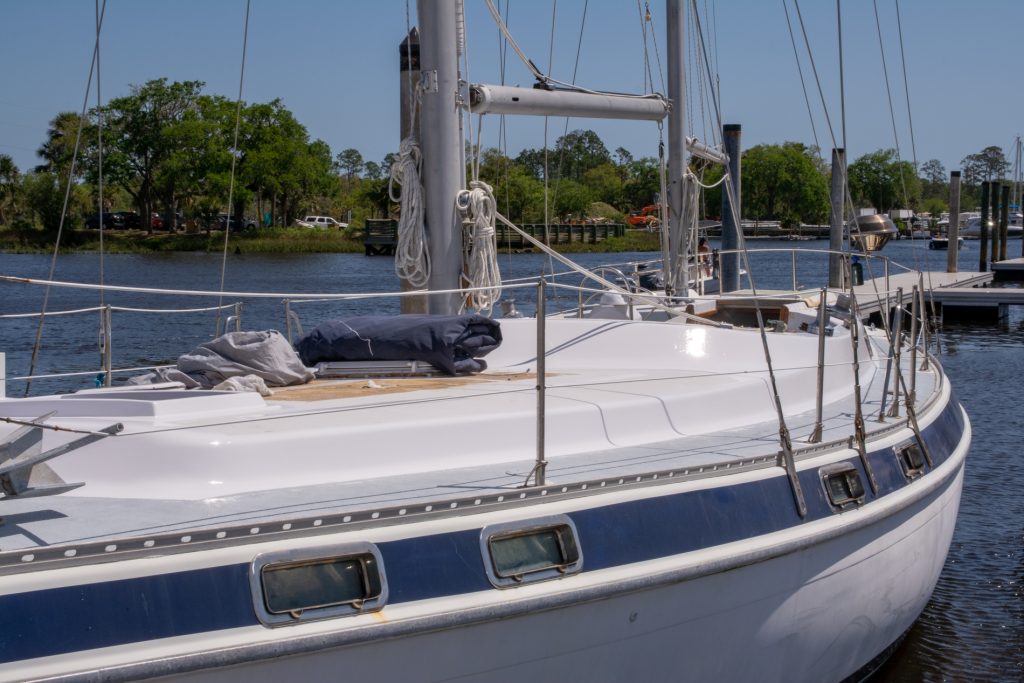
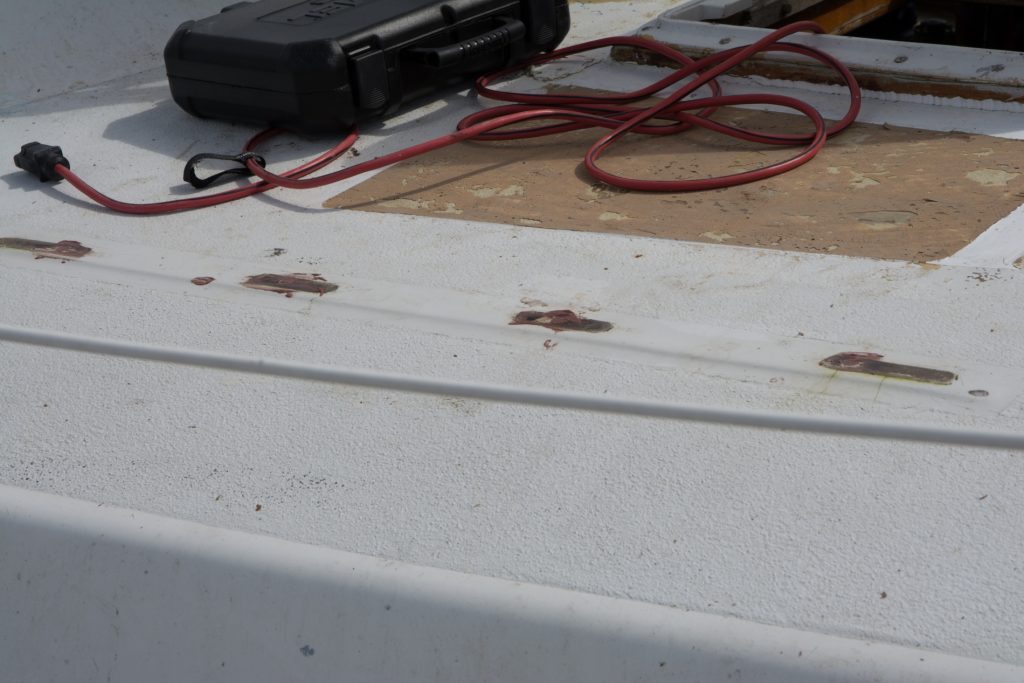
I broke the boat down into four areas, Stern – Midship – Bow – and Cockpit. Each area would take four days, two weekends, of good weather to get complete. Two days to do sanding of the existing gelcoat (40 grit), masking and painting primer. Then the next weekend I would sand with 120 grit, mask and paint the Brightsides with a sanding between coats using 320 grit. I found that you couldn’t paint too late in the day on the gloss coats because if the humidity were too high overnight, you would lose the shine to the layer so had to start as early as possible, sometimes drying the dew off the deck in the morning. The painting covered all the surface cracks in the 40-year old gel coat and makes it easier to keep the decks clean.
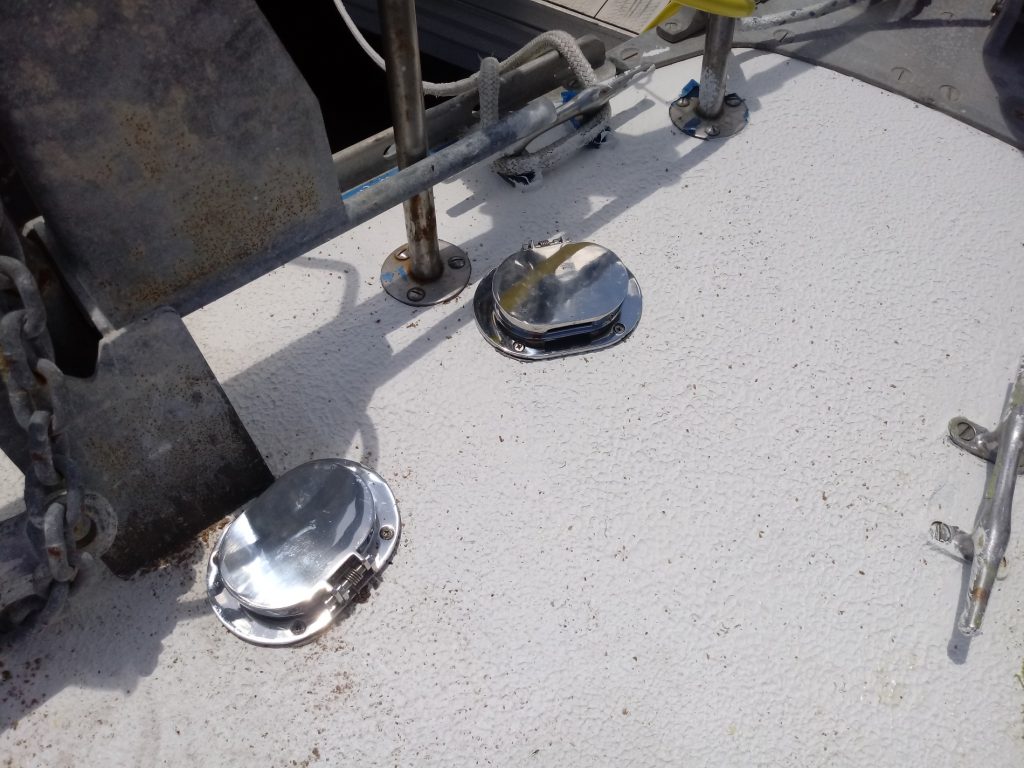
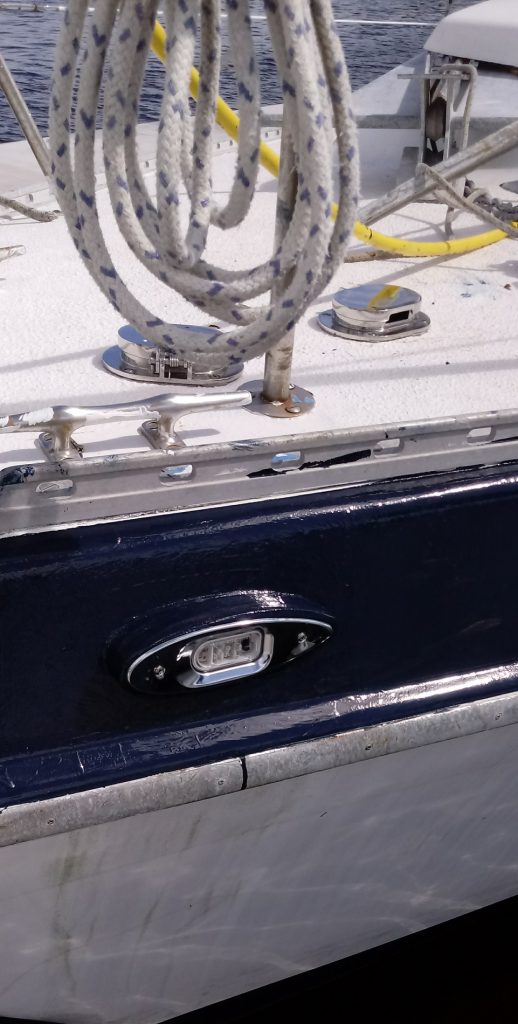
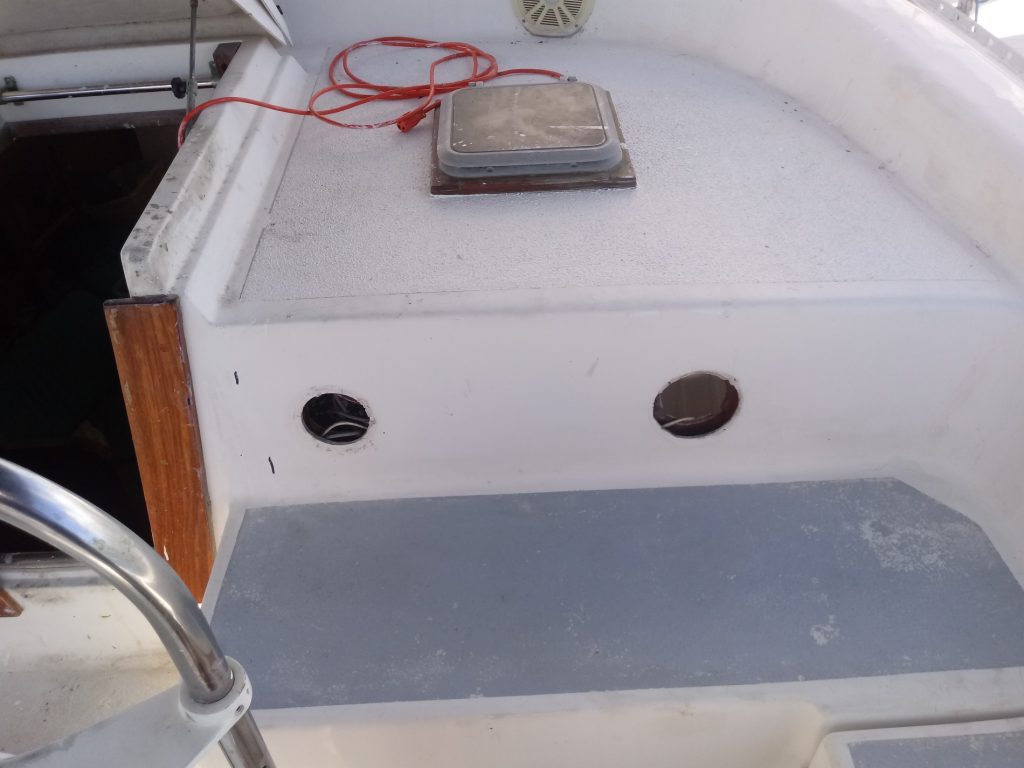
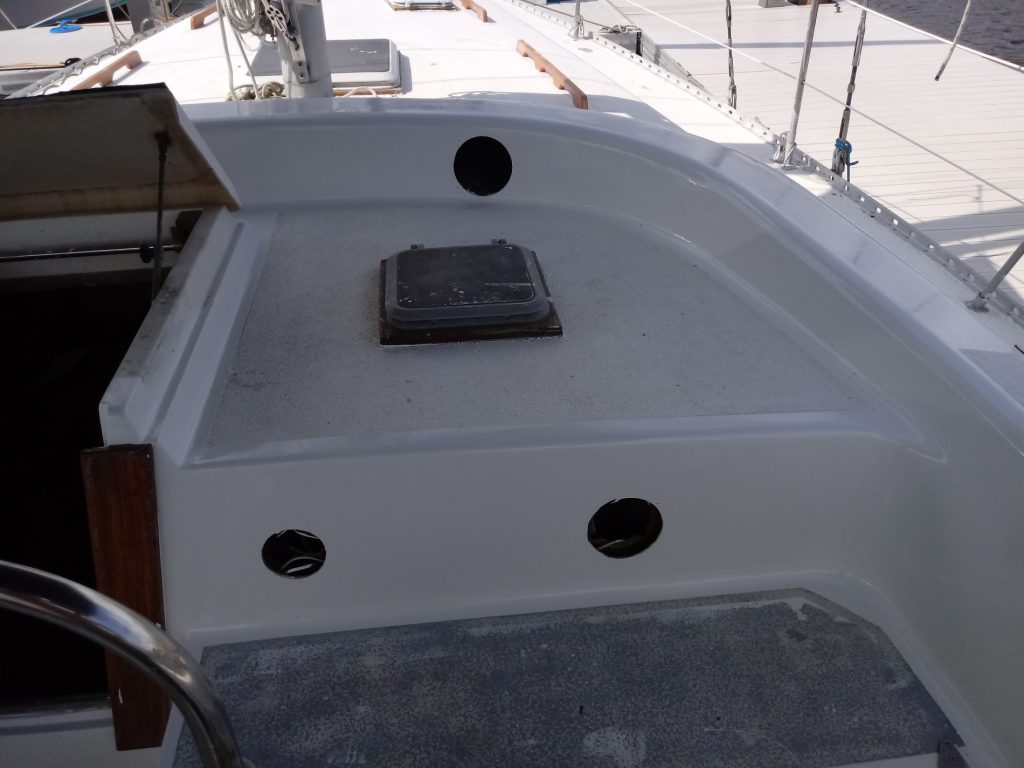
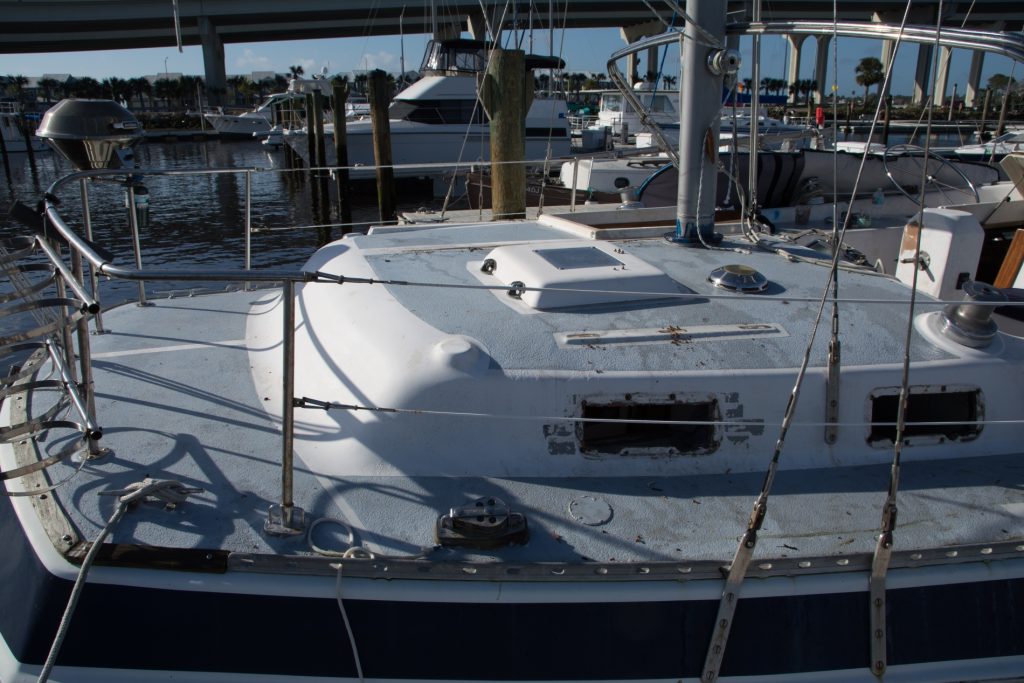
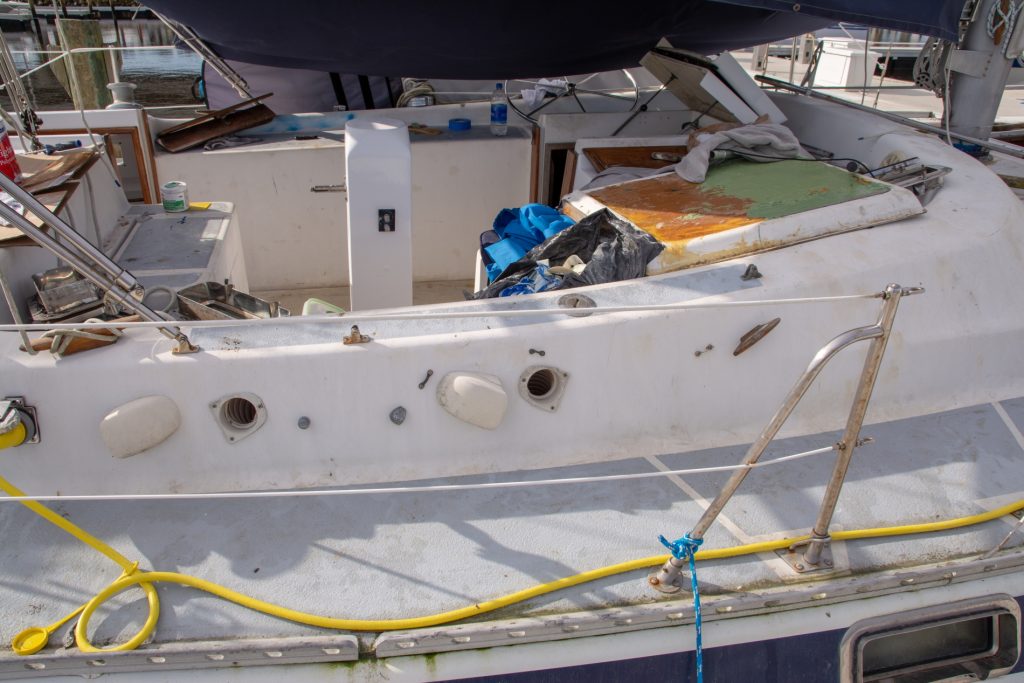
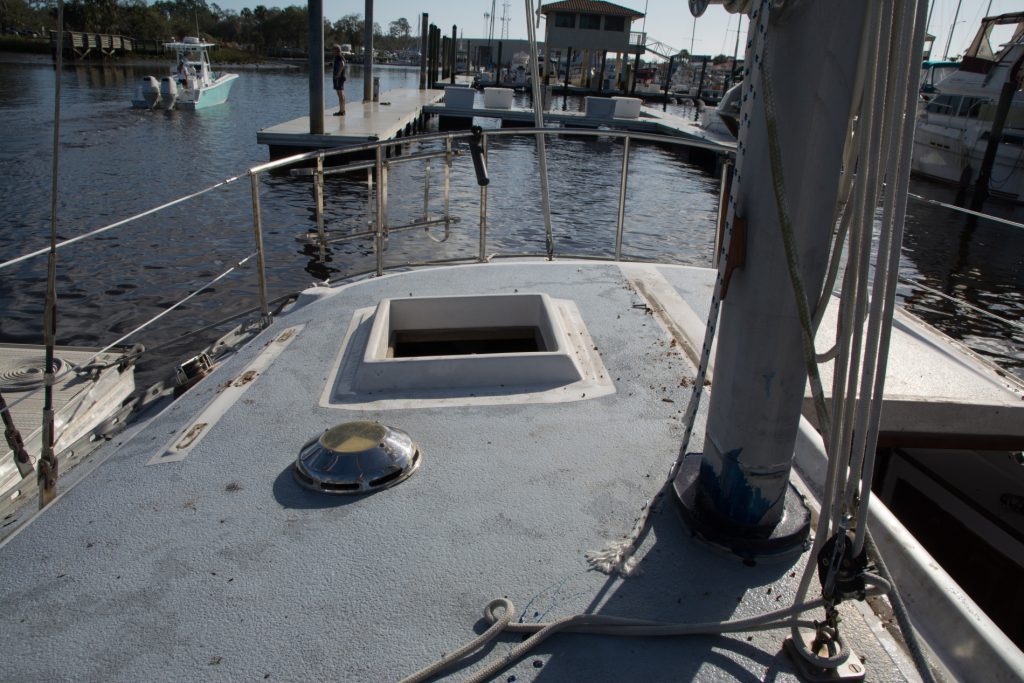
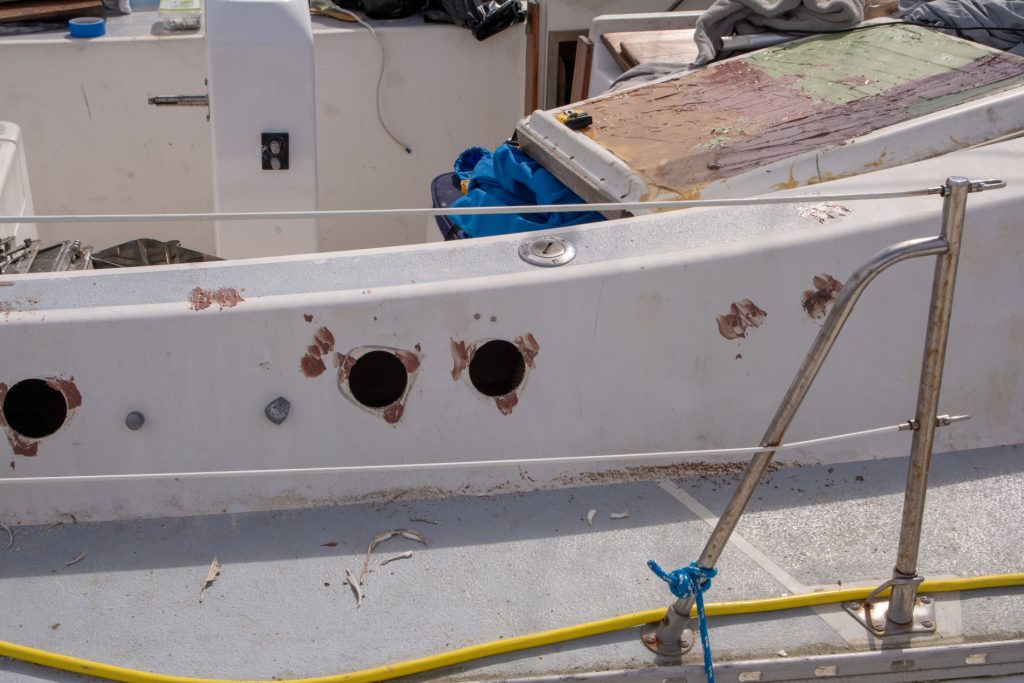
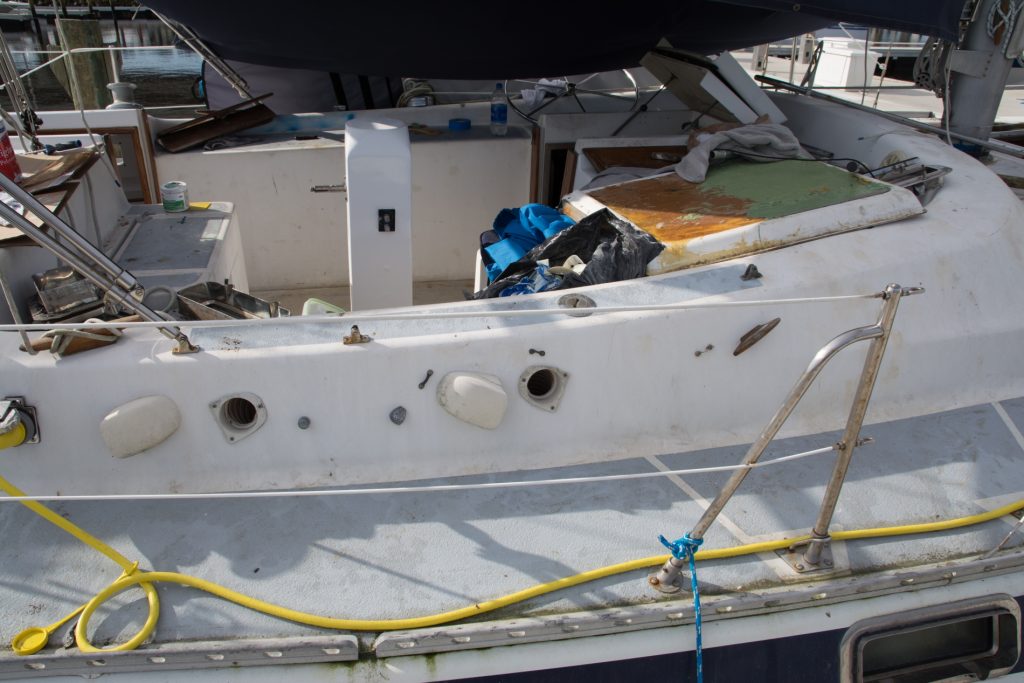
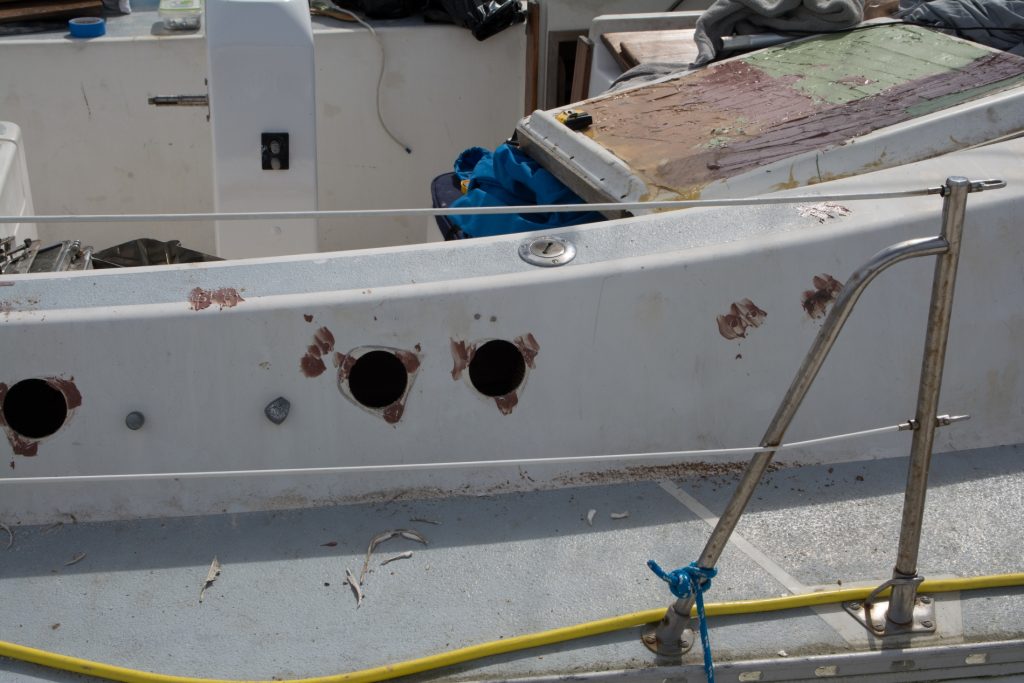
I also replaced the broken white plastic engine room vents with nice new chrome ones. I’m sure to pick up a knot or two in speed just from these chrome pieces.
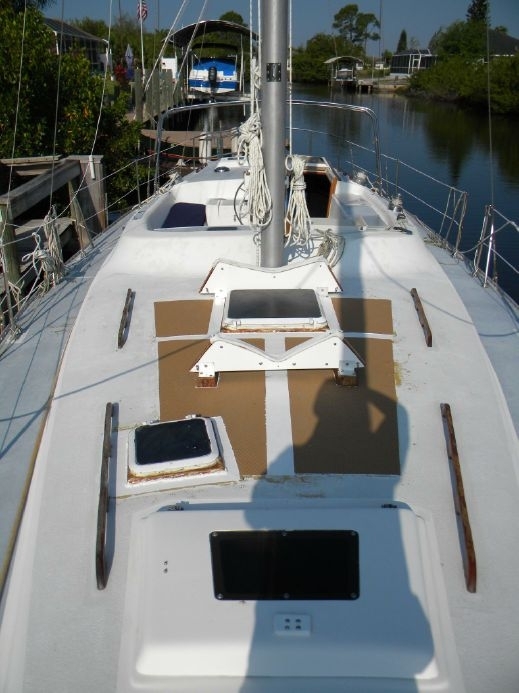
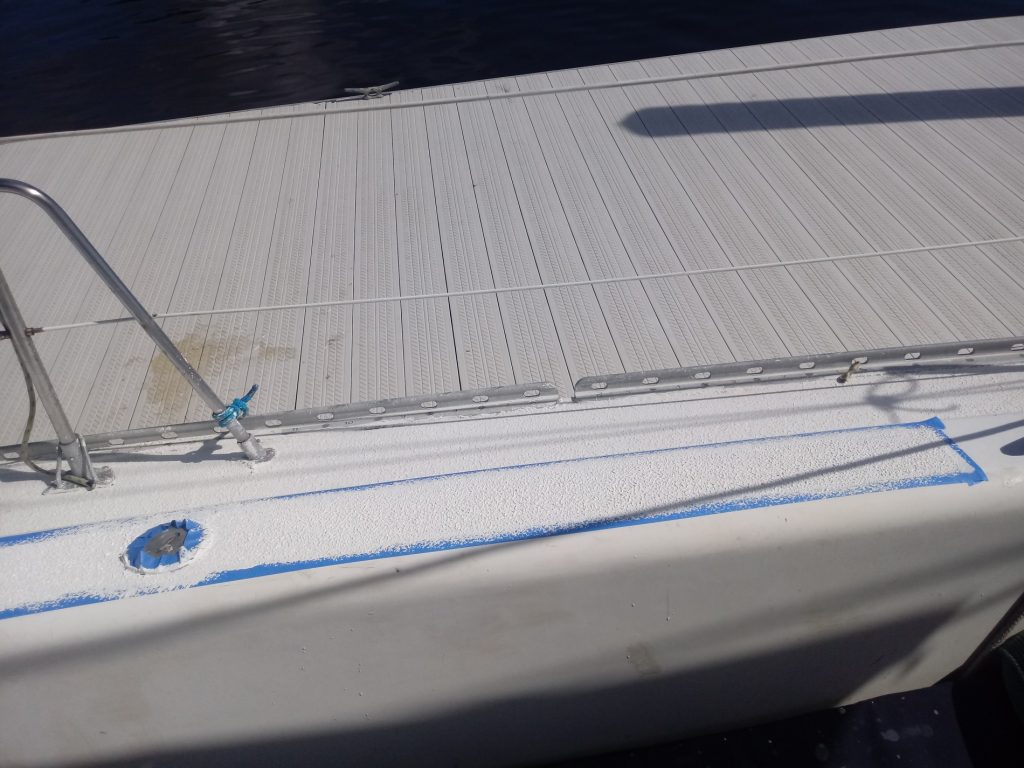
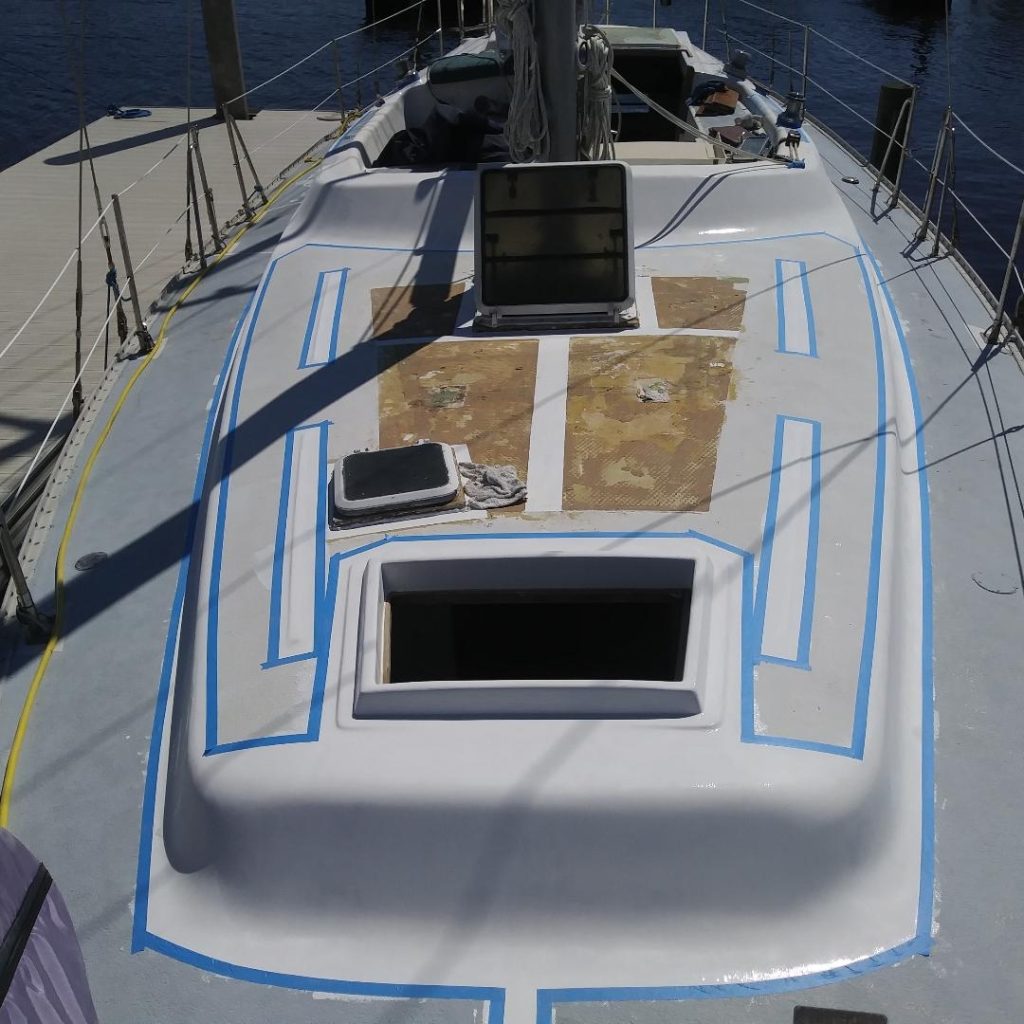
The majority of the deck area is non-skid, so it only took about a gallon of primer and a gallon of Brightsides.
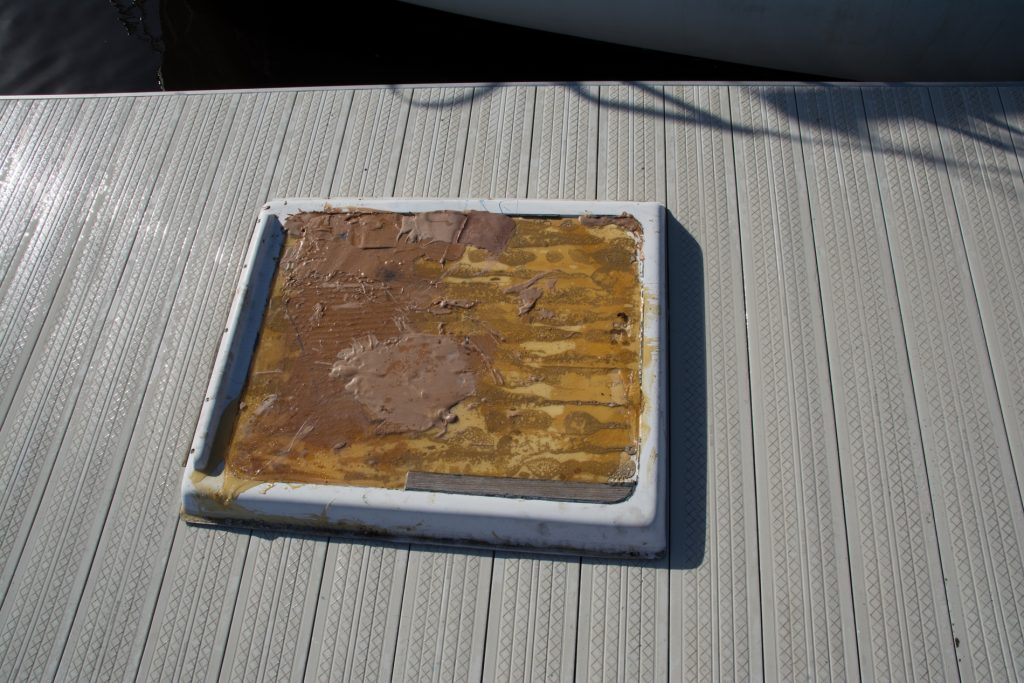
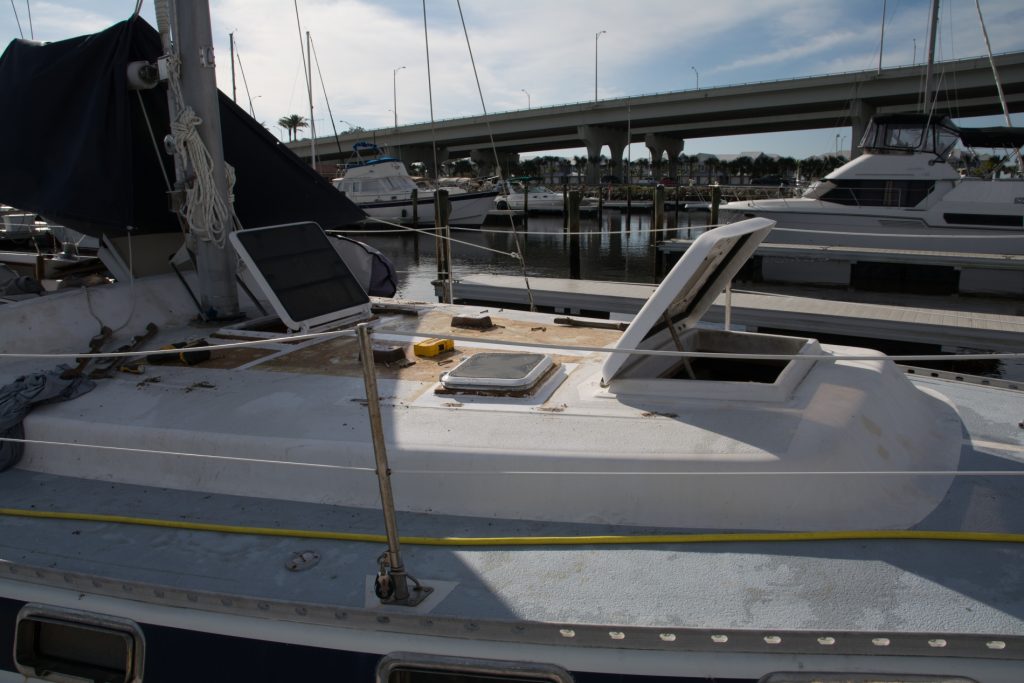
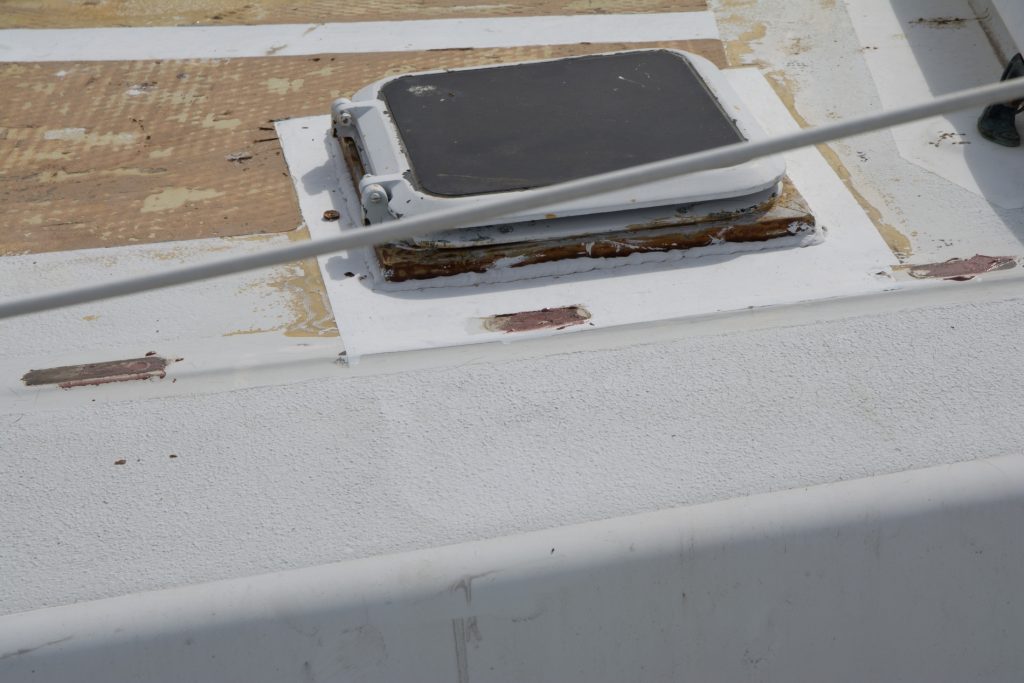
While doing this part, I also rebuilt the area of the foredeck where the windlass sits.
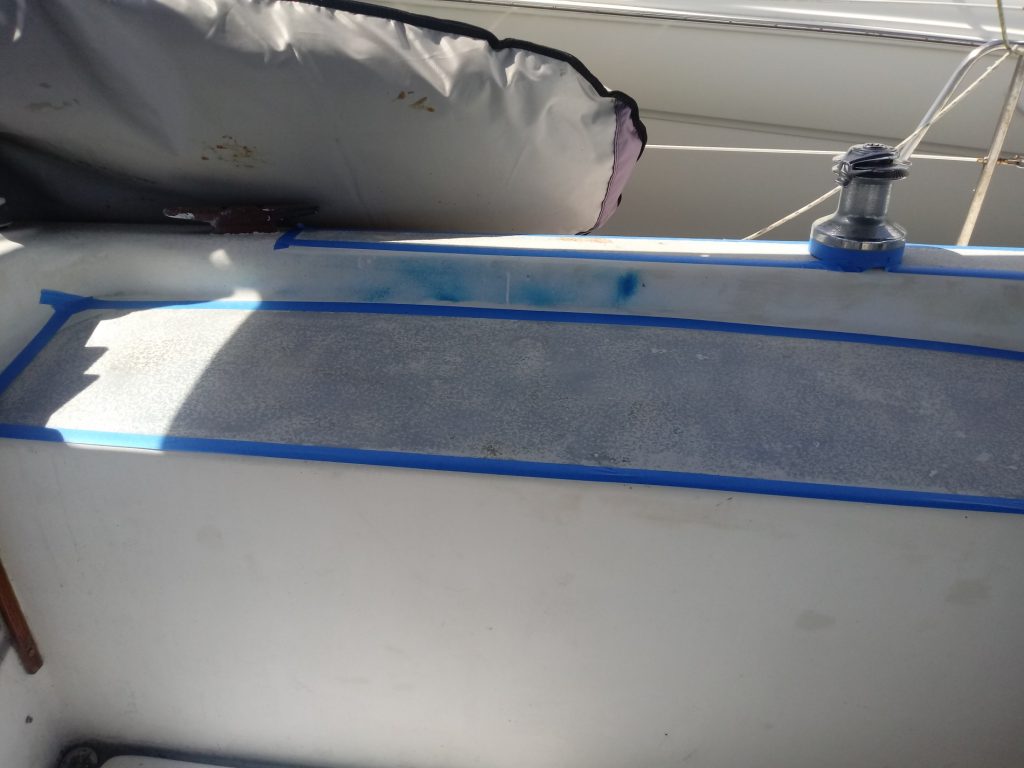
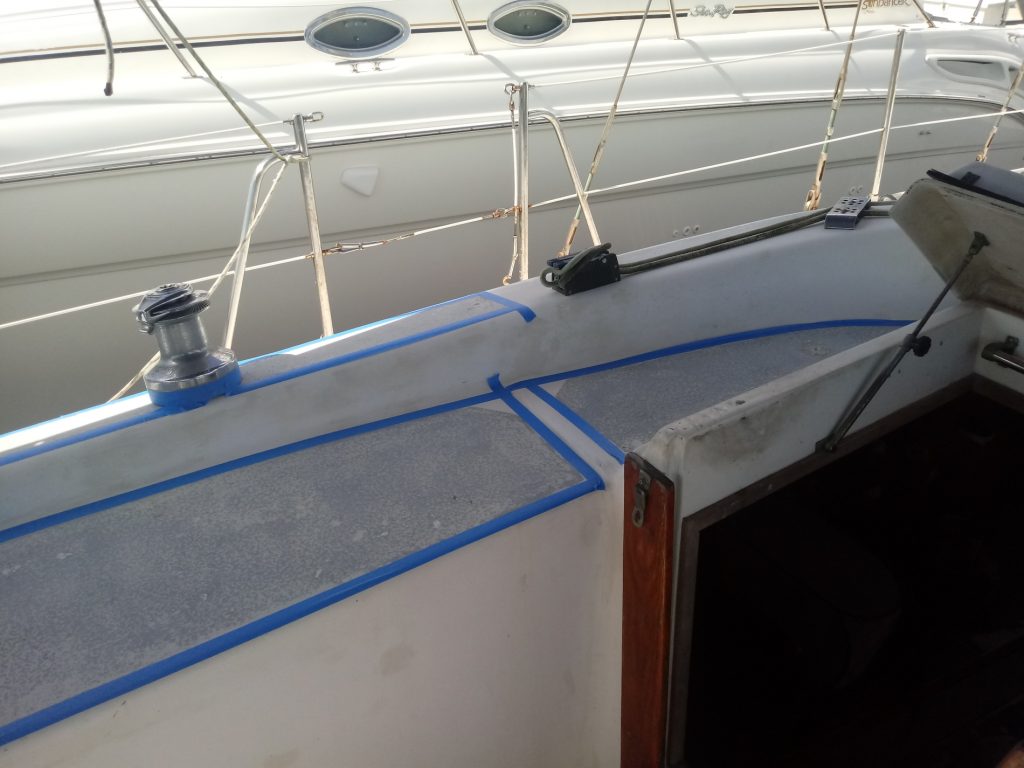
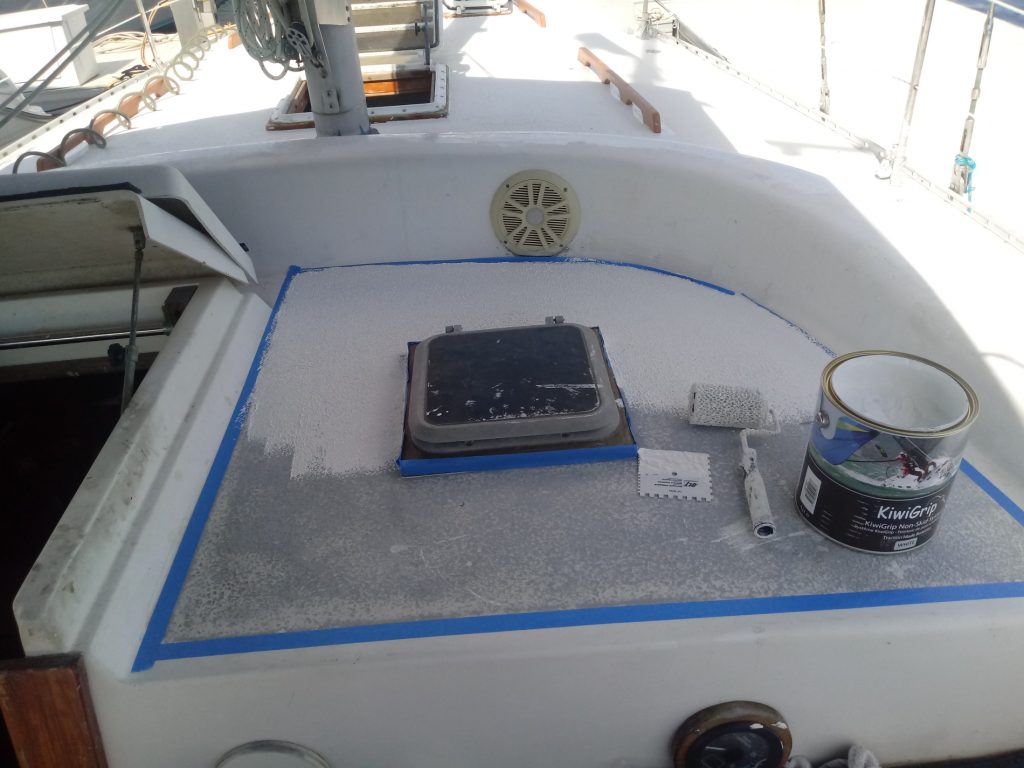
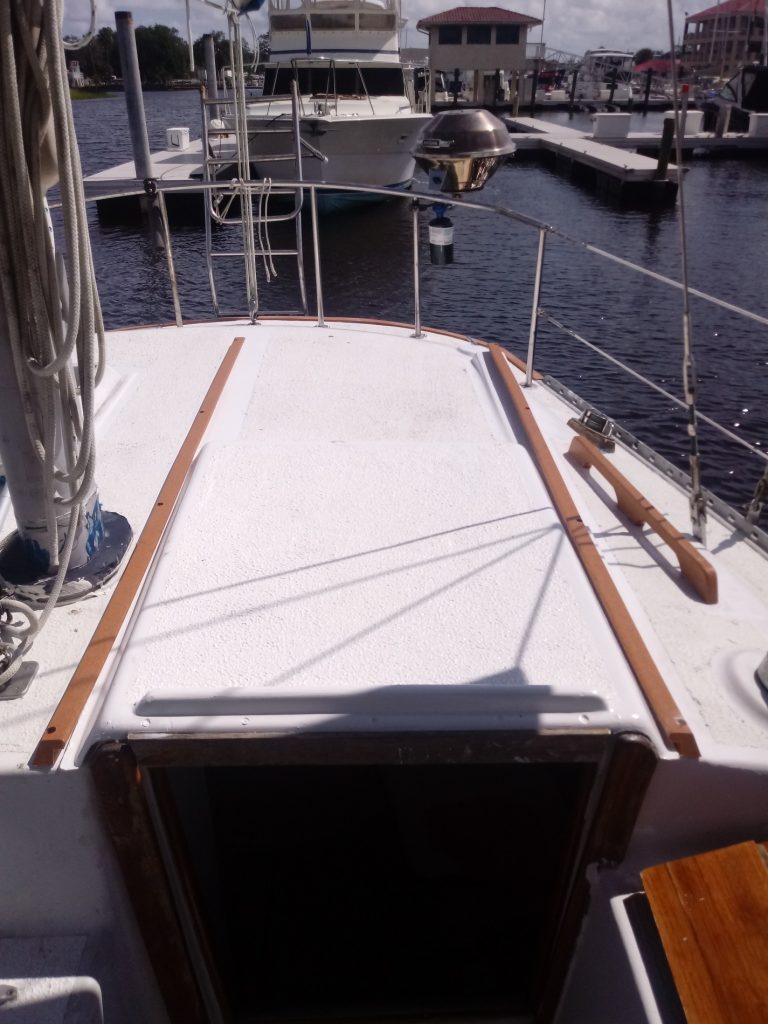
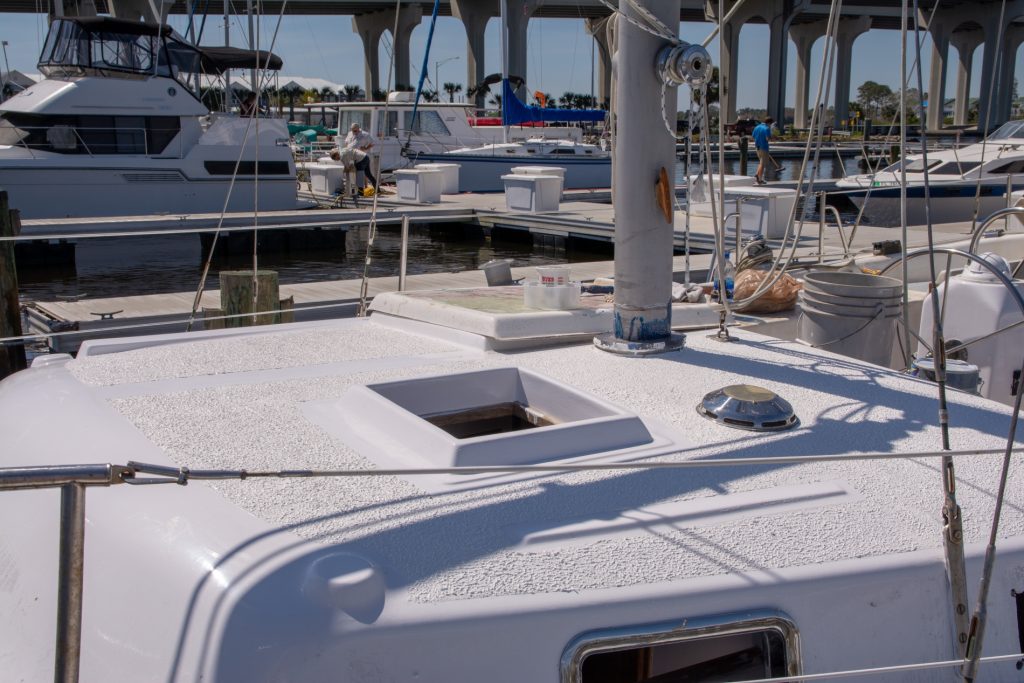
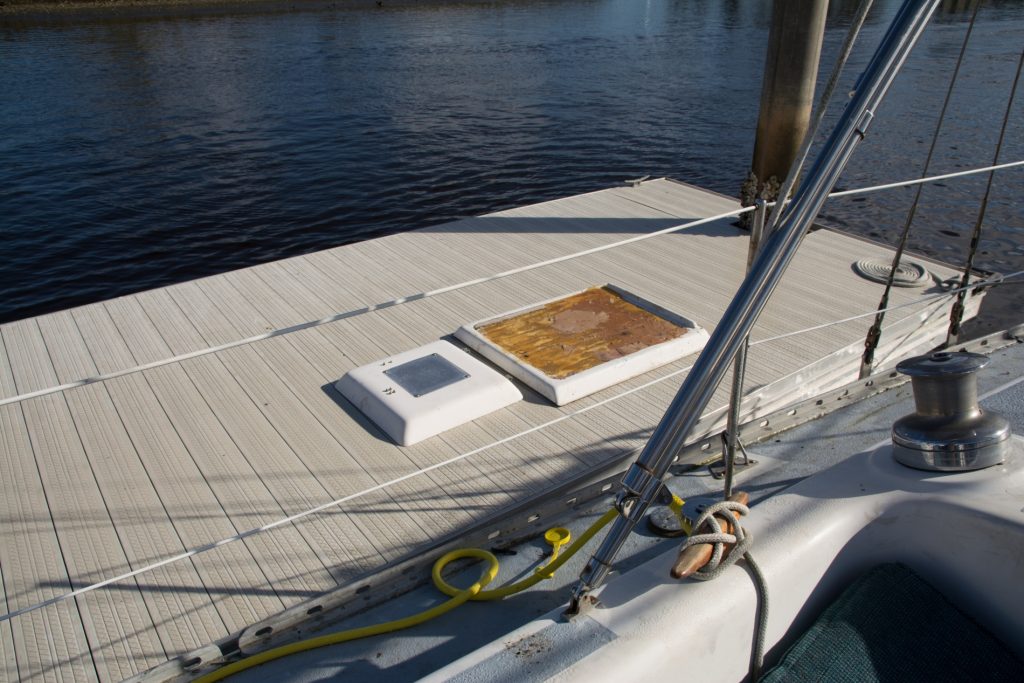
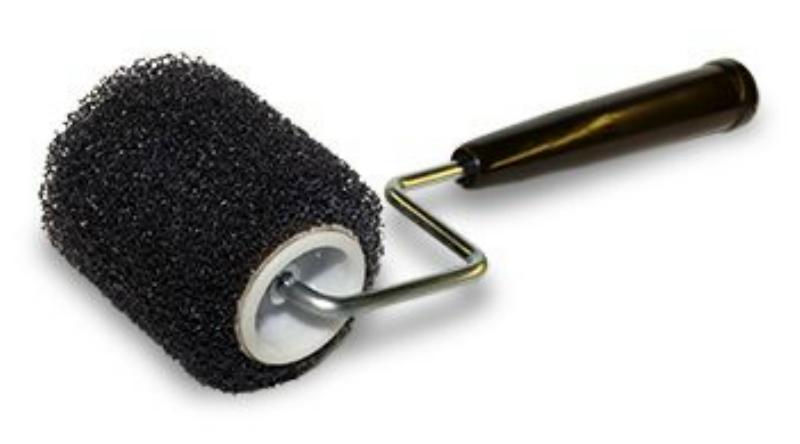
Kiwi Grip Non-Skid
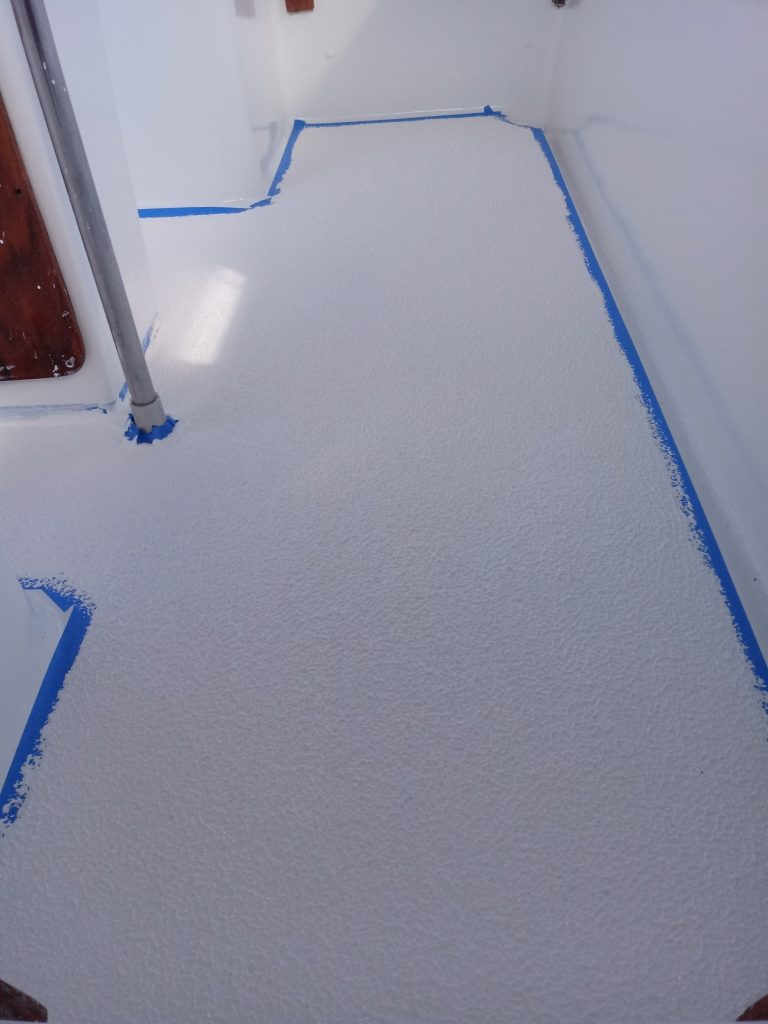
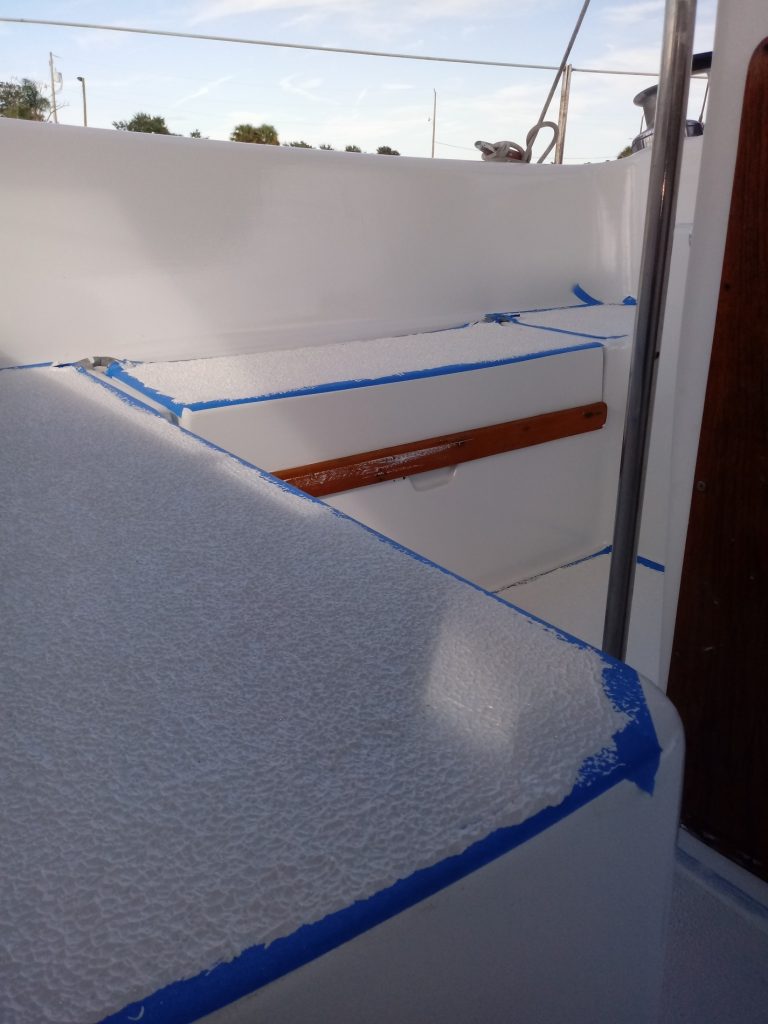
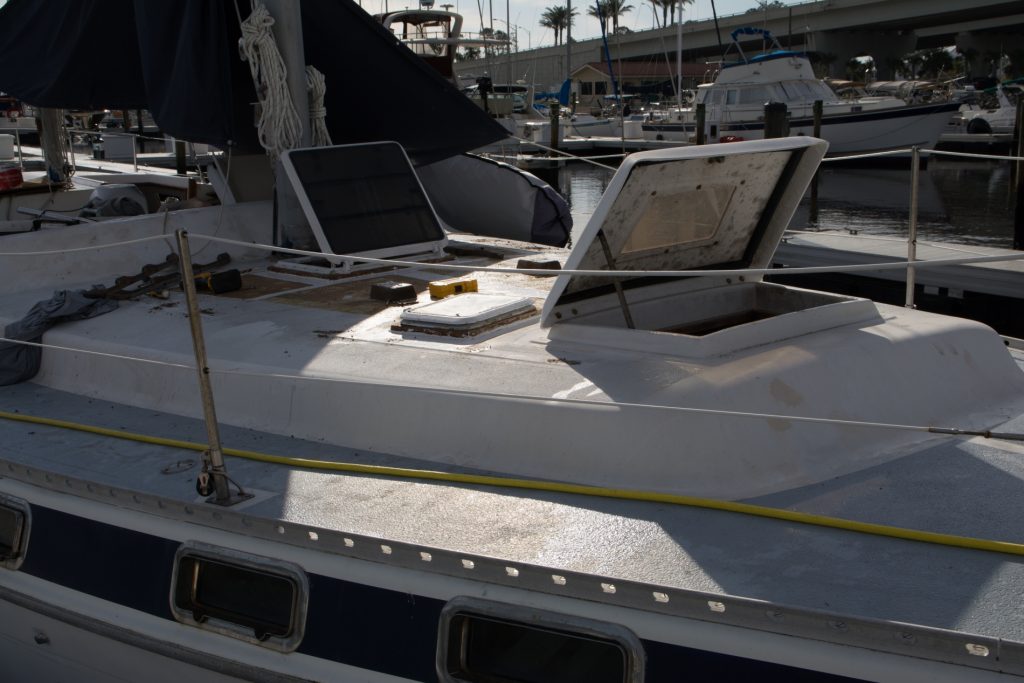
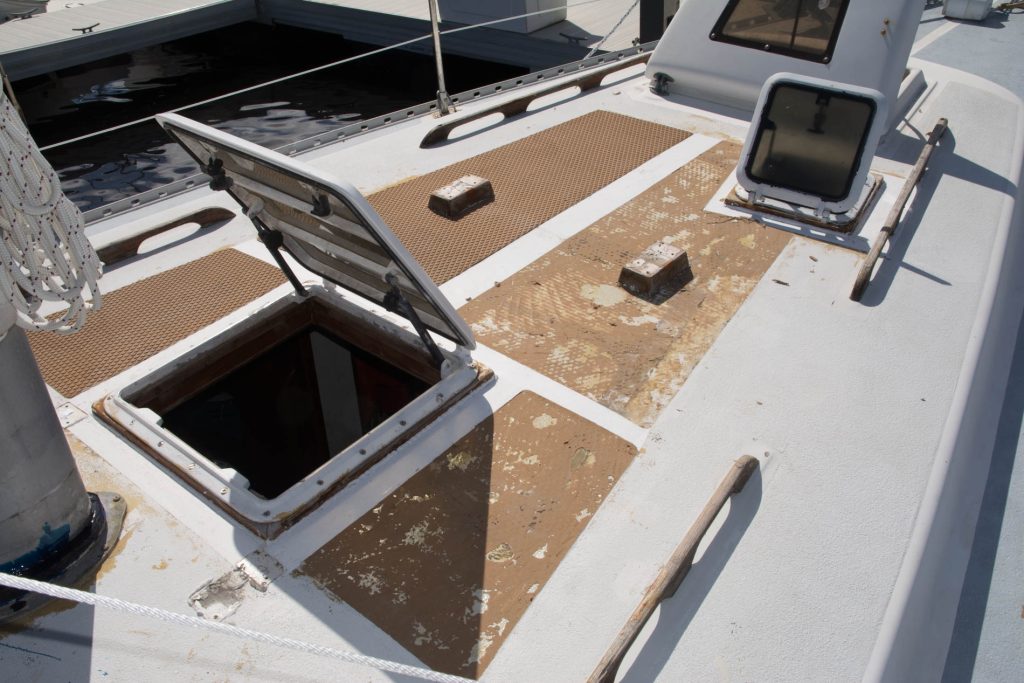
I chose the Kiwi Grip non-skid system because it stays cool in the sun and gives an aggressive texture which I wanted for stability offshore. Kiwi Grip is more like a rubber covering than paint, which you apply with a plastic scraper. The scraper is grooved to allow you to spread the paint but still leave enough material to build a rough surface. You scoop out enough paint to cover a two-foot by two-foot area. Then you follow this with a special paint roller. This roller builds up the peaks of the surface and completes the distribution of the Kiwi Grip. Doing the non-skid areas was easy, and it cleans up with water. It took four gallons to cover all the non-skid areas of the deck. I did this with white Kiwi Grip which has slightly different color than the Brightsides which gives it a pattern on the deck but still clean looking.
I learned a lesson on patience, again!, while trying to finish the last area on the deck. The day was scheduled for rain but it wasn’t happening. Around two pm I decided to go for it as previously the Kiwi Grip had set up in just a couple of hours. Unfortunately, it never set and when it rained that night I lost most of the gallon I had put on the deck that day (not included in the four gallons above). That was a $150 mistake.
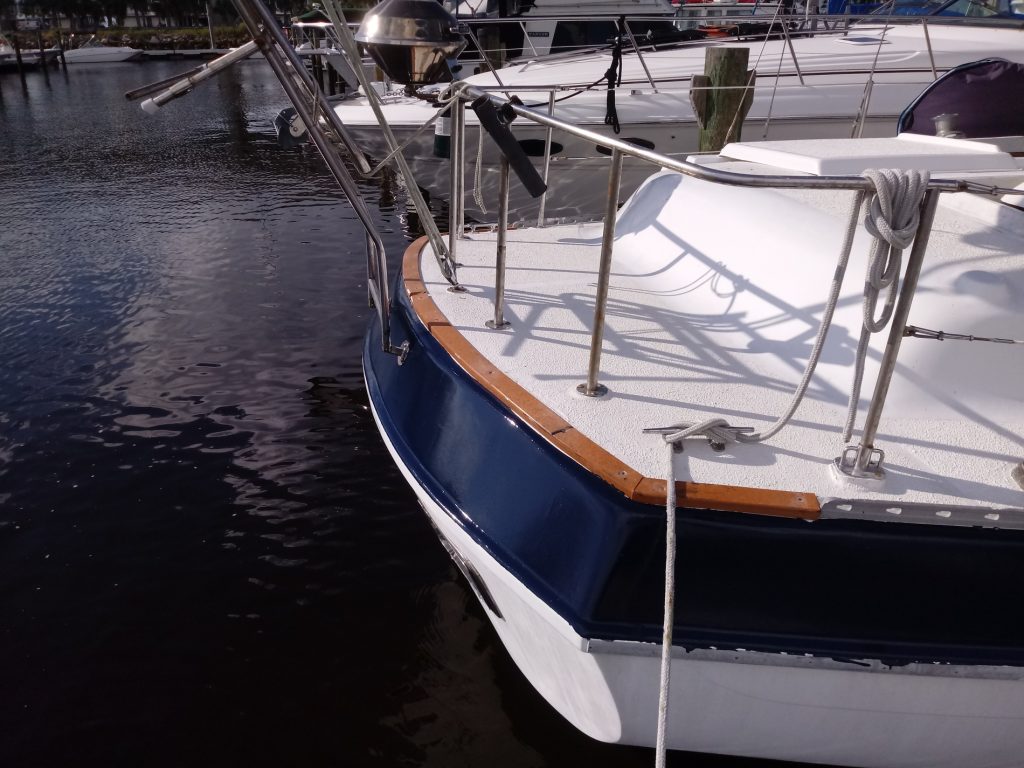
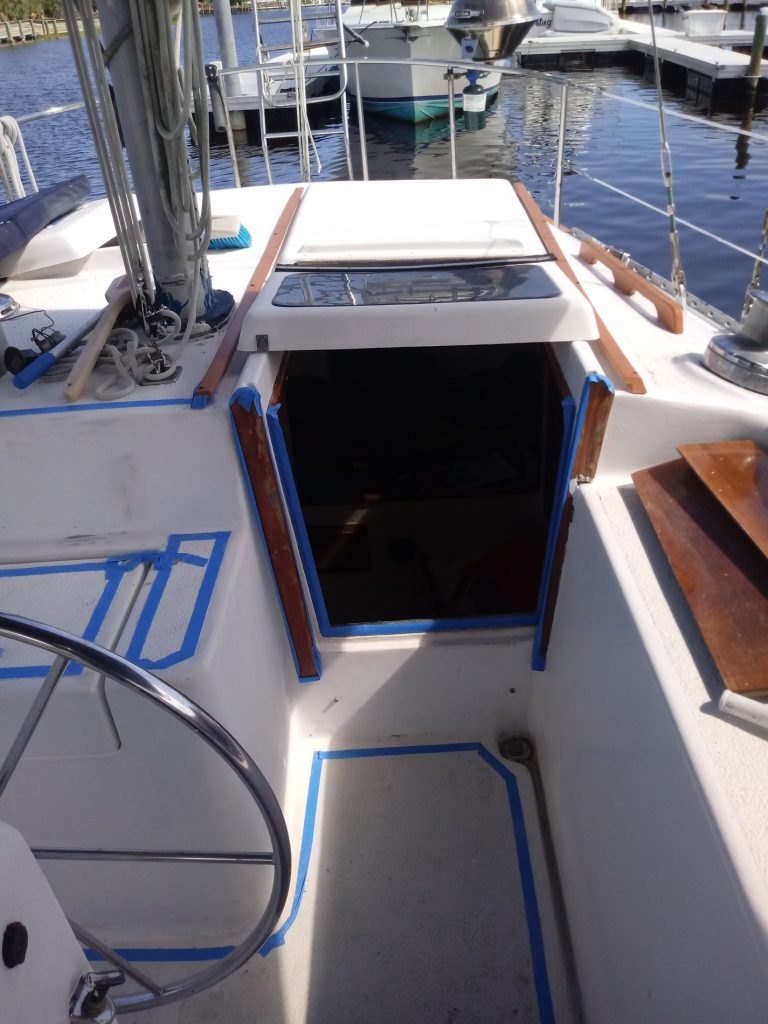
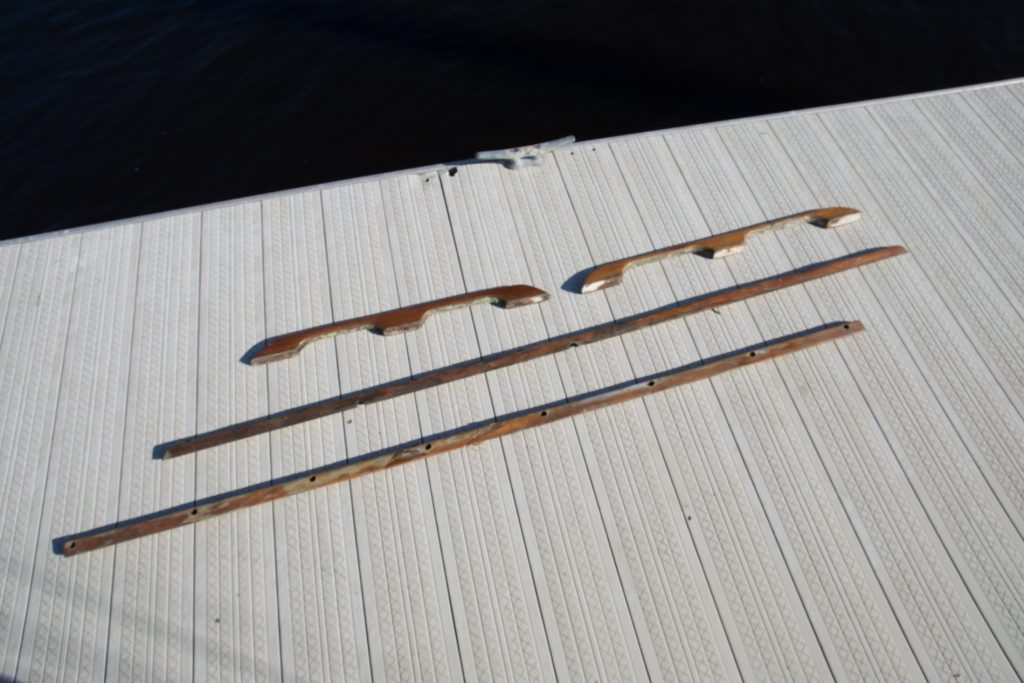
No More Teak
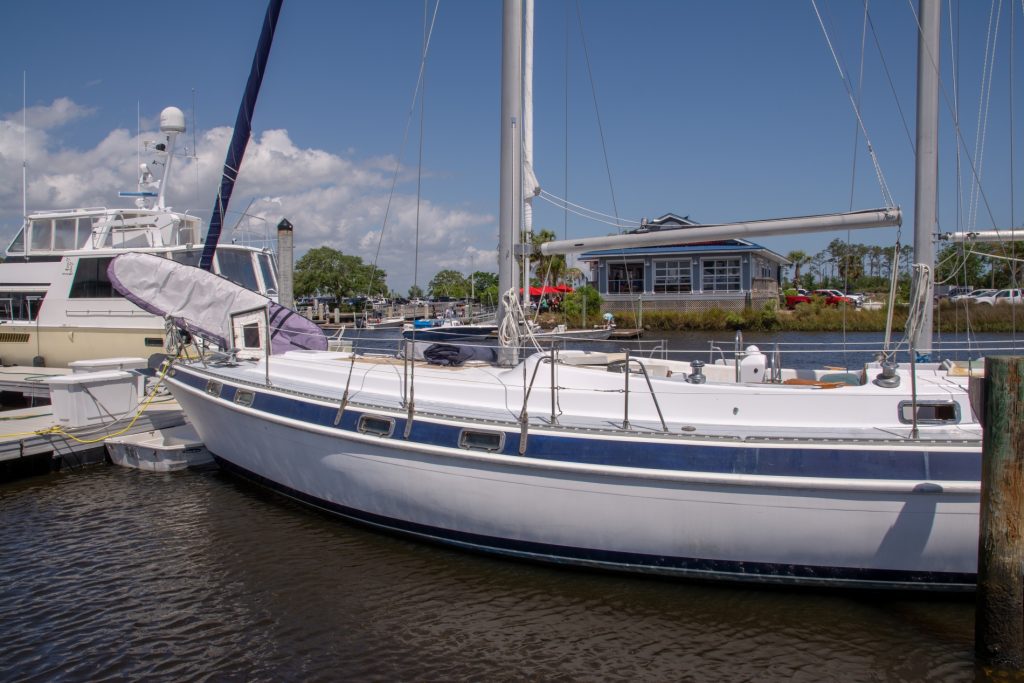
On my previous boat, I had sanded and oiled the teak. During the year I owned that boat I realized that I’d spend most of my life working on wood maintenance. So, with Pomaika’i I decided to replace all the external wood with Plasteak. This is recycled plastic lumber which will need no maintenance or upkeep. I replaced all the hand holds, the rails for the sliding hatch over the aft cabin and the stern rail. The stern rail was a custom piece which they built off of the one part I sent to them.
I like the appearance of the faux teak and love the fact that there is no upkeep. I’ll be replacing the stern swim ladder with one from Plasteak with a small platform.
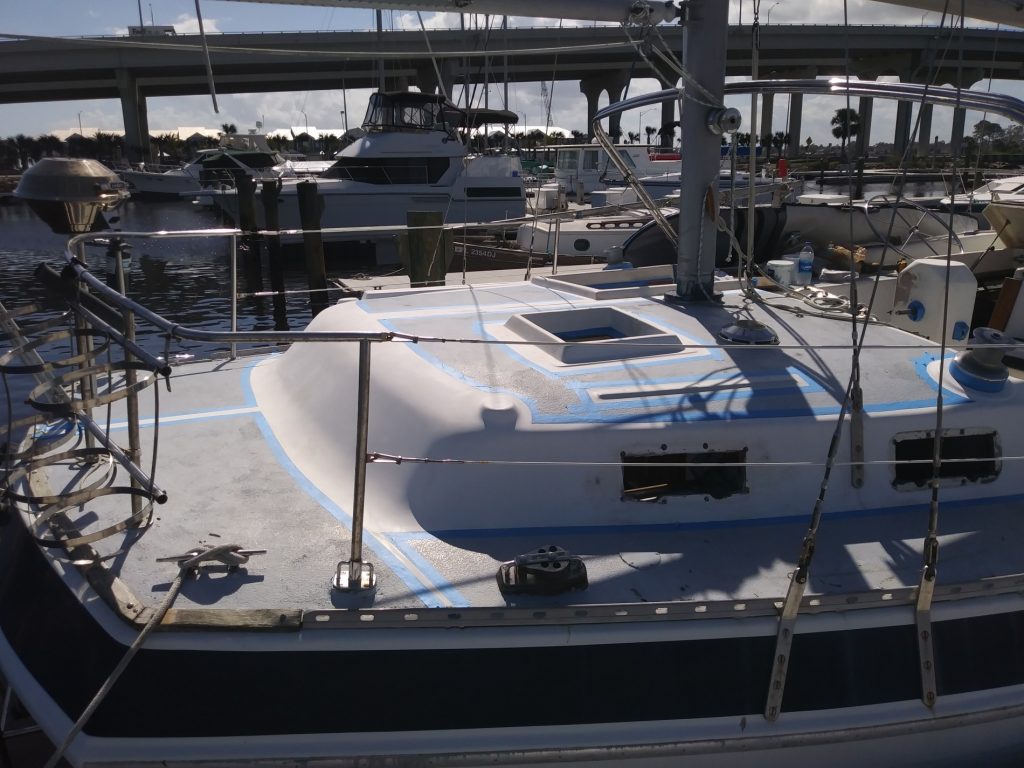
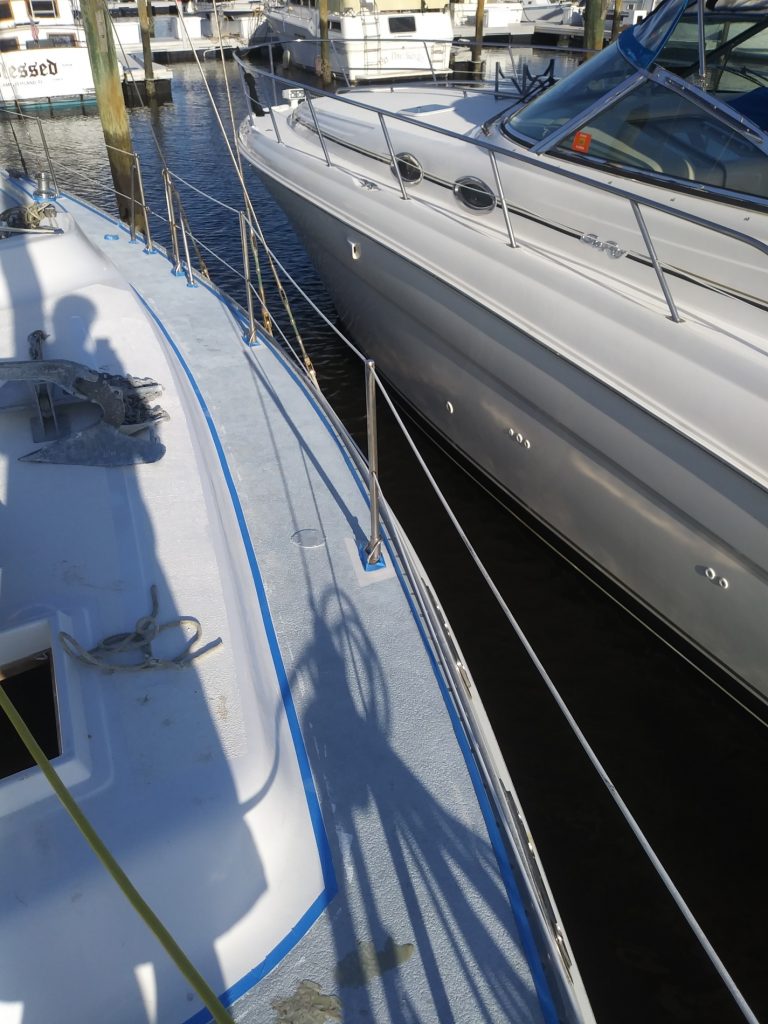
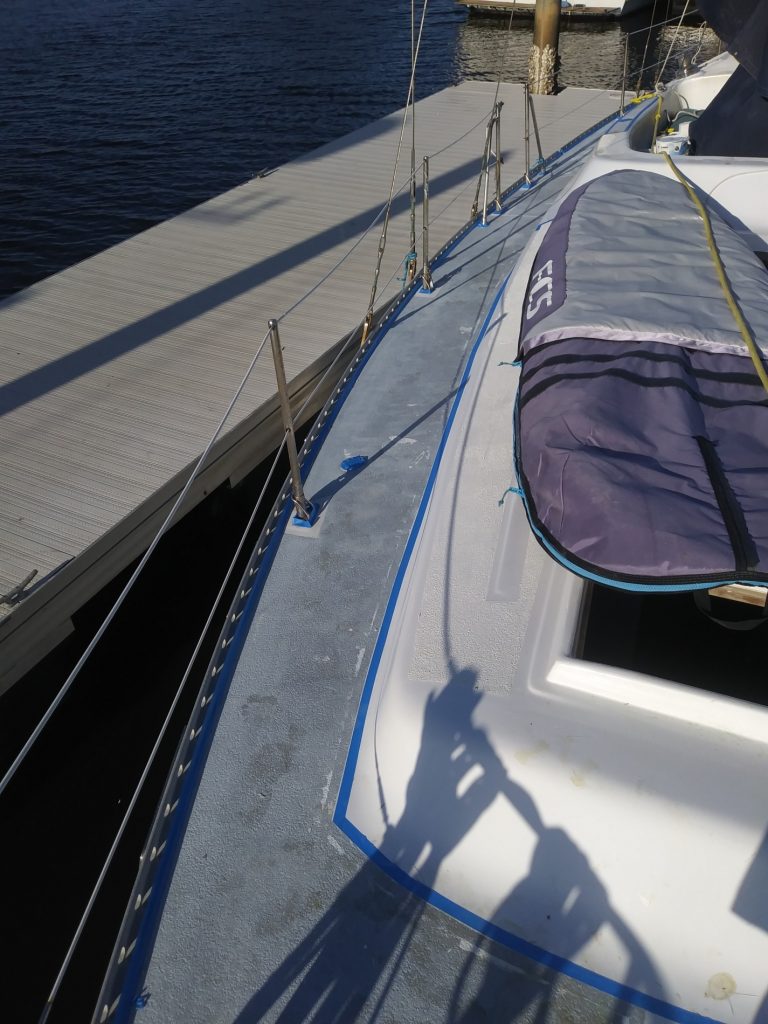
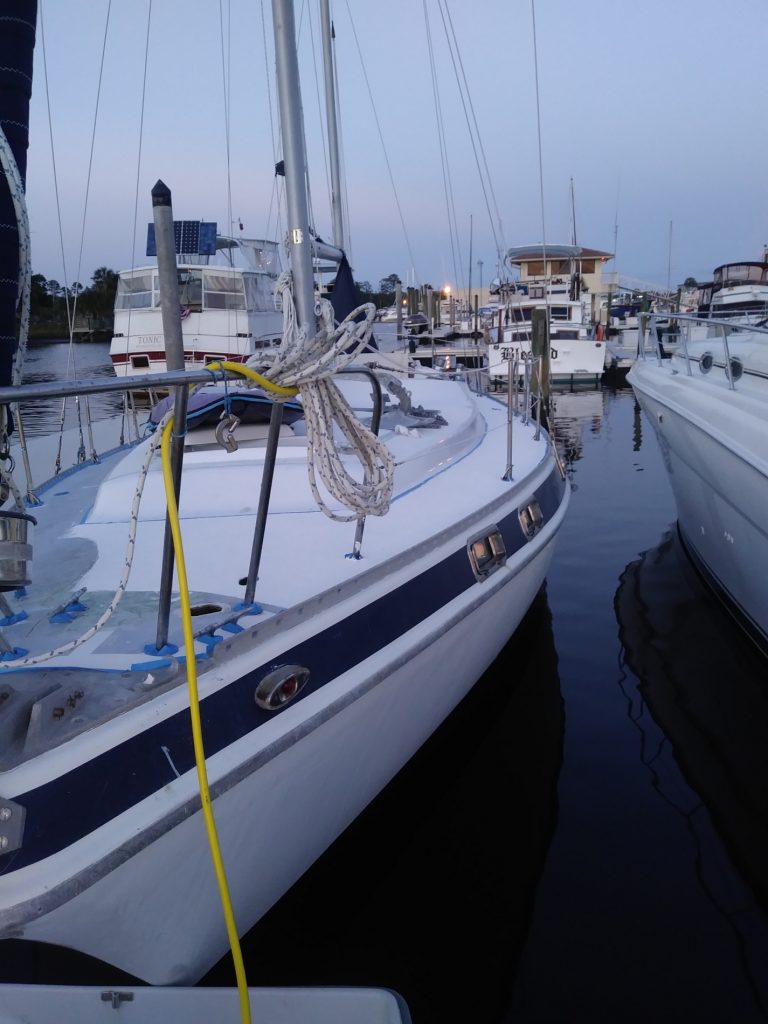
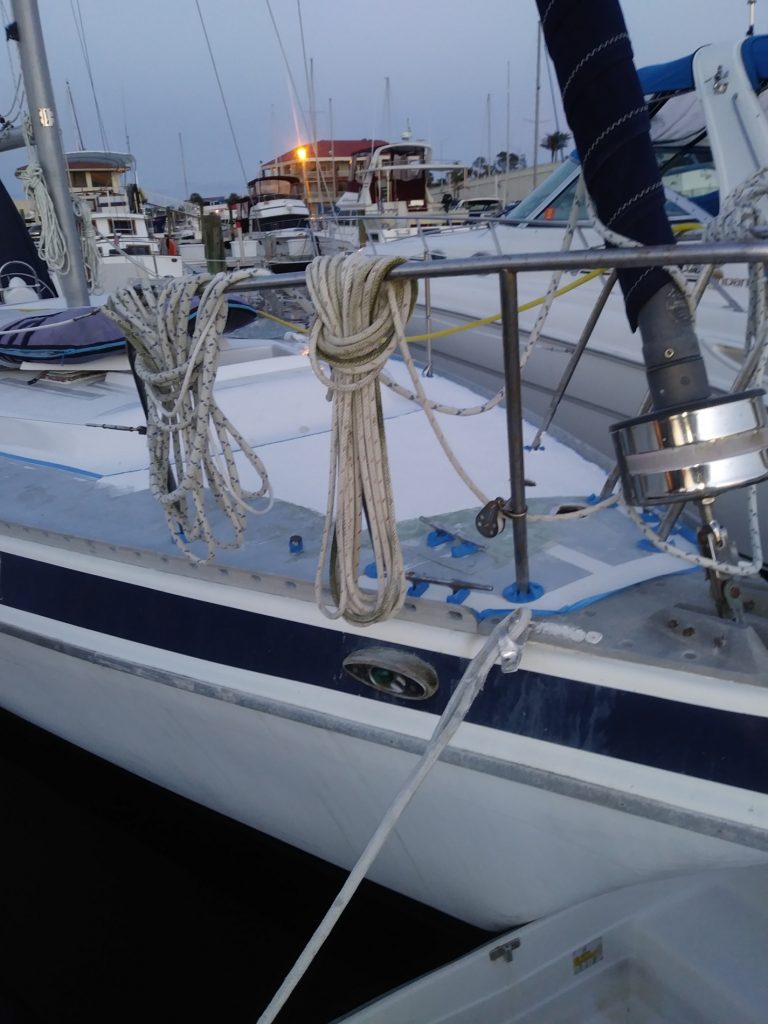
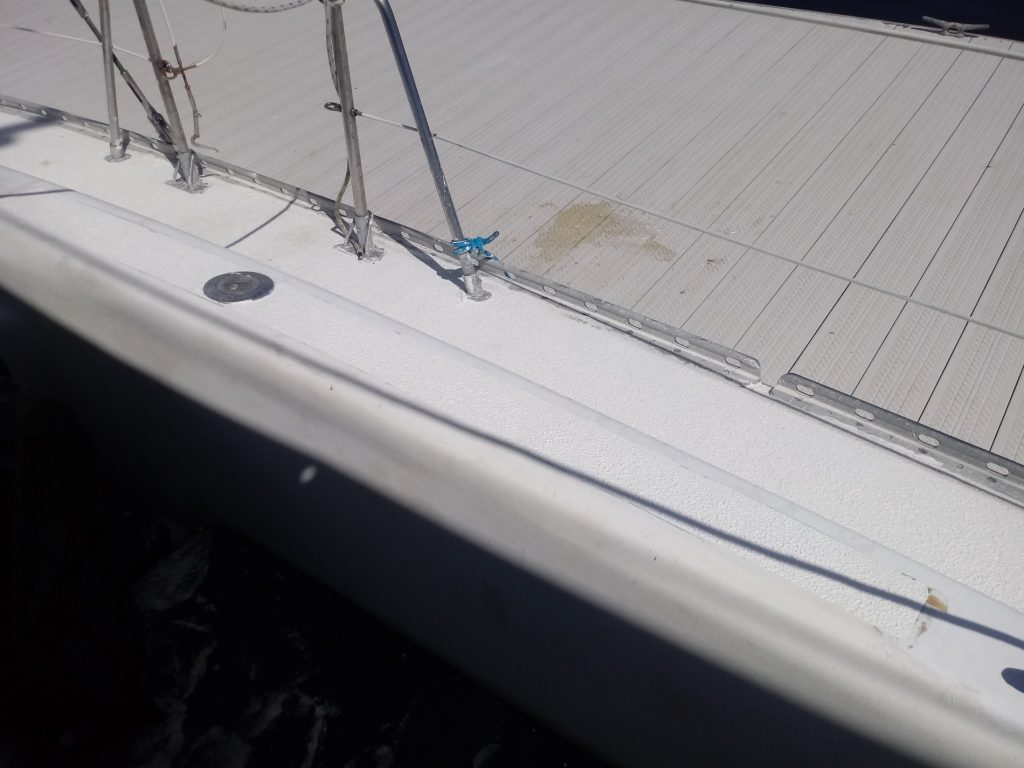
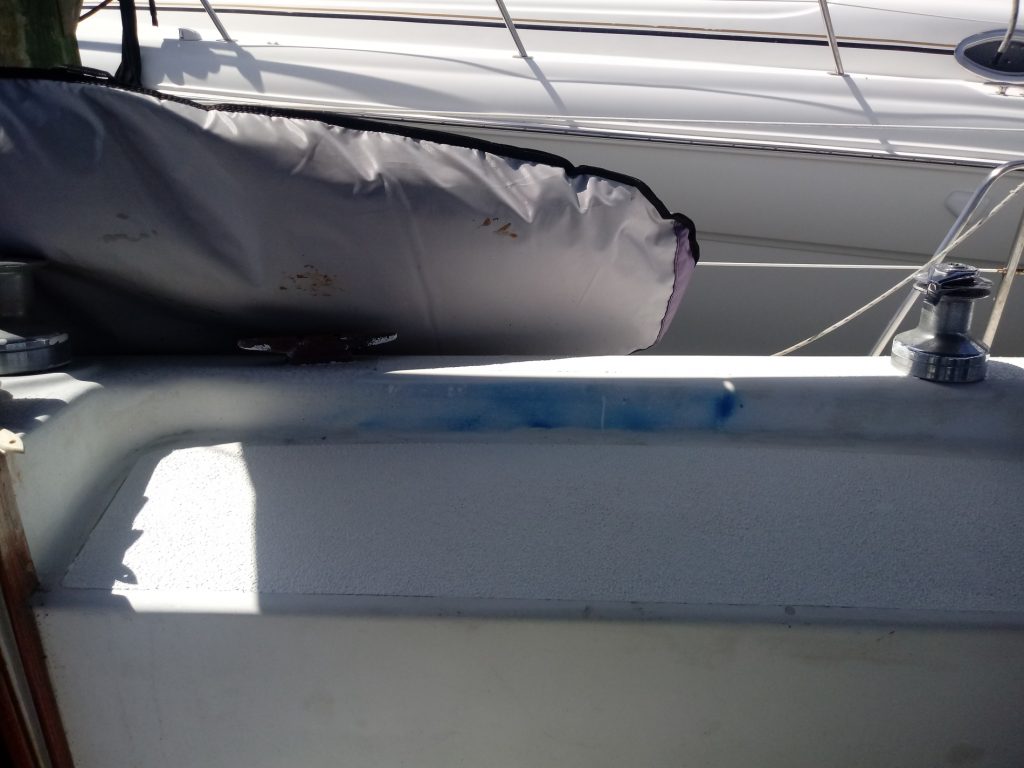
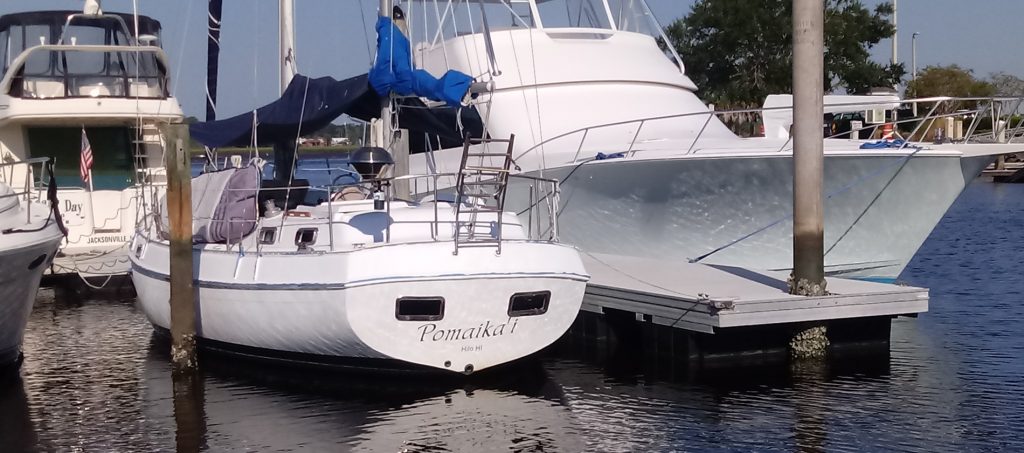
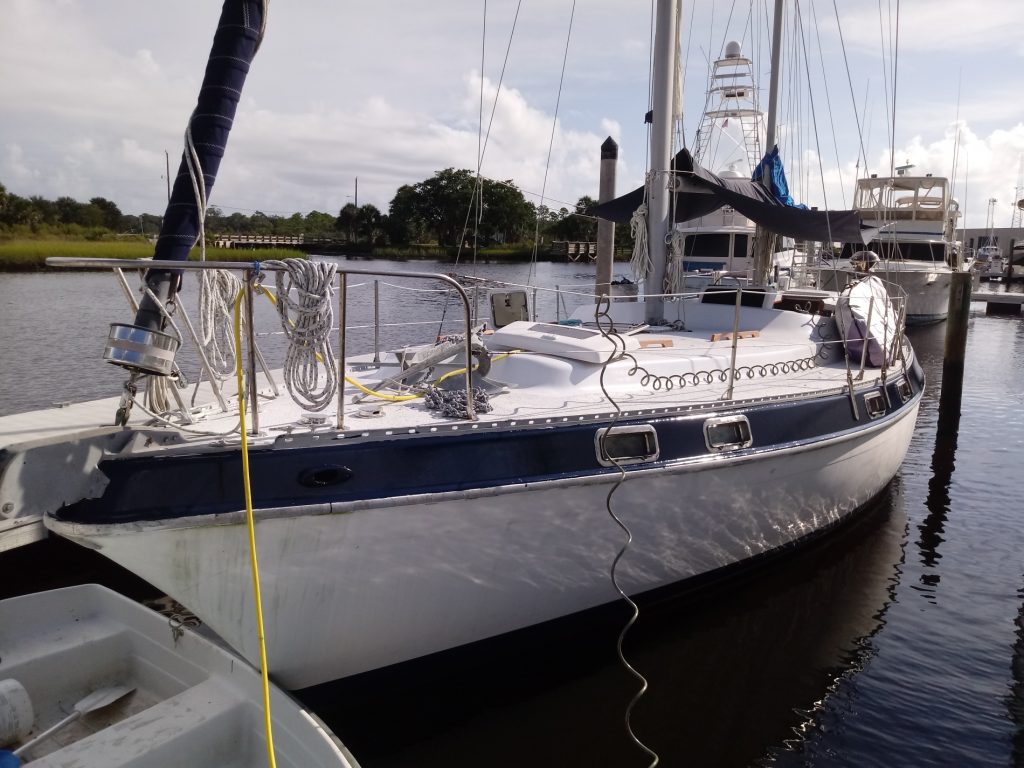
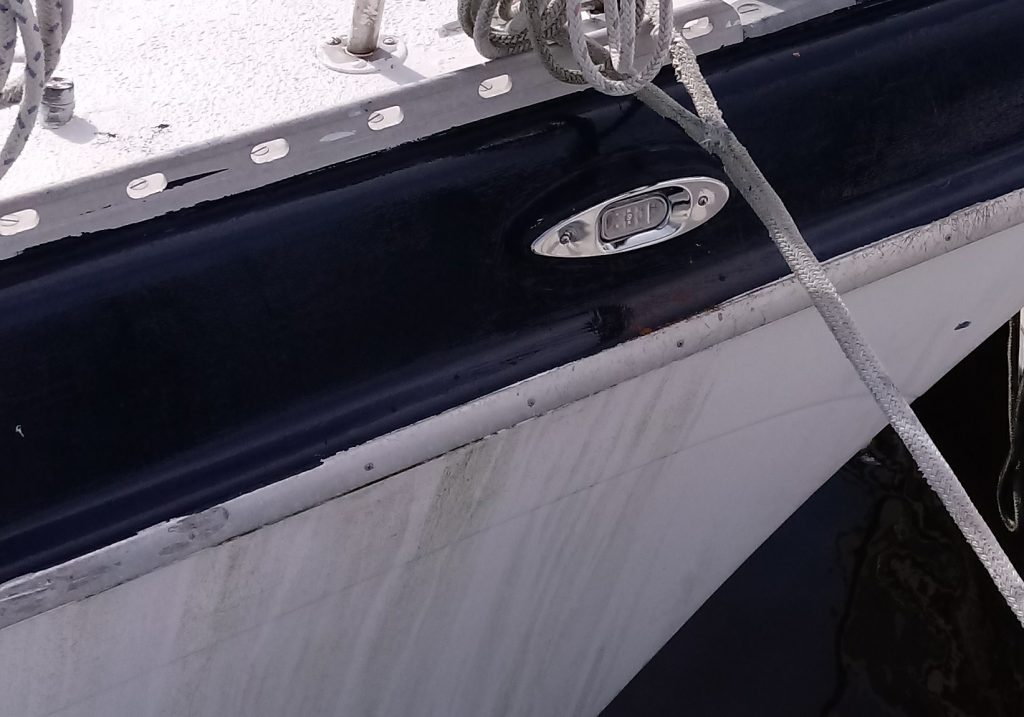
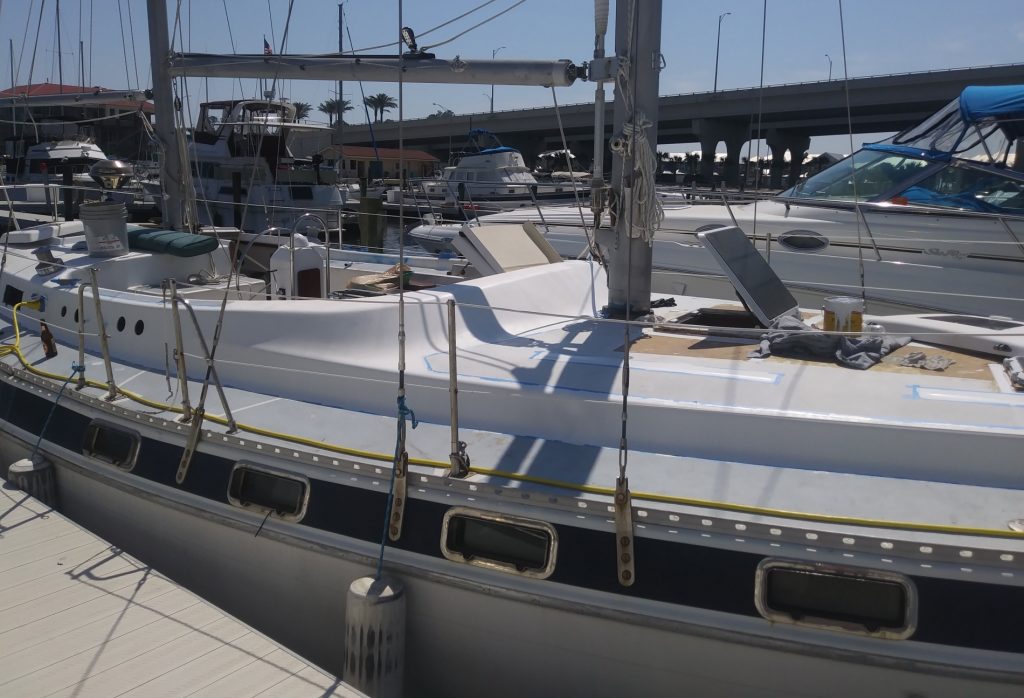
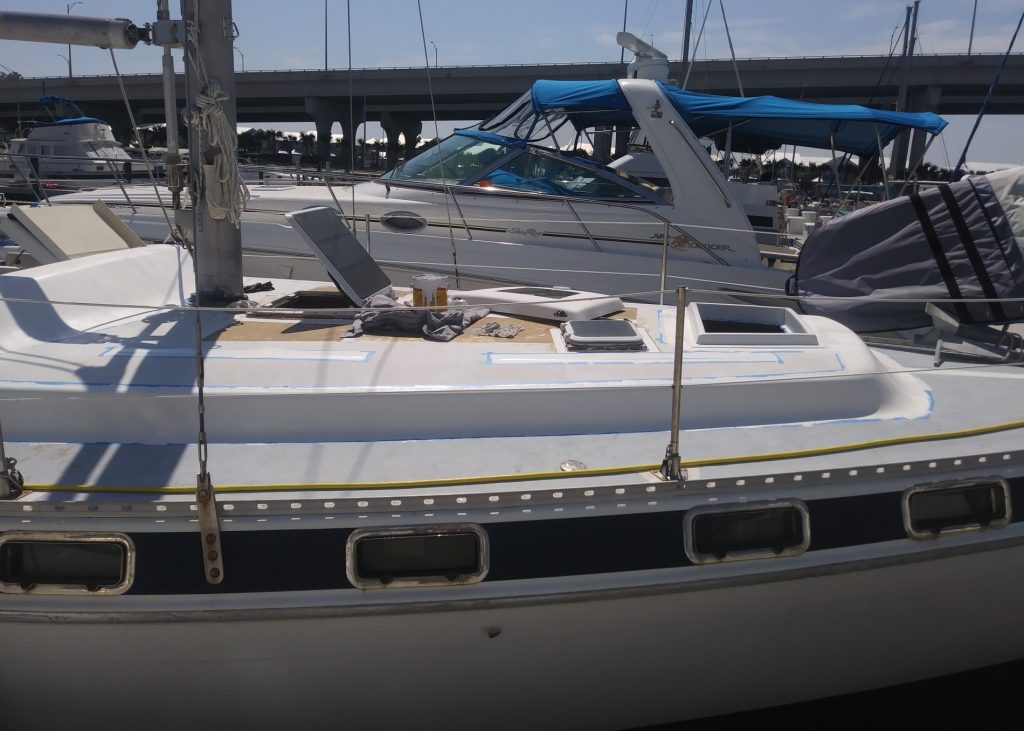
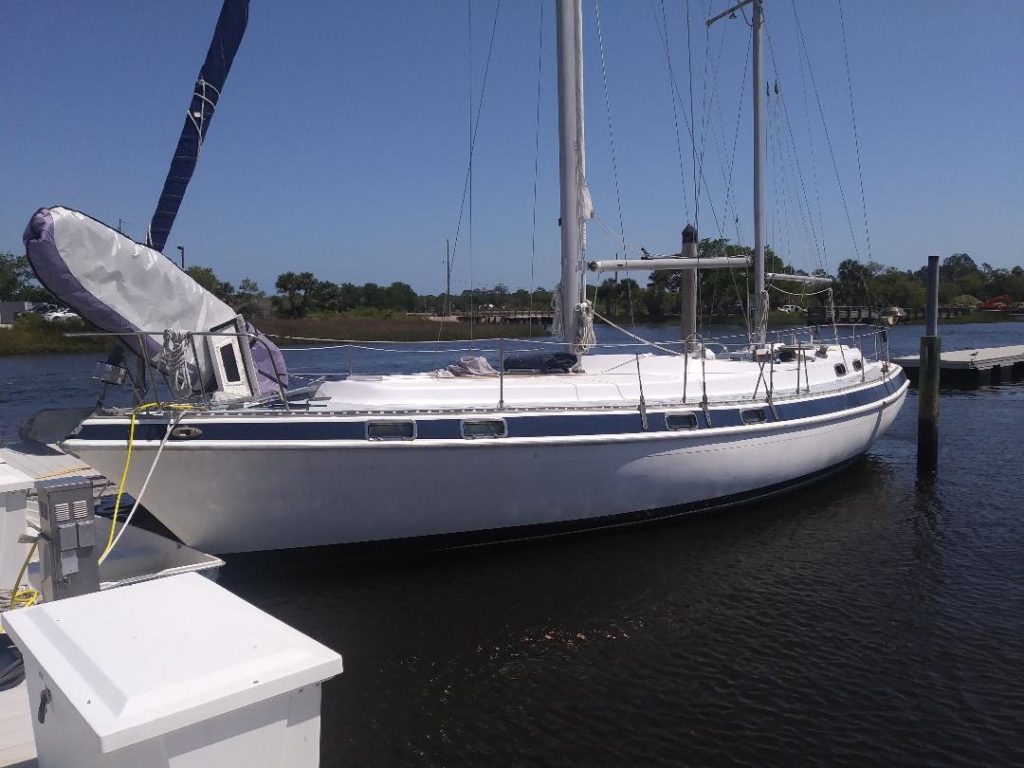
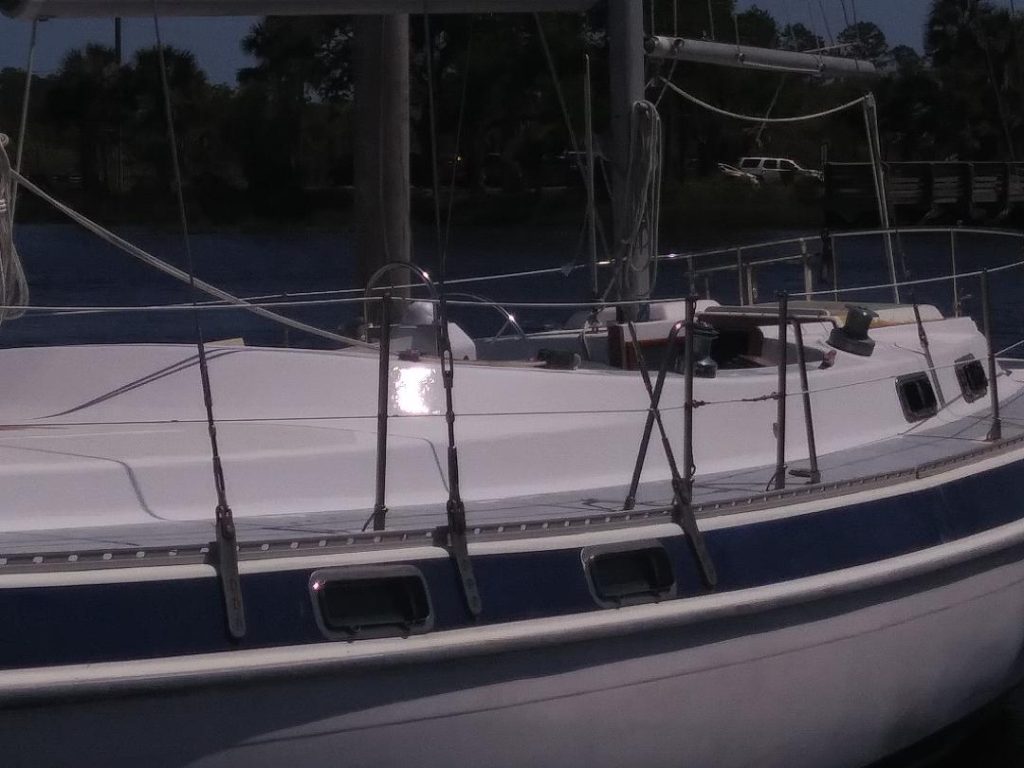
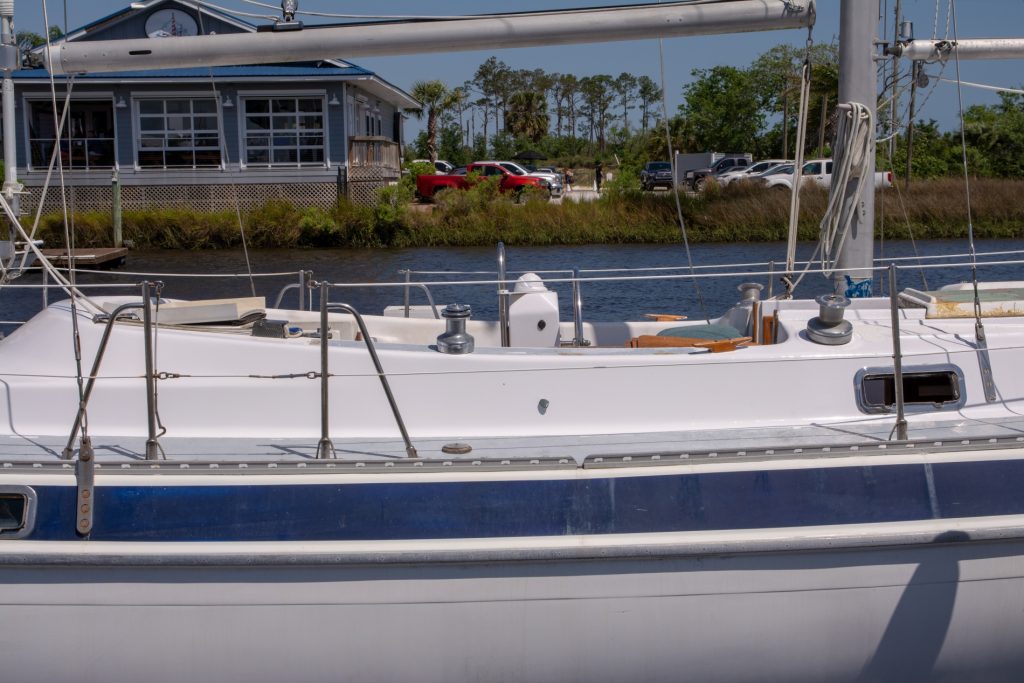
Painting Sheer Stripe
The sheer stripe is the dark blue – I used Interlux Brightsides in Flag Blue – stripe that runs around the edge of the boat between the toe rail and rub rail. Originally this stripe only covered part of this area, leaving white gel coat showing. I decided to run the sheer stripe all the way between two rails to make it easier to mask.
As with all painting projects on Pomaika’i I used two coats of primer after sanding the area. I then did two coats of Brightsides (total of 2 quarts). This was a challenge because I had to paint one side and the stern while balancing in my dinghy. As I’m in a marina every time a jetski or boat came by I had to grab on tightly.
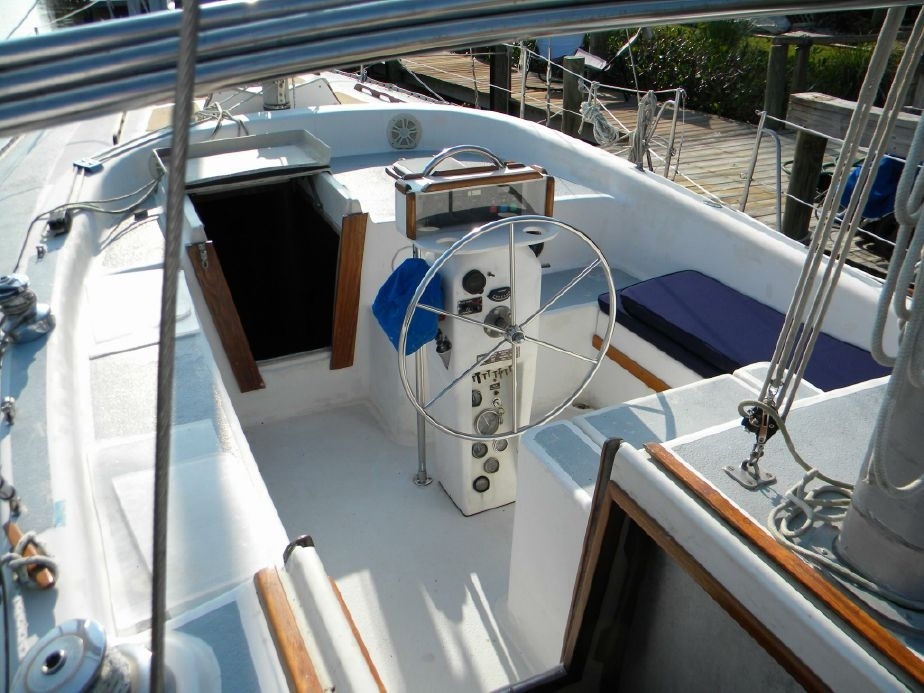
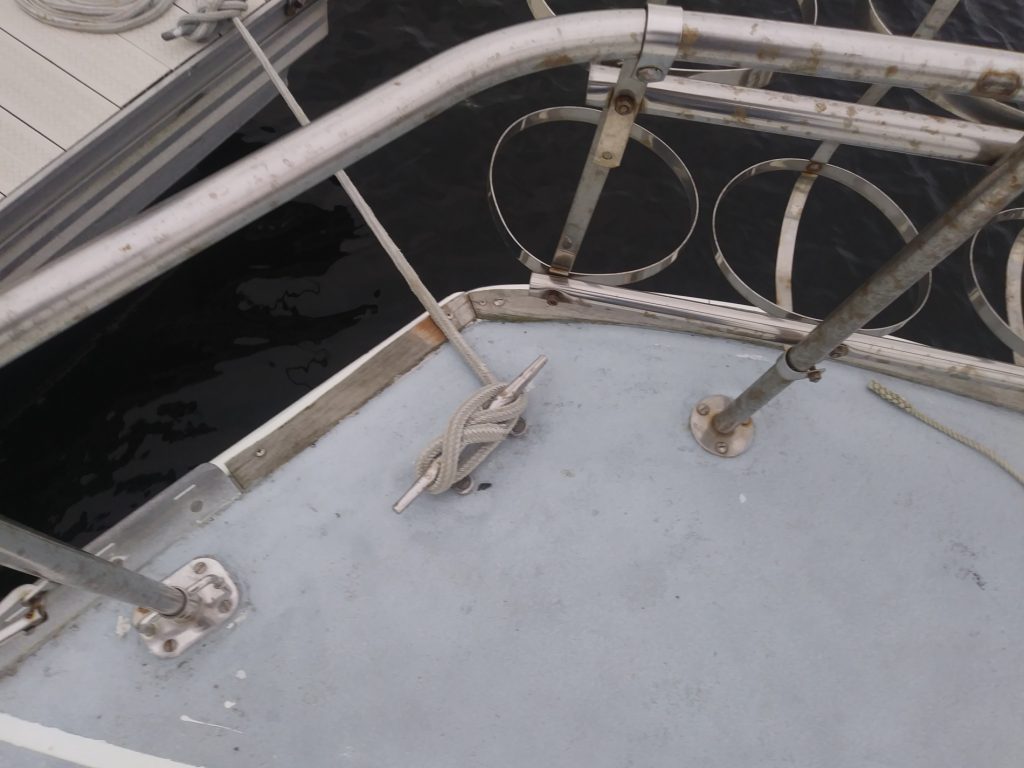
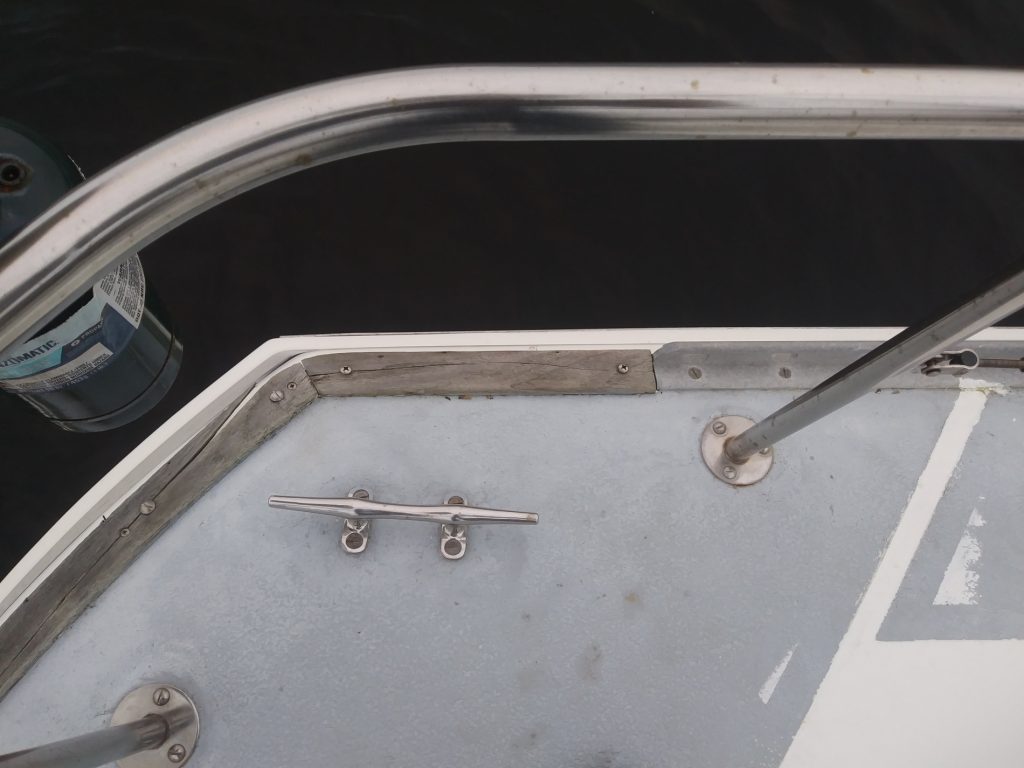
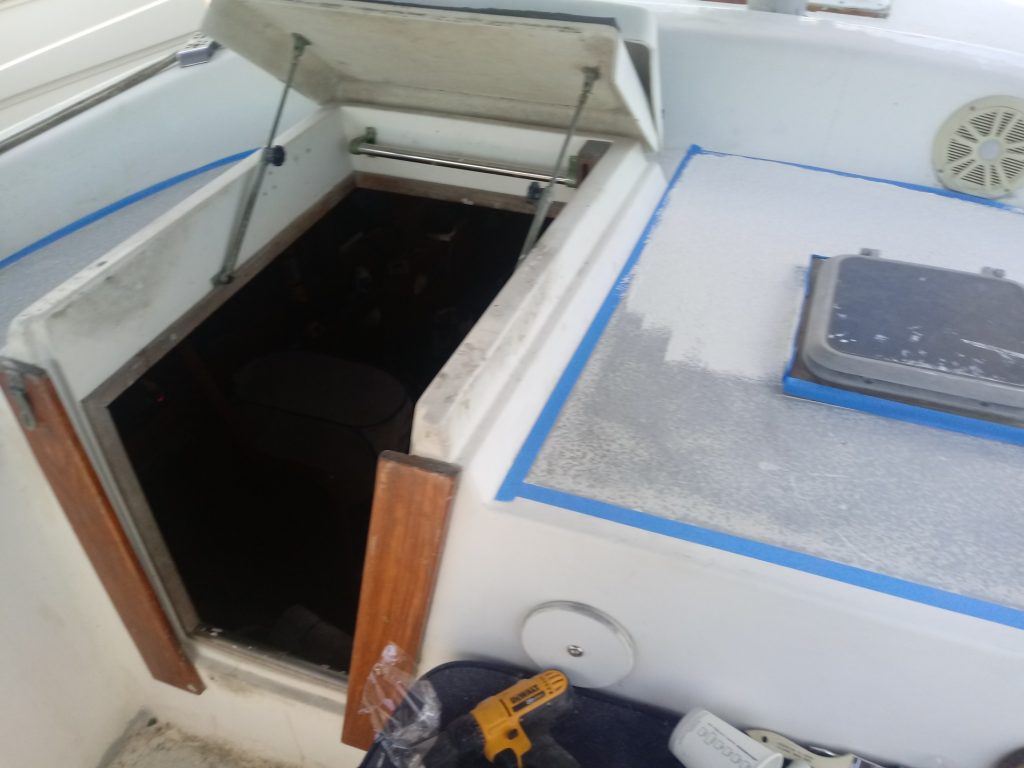
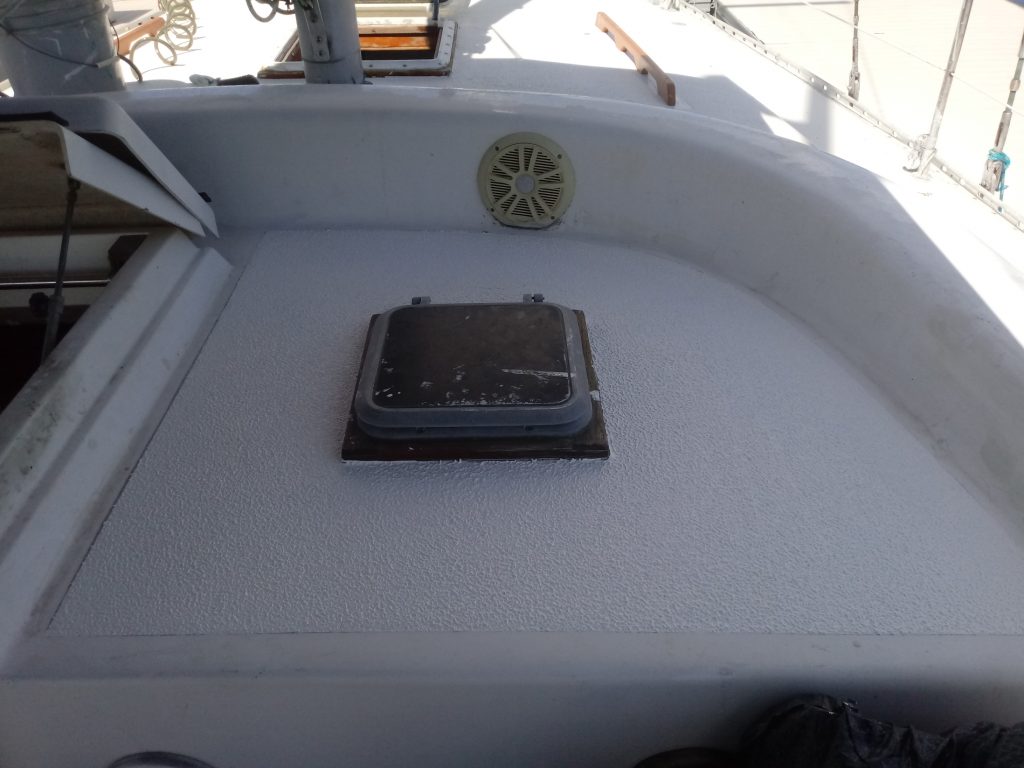
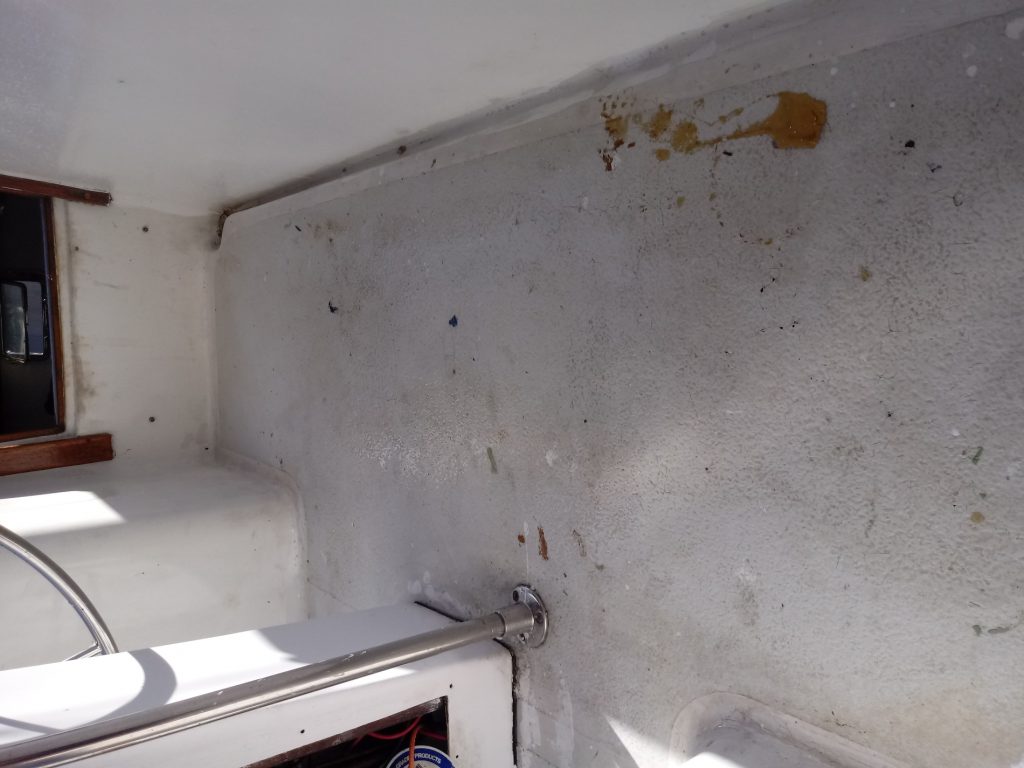
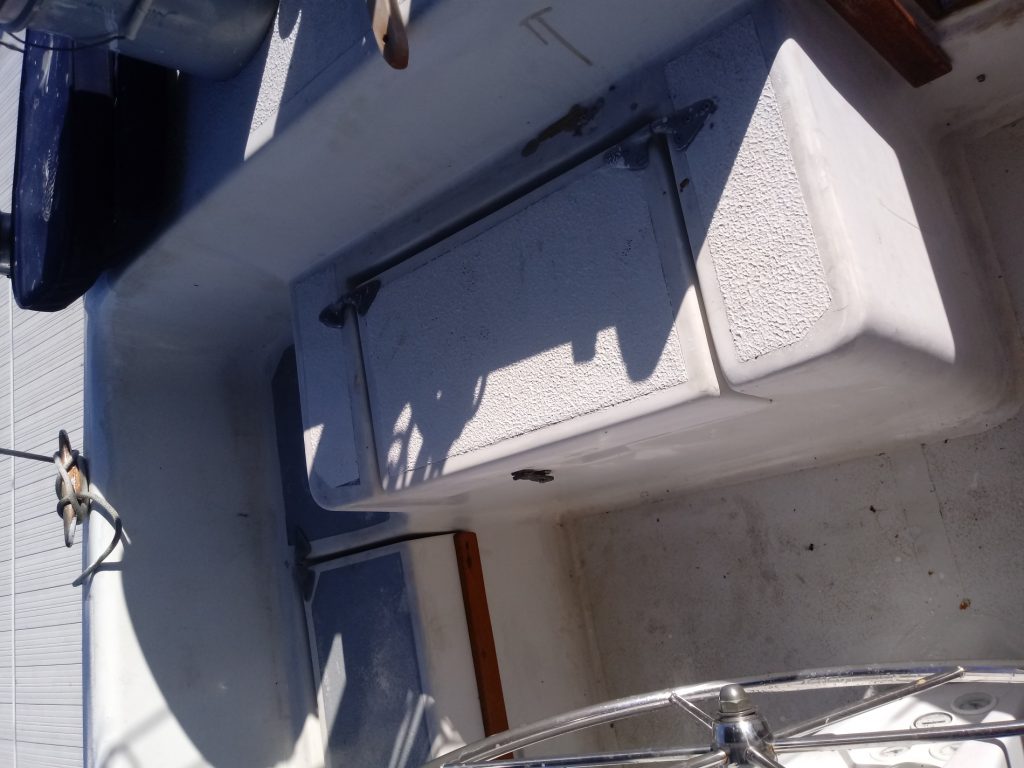
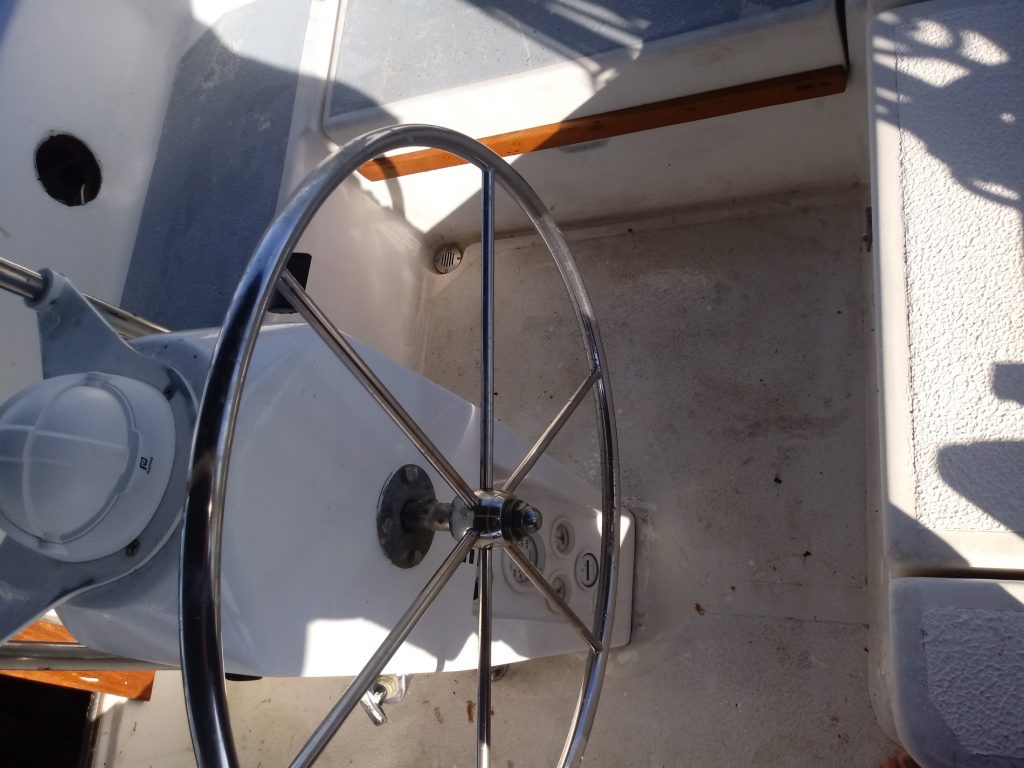
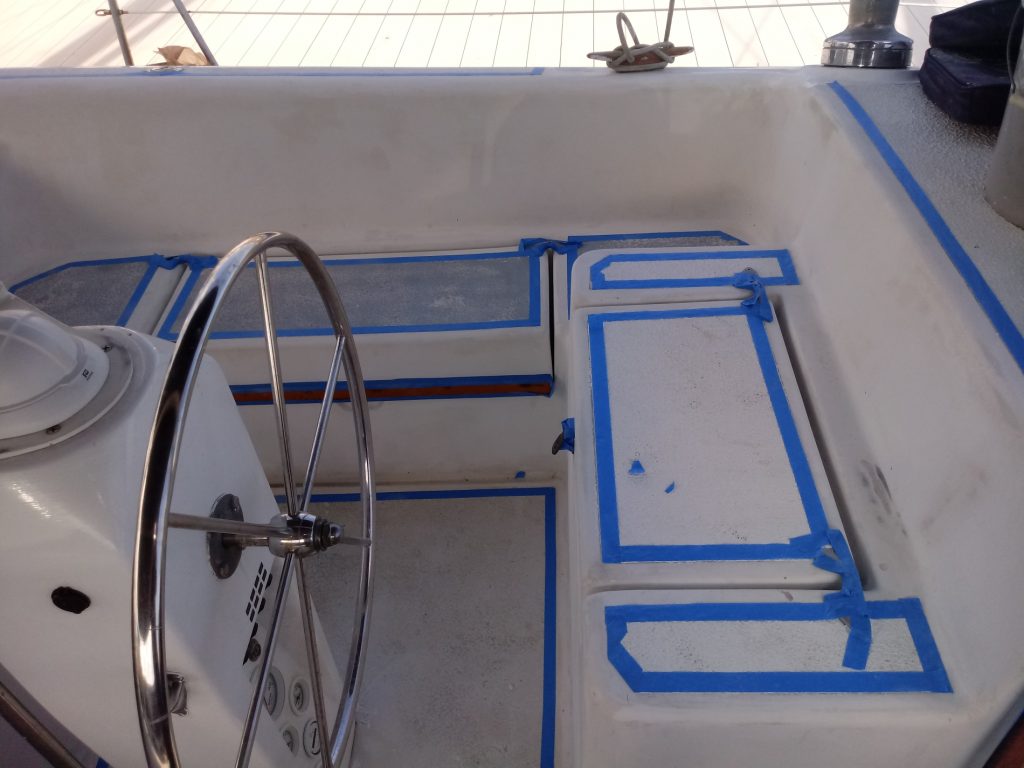
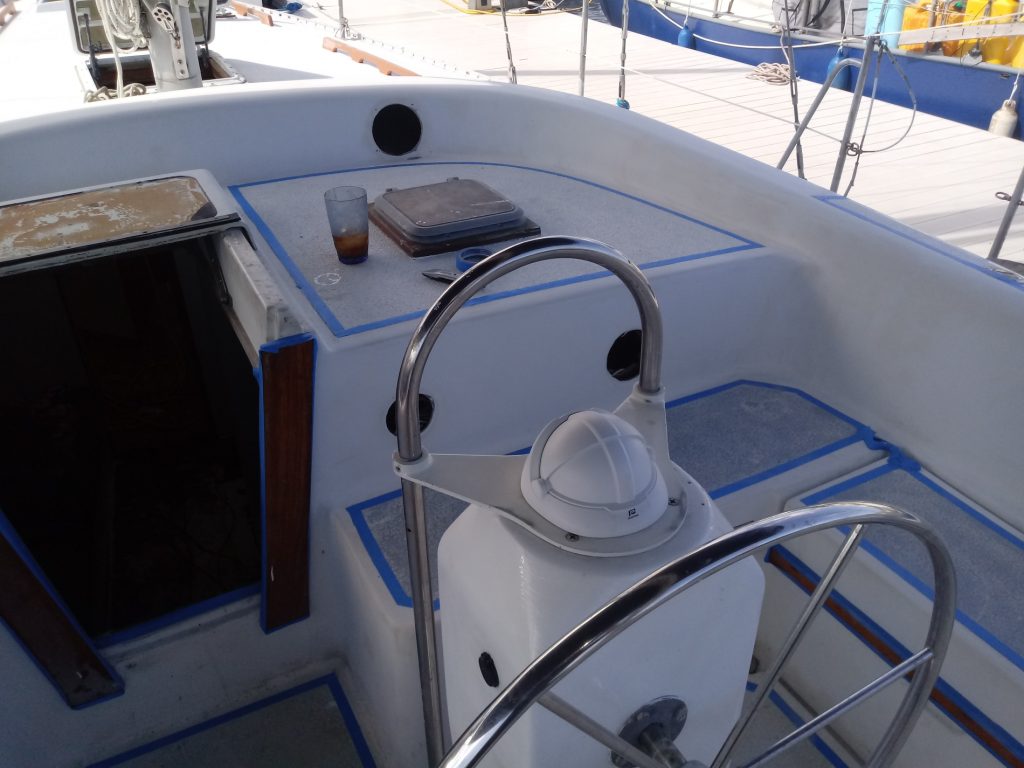
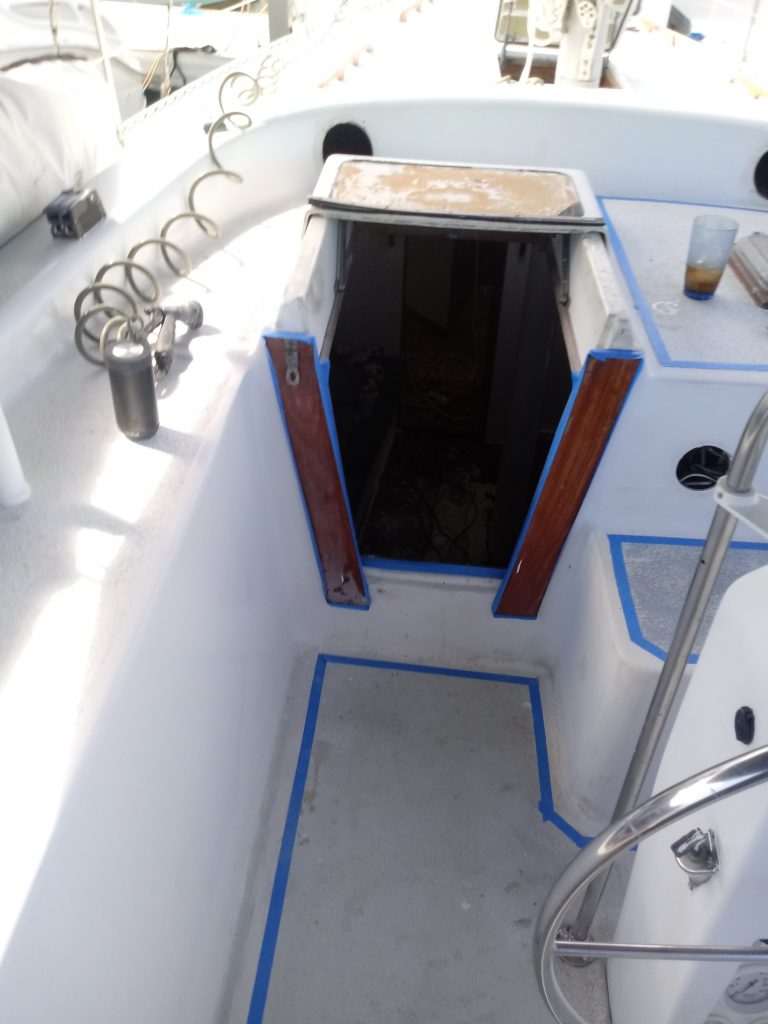
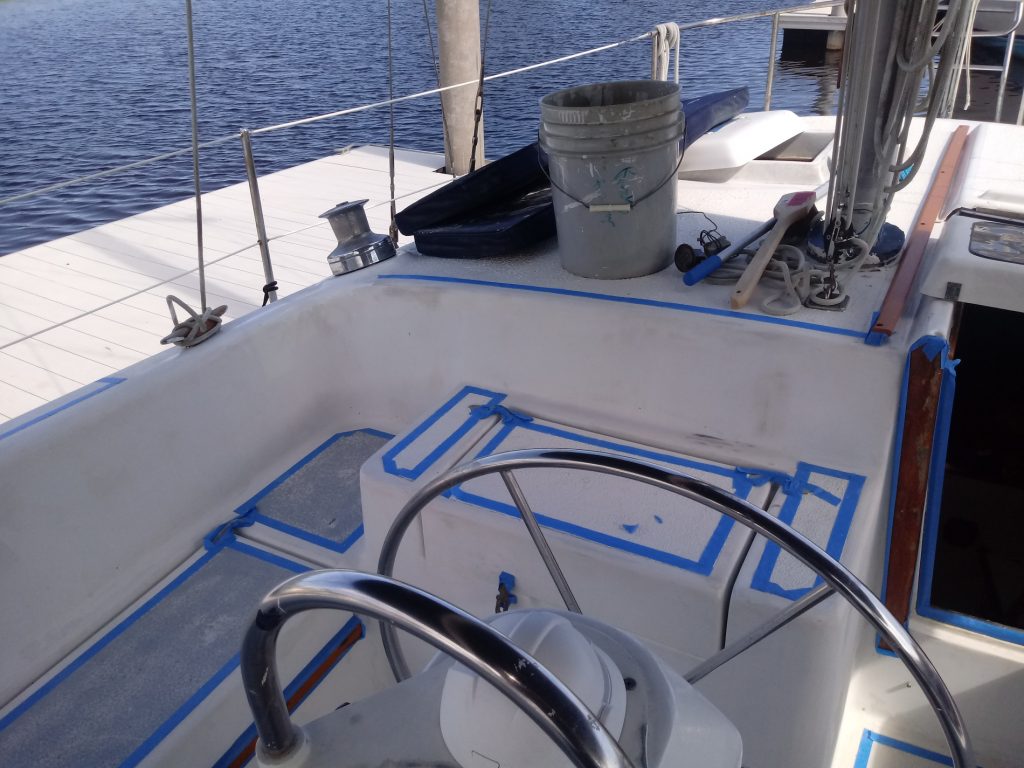
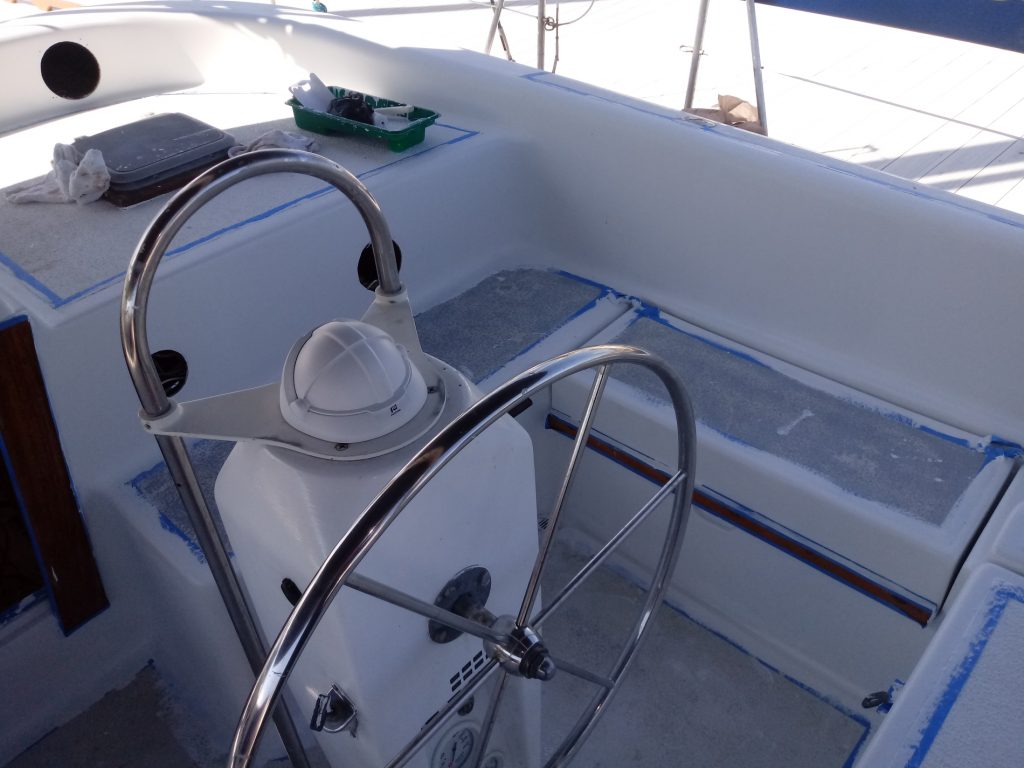
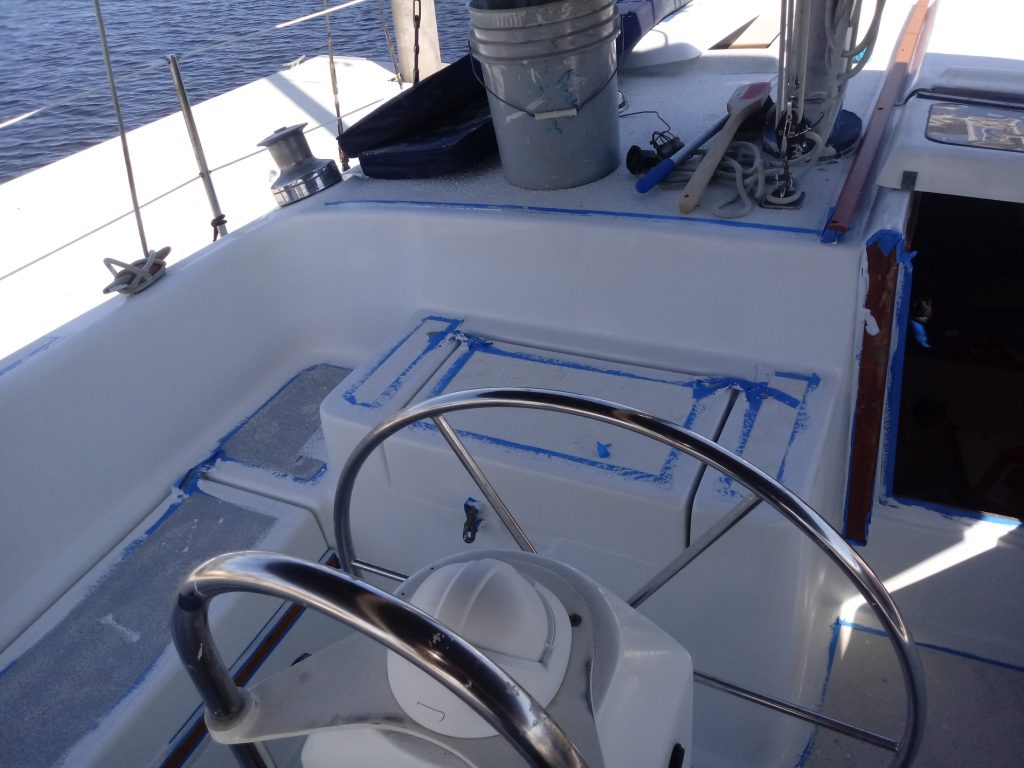
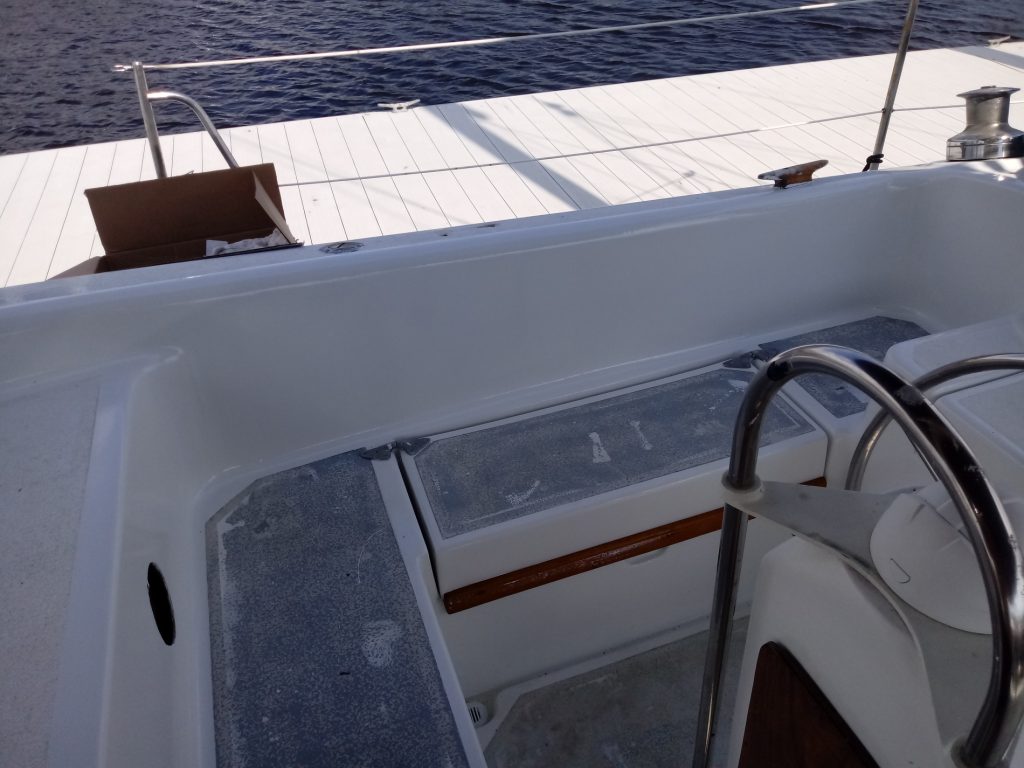
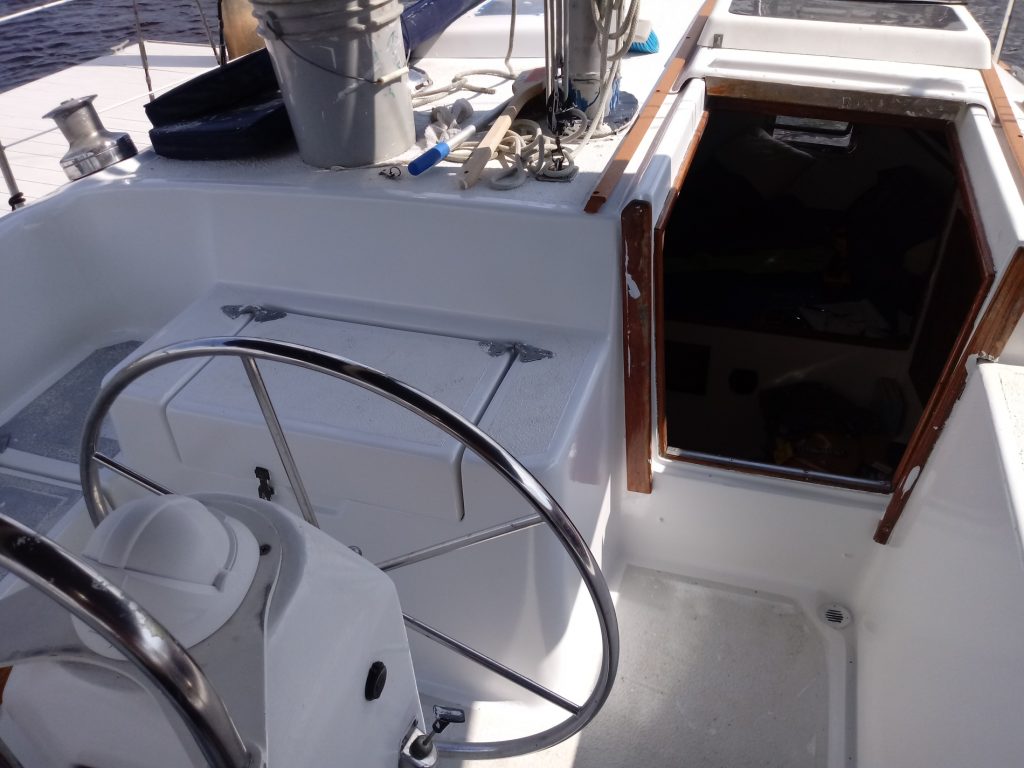
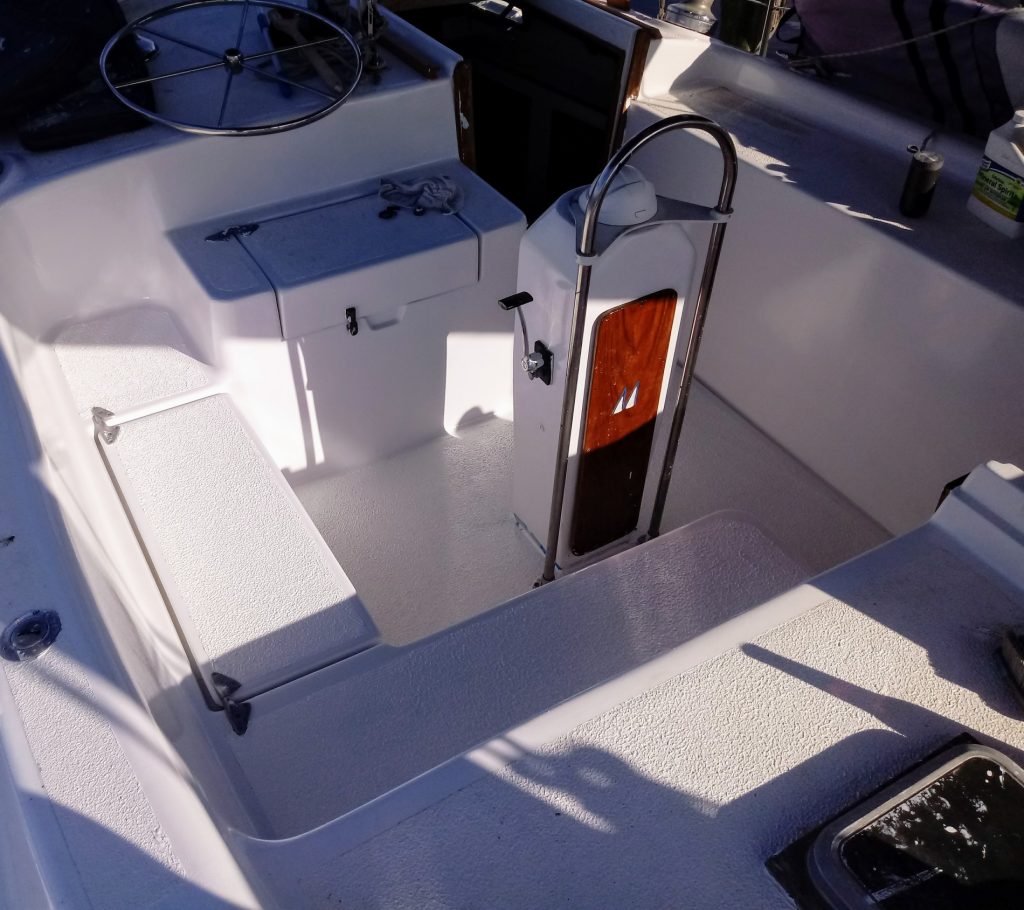
Cockpit Painting
This week I finished up the cockpit which completes all the painting on the decks. Coupled with the helm station fix I did earlier it makes for a nice, clean area to hang out (the main reason I bought the boat).