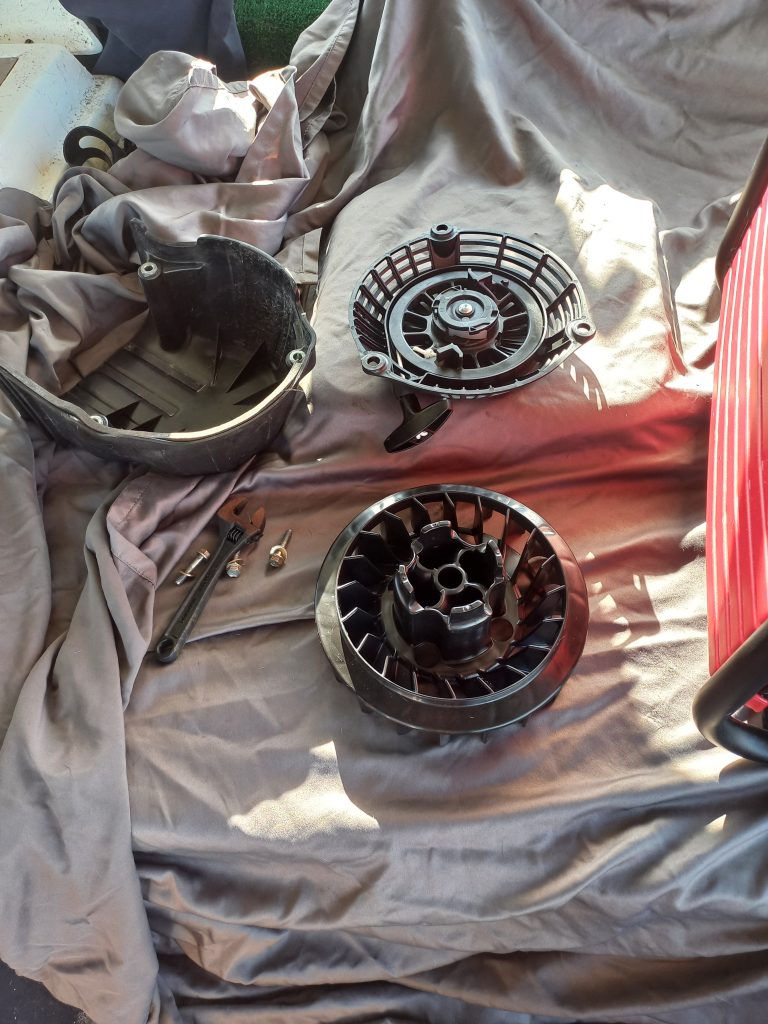
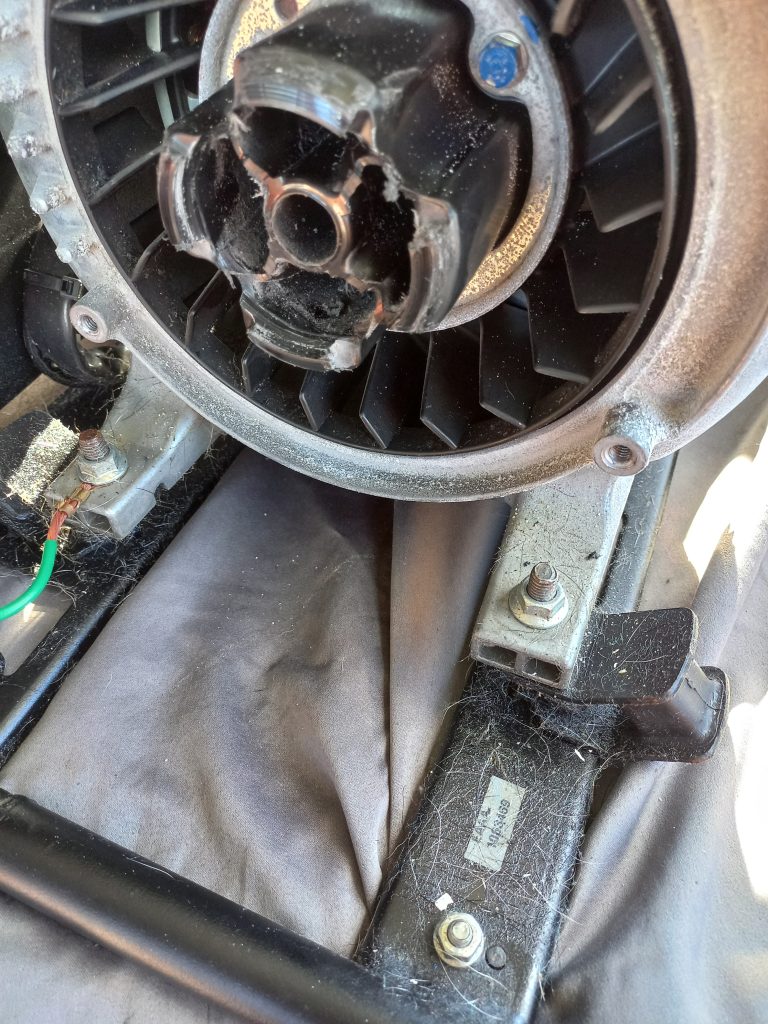
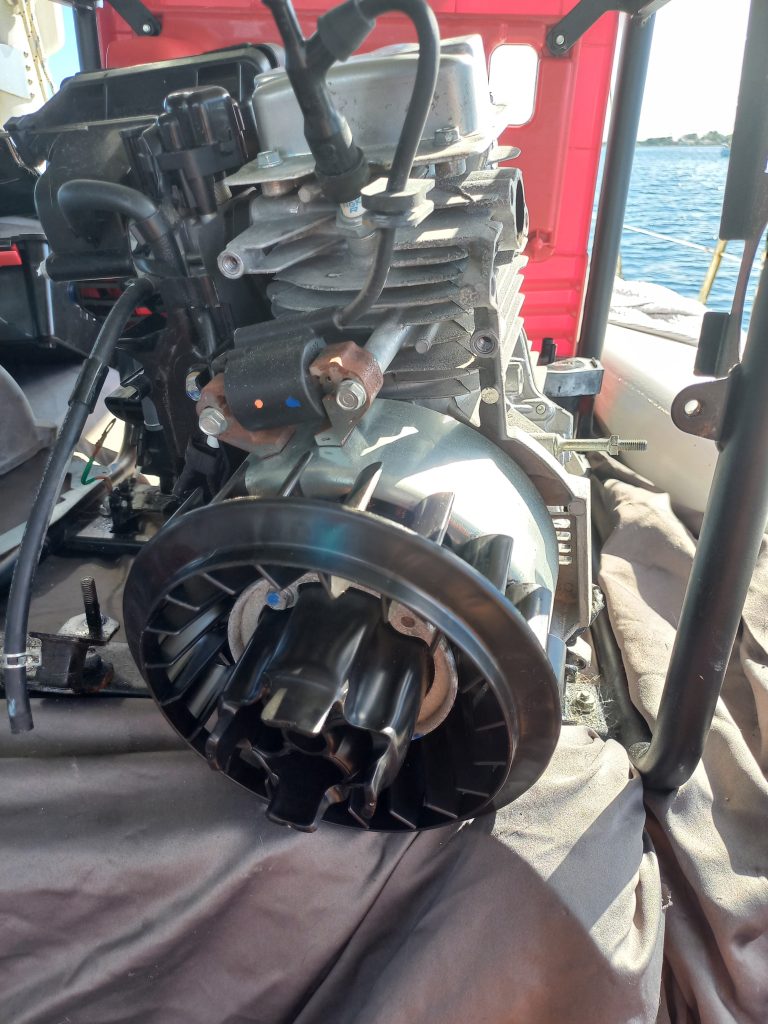
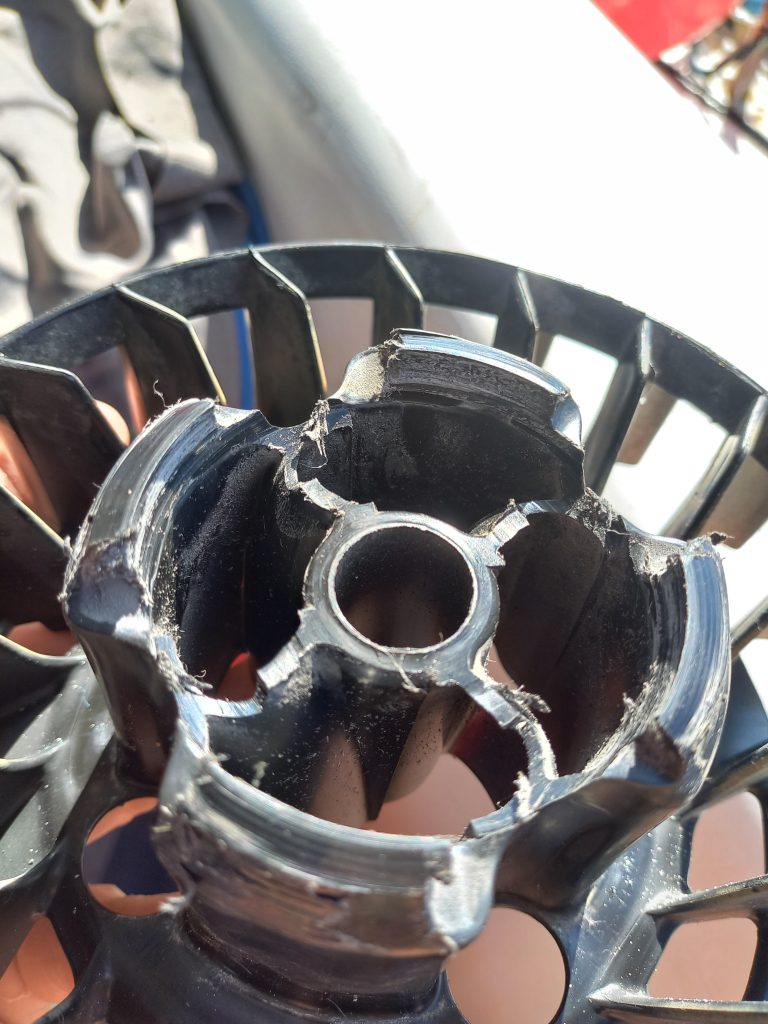
Recently I had the pull cord on my Honda generator break. I tried to restring the coil myself and somewhere along the line I screwed up the release that allows the coil to disengage from the cooling fan (I think I overtightened the screw that holds the assembly together). This caused the coil assembly to chew up the teeth on the cooling fan. Now we couldn’t start the generator because the coil wouldn’t engage the engine at all.
As always when ordering parts online it’s important to get the right one. The part number for the cooling fan is 19511-Z43-B30 and it will run you around $10 ($20 with shipping).
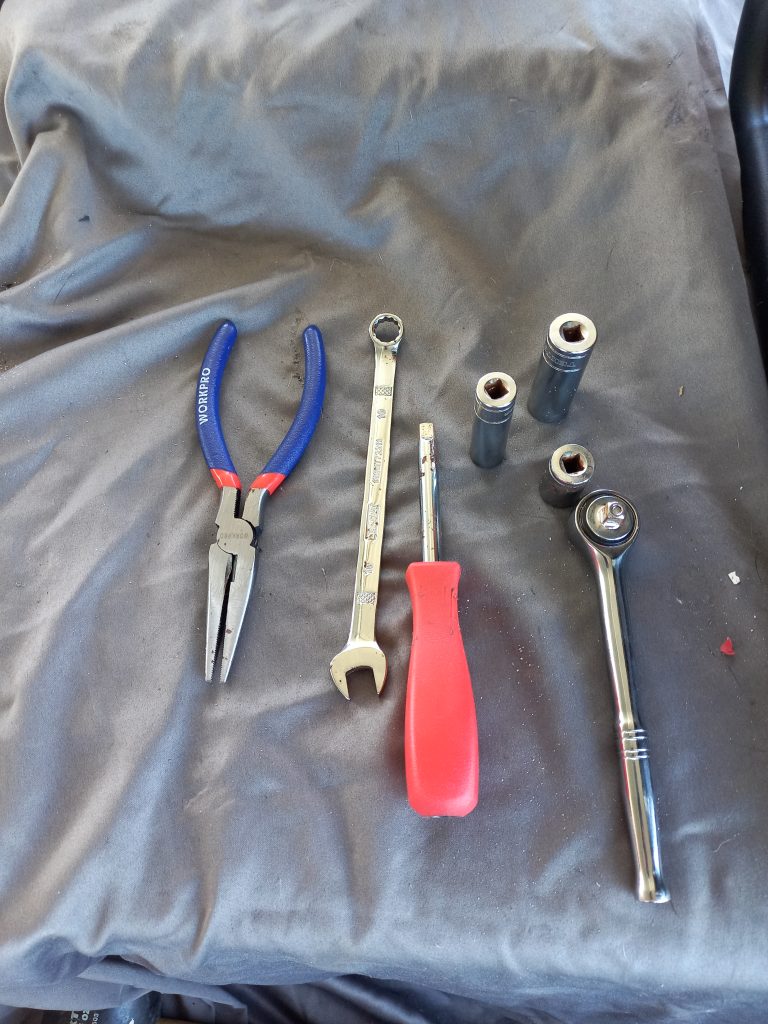
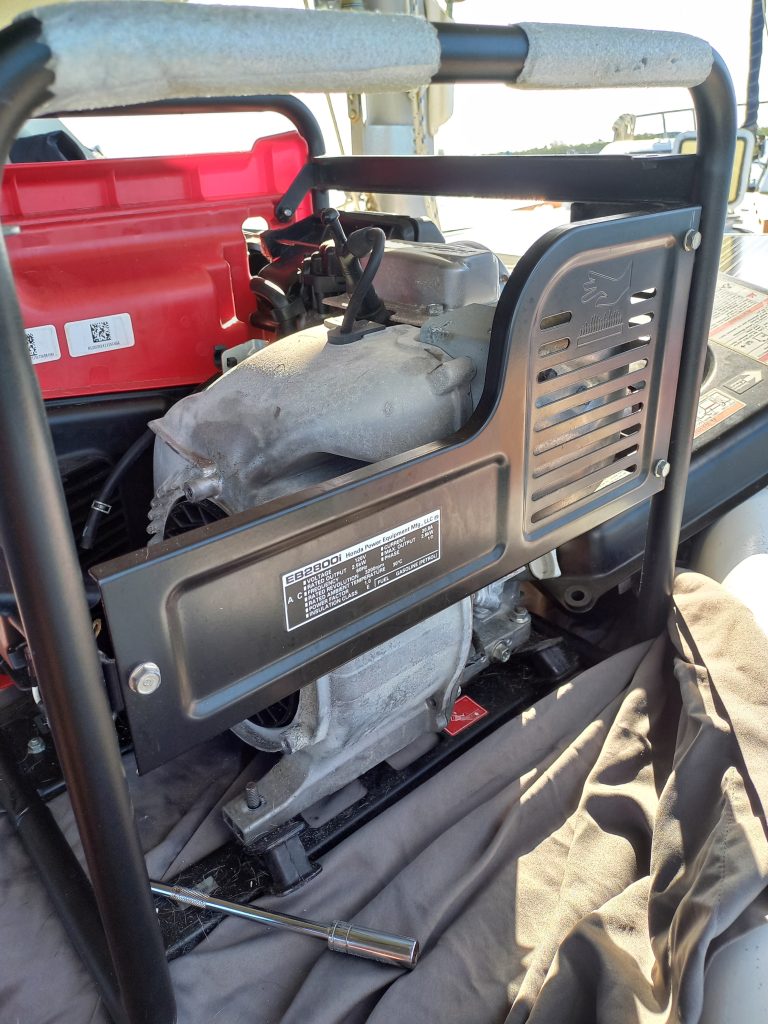
This actually turned out to be a simple operation with only a few hangups. To complete the project you will need a needlenose pliers (to remove the gas lines), a 1/4″ ratchet drive (there’s one bolt where a 1/2″ drive will be to large to get into the space), a 10mm socket, a 10mm wrench, an extension and a 12mm socket (short due to space constraints). The whole project start to finish took me about 1 hour and 45 minutes.
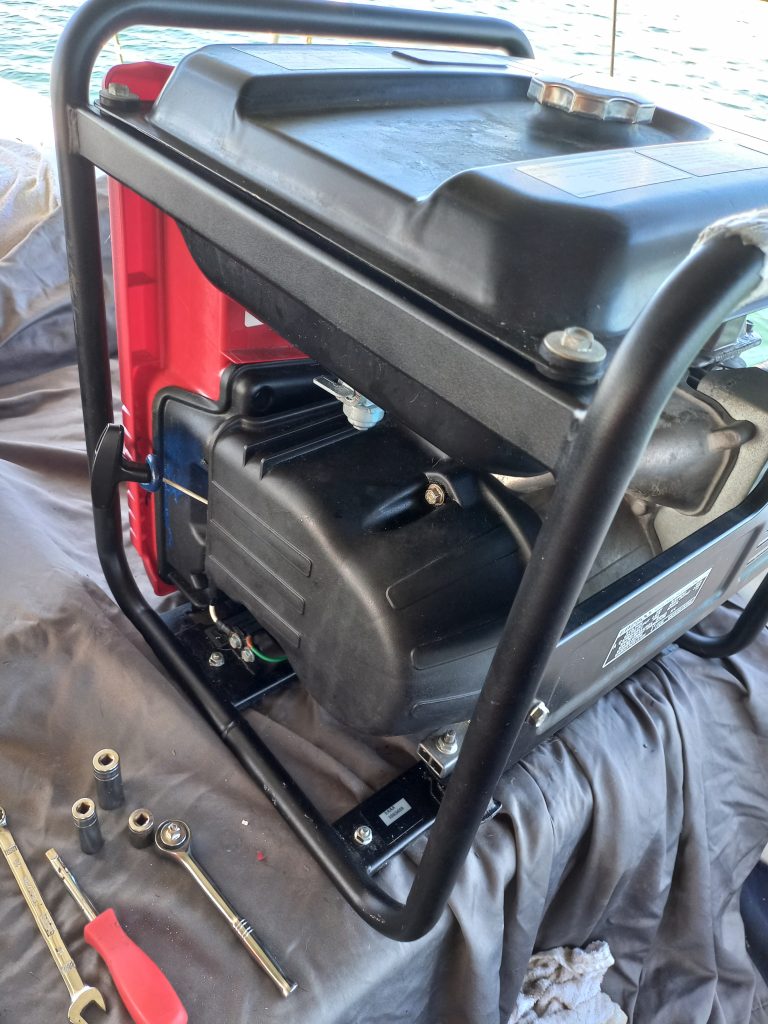
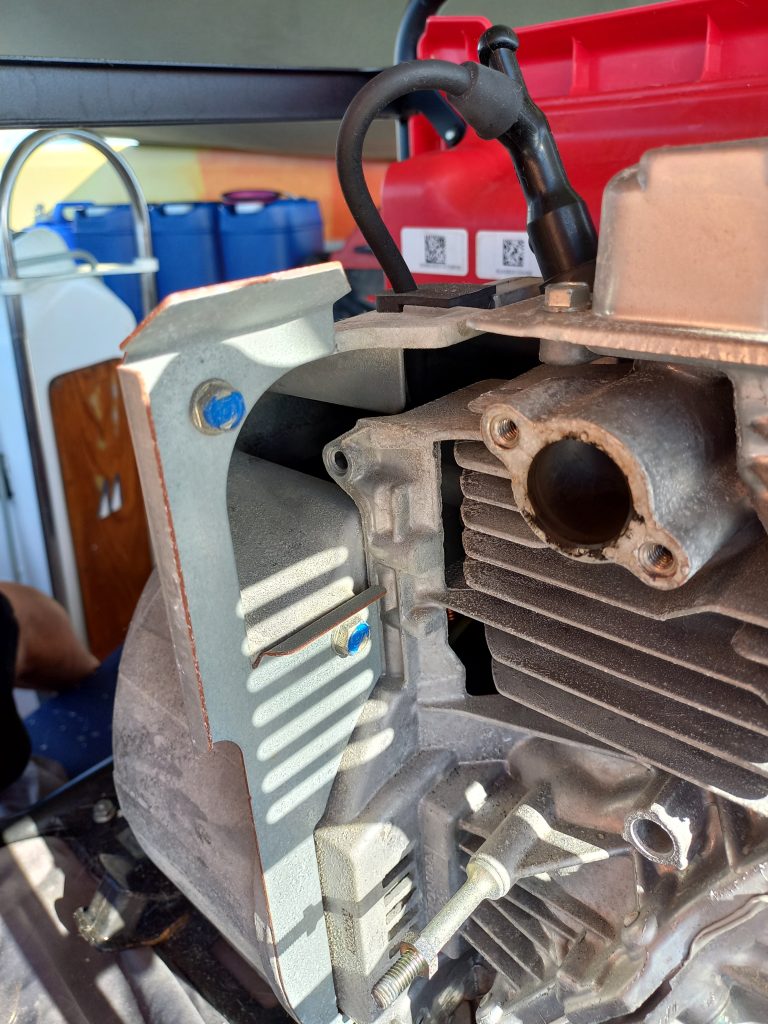
I already had the pull start assembly and cover off from when I was looking at what needed to happen.
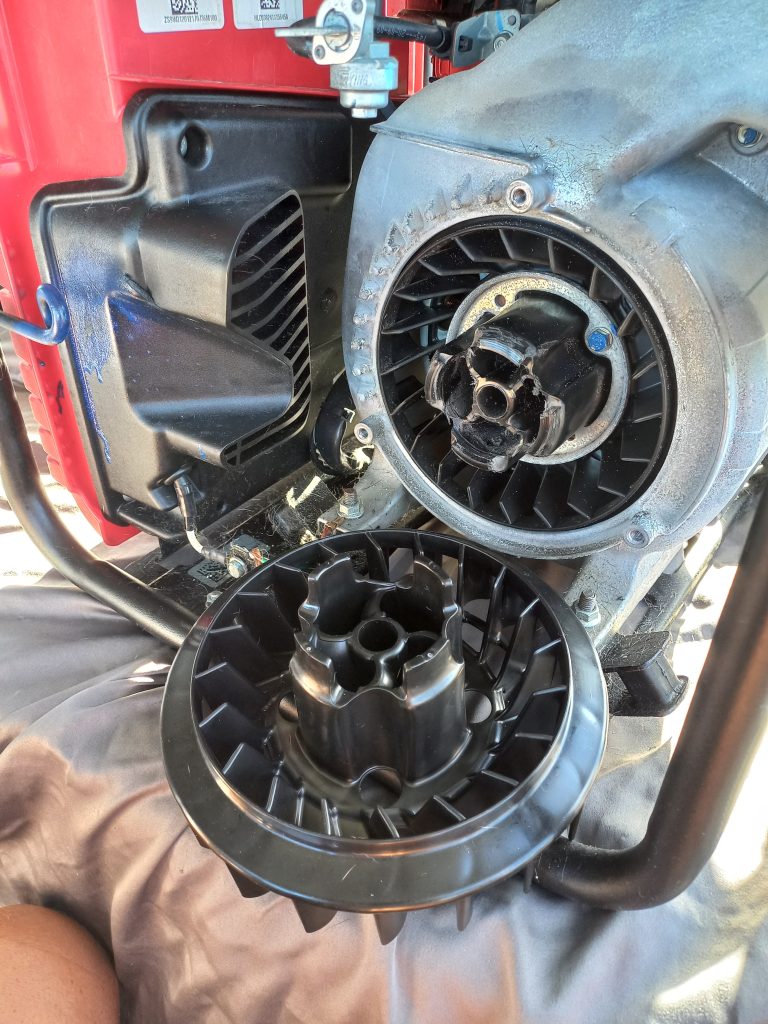
At first glance I thought I was going to be able to just undo two bolts and switch out the parts. But as you can see the fan extends to an area behind the metal cover which required almost a full disassembly of the generator.
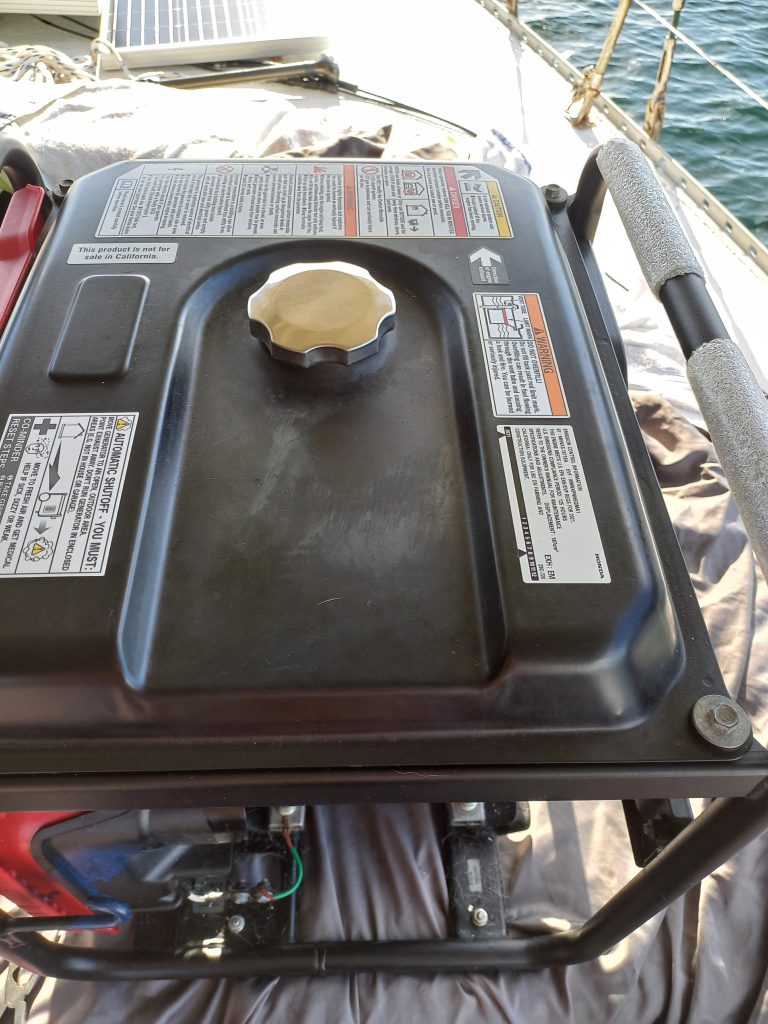
The first step to be able to get at the engine was the removal of the gas tank. This was fairly simple as it was just 4 bolts on top and then disconnecting the two lines to the gas tank (underneath). There is a valve right at the gas tank to shut the gas off so no mess.
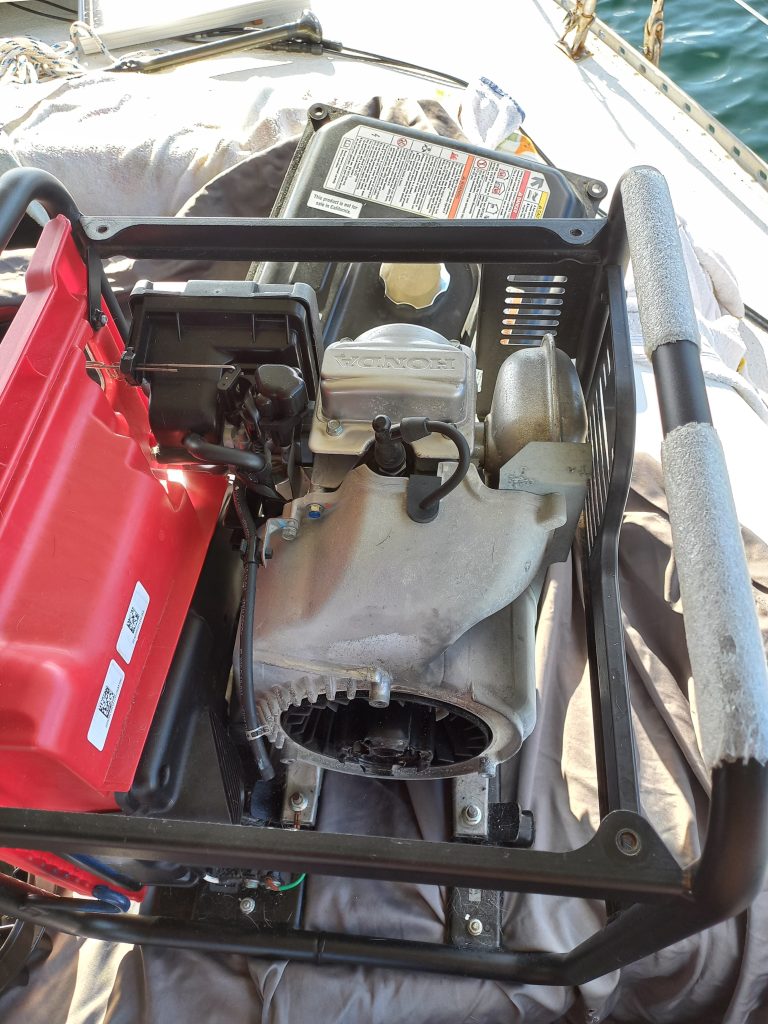
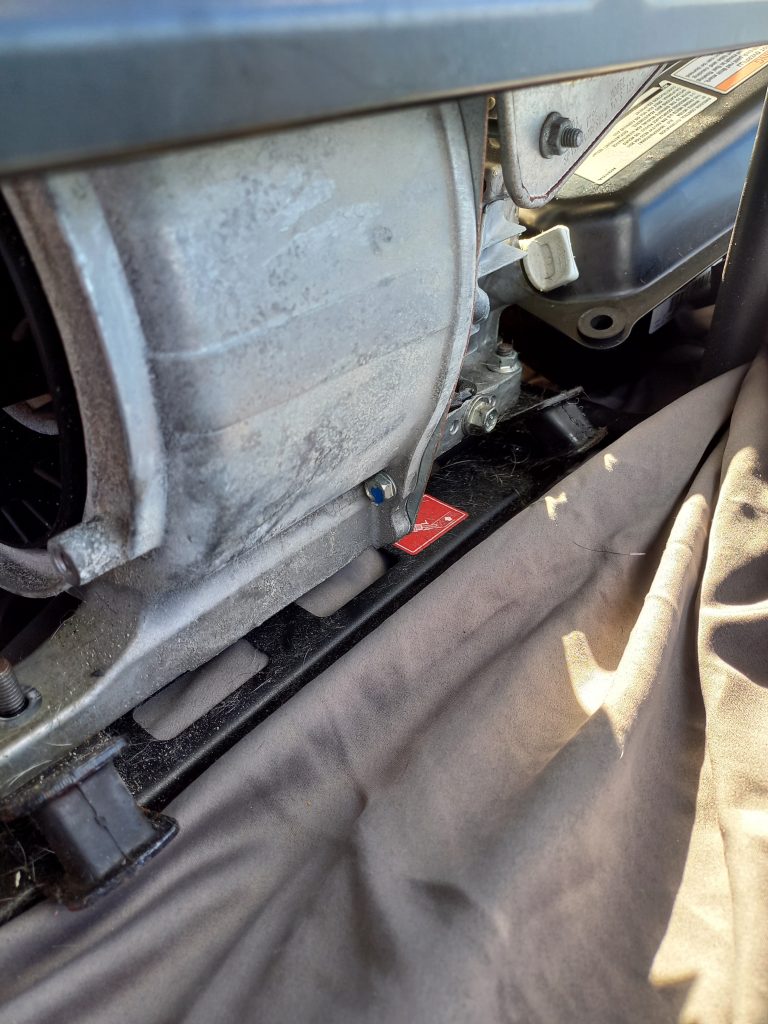
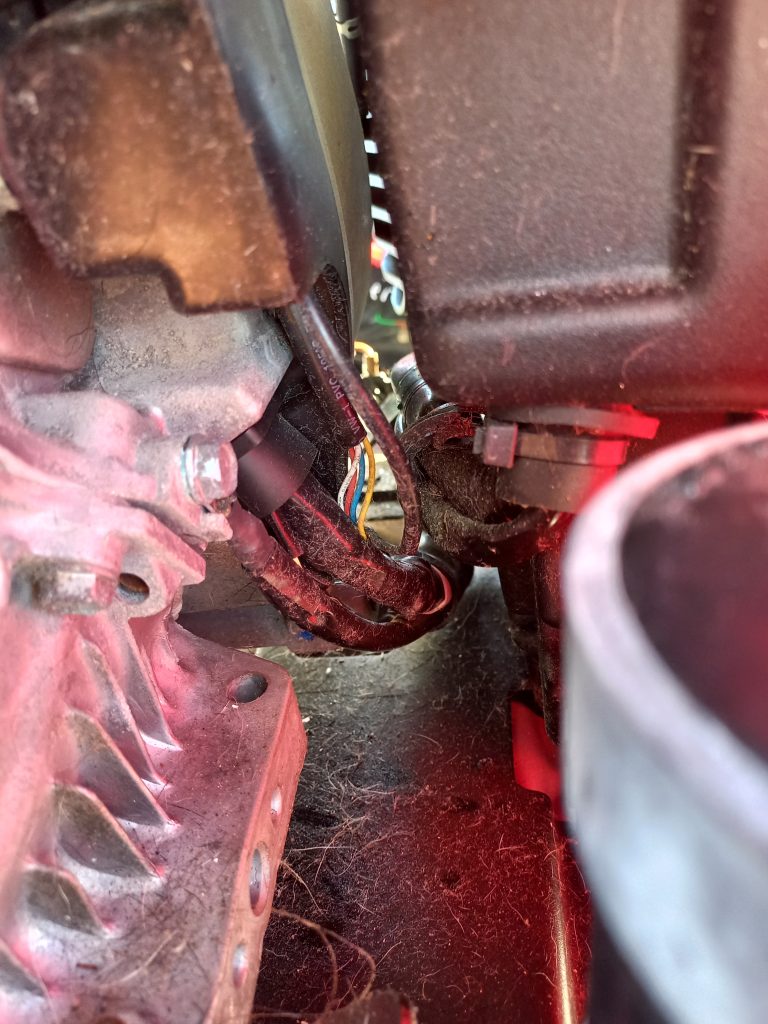
Next step was to remove the two motor mounts on the front of the engine (turned out I had to remove the rear as well to get to one last bolt) which are attached to the cowling you need to remove to get to the fan. Due to the corrosion issue of living on a boat I had sprayed all the exposed bolts/nuts/wires with an anti-corrosion product when I first got the generator. This seems to also attracted all of the hair from the dog who’s bed is upwind of where the generator is stored.
There are a series of 4 bolts facing the front of the cowling that I next removed. These were easy to get to and straight forward.
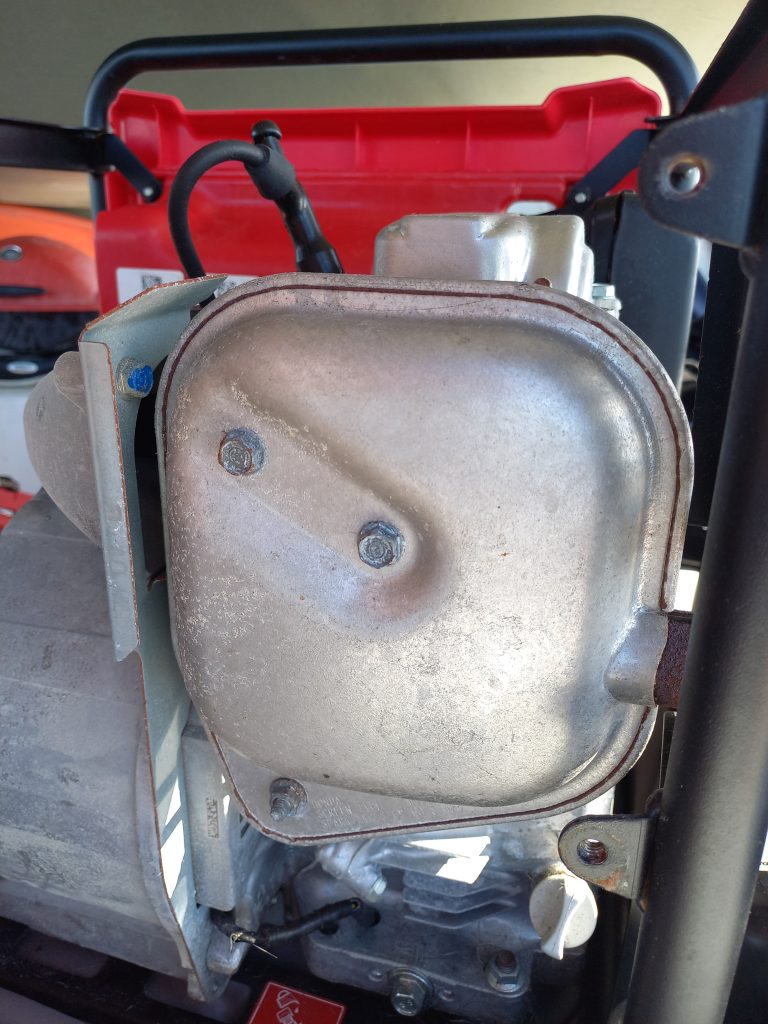
I then found three bolts on the back side that I needed to do more disassembly to get to. The first 2 required me to remove the back support panel (3 bolts) and then the muffler (3 more bolts). This actually made it easier down the road when I found I had to remove the engine from the case completely to get to the last bolt.
As with all projects there is that one bolt. And this was the one for this project. The only way to get to the bolt was to remove the other two motor mounts, turn the engine over and use a 10mm wrench. Dante’s hell needs to have another level for those design engineers that never work on anything except in the design phase. They put zero thought into how someone’s going to fix the machine when it breaks.
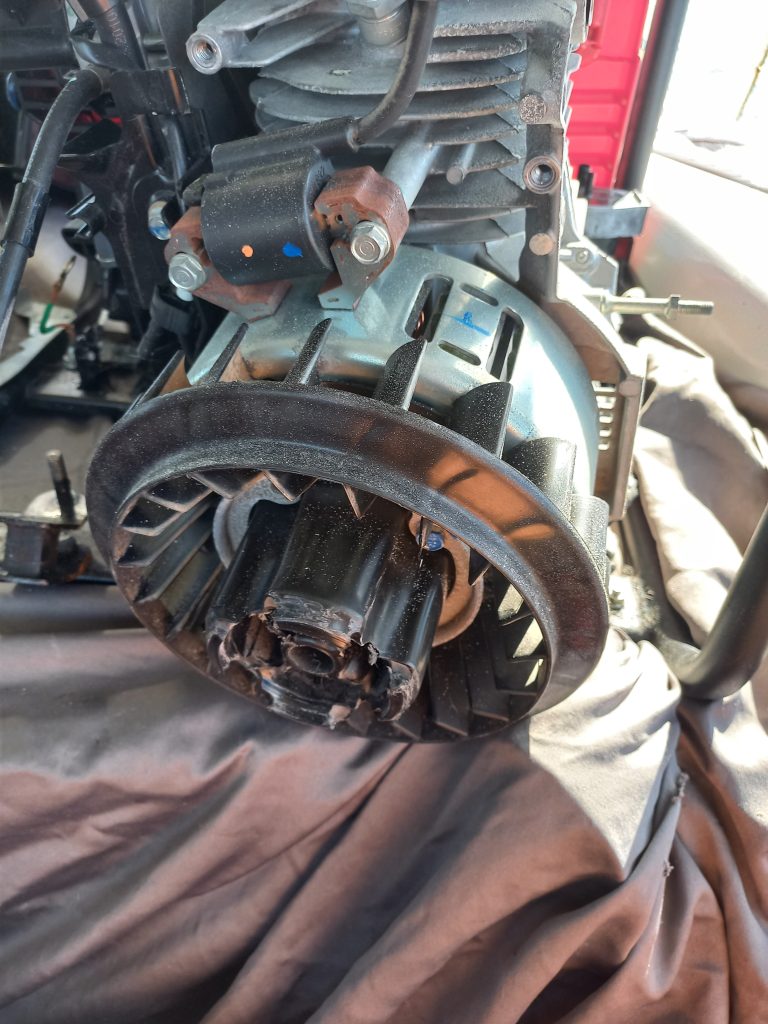
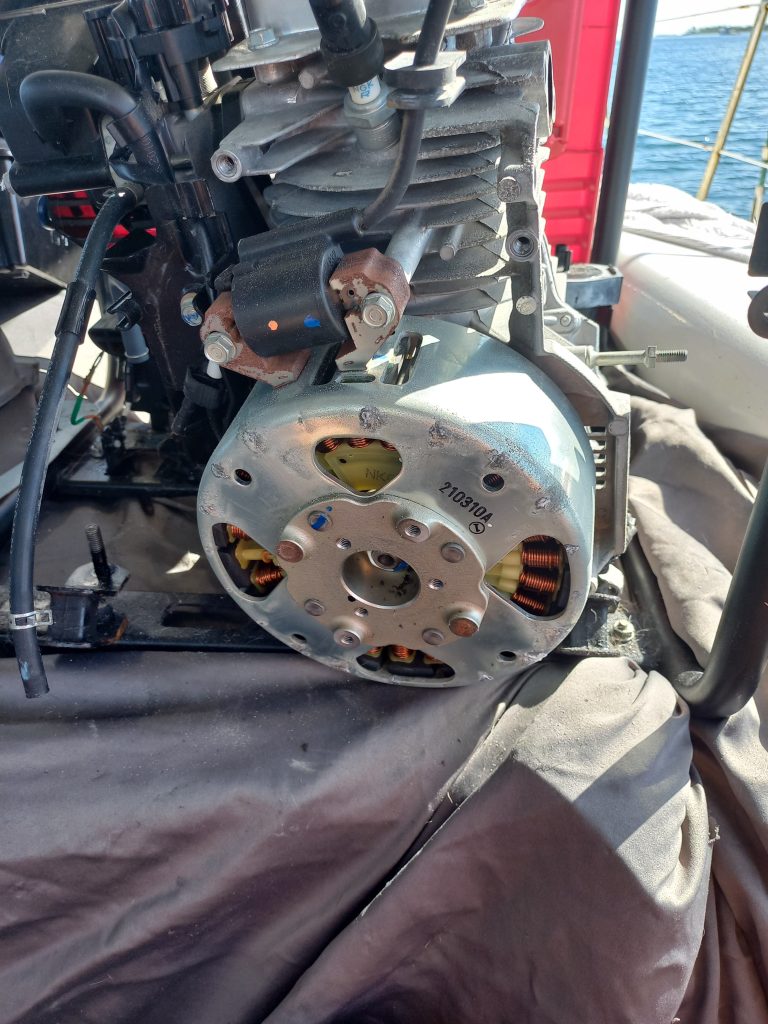
After that last bolt the metal cowling slides right off. I thought I might need a strap wrench to hold the fan while trying to undo the two bolts but it came undone without a problem. I quickly put the replacement cooling fan back on and started to put everything back together.
Then it was simply a process of reversing everything and putting it back together. Overall this was a fairly straight forward project but I couldn’t find anything online to explain it so was worried I’d find issues in the middle part (as I usually do). Since these parts are fairly inexpensive I’m going to keep a couple of cooling fans and starter coil assemblies on the boat, just for those times when I’m off grid and away from supply points.