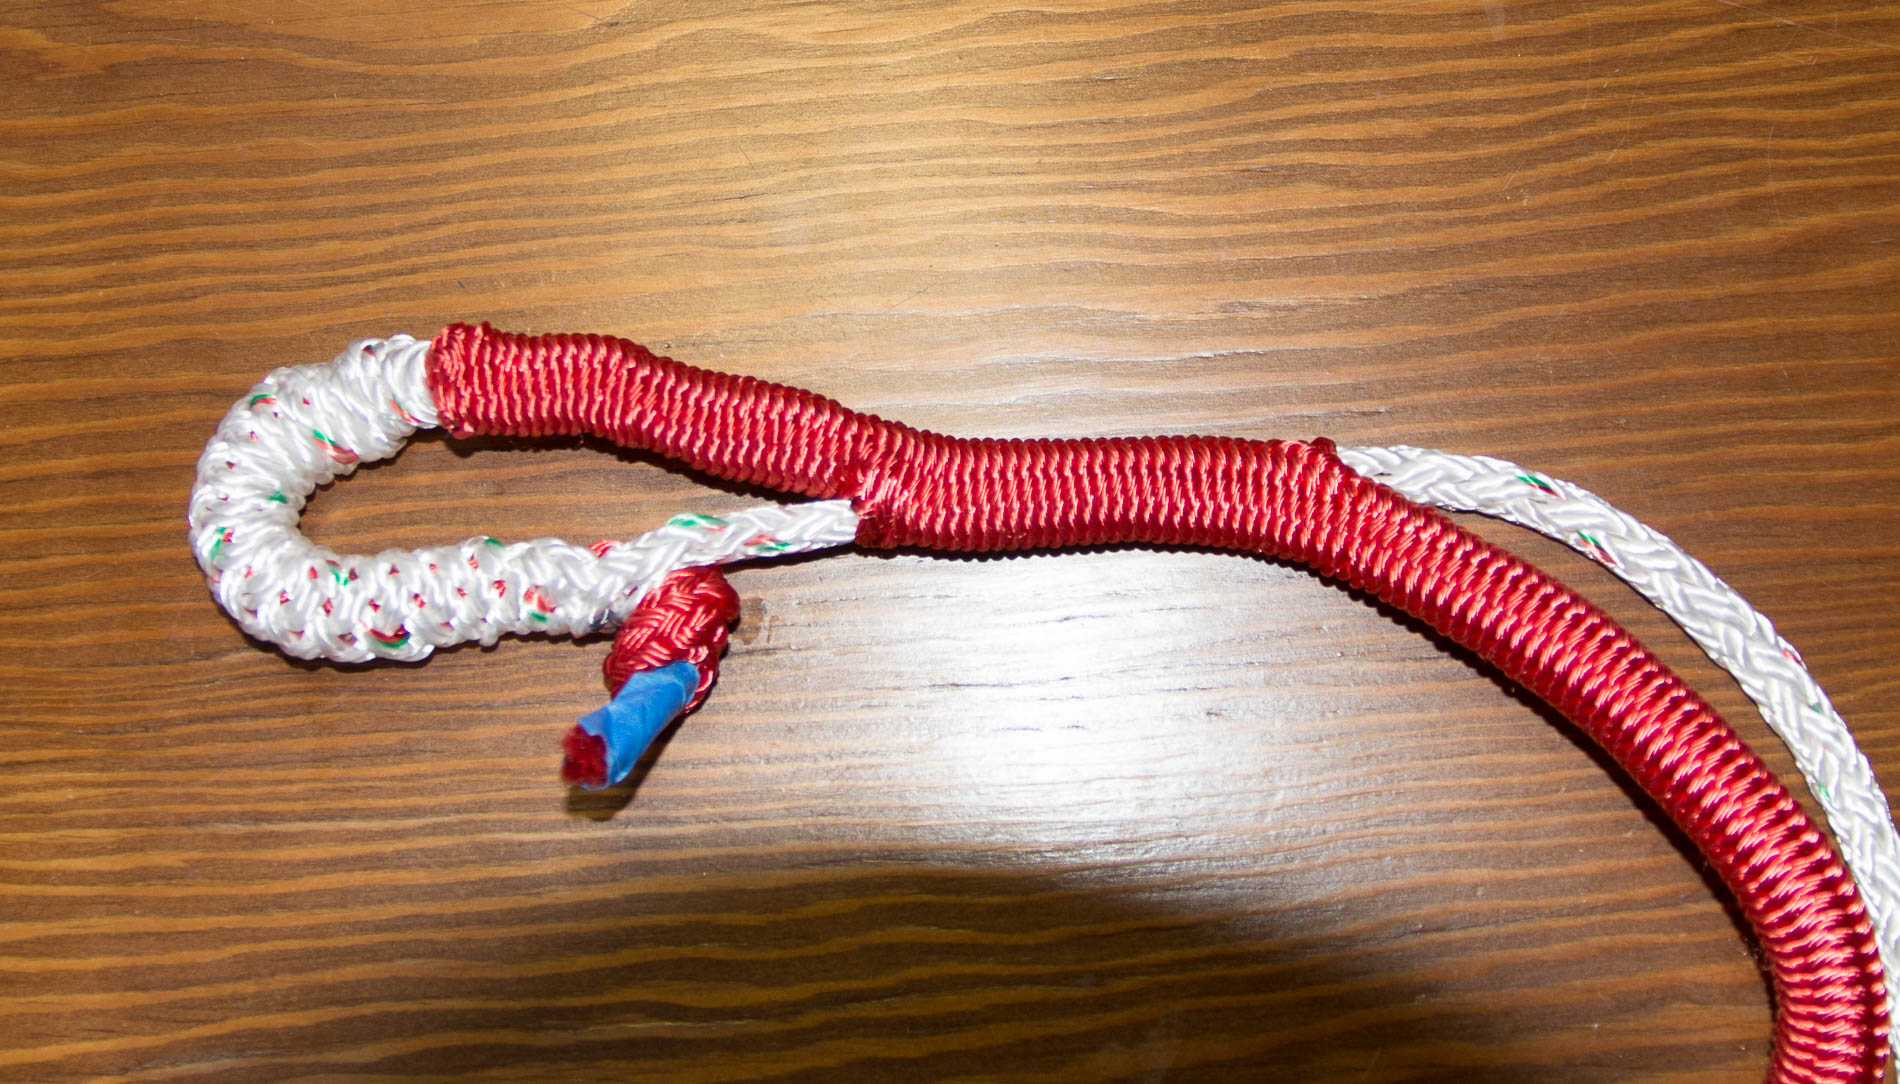
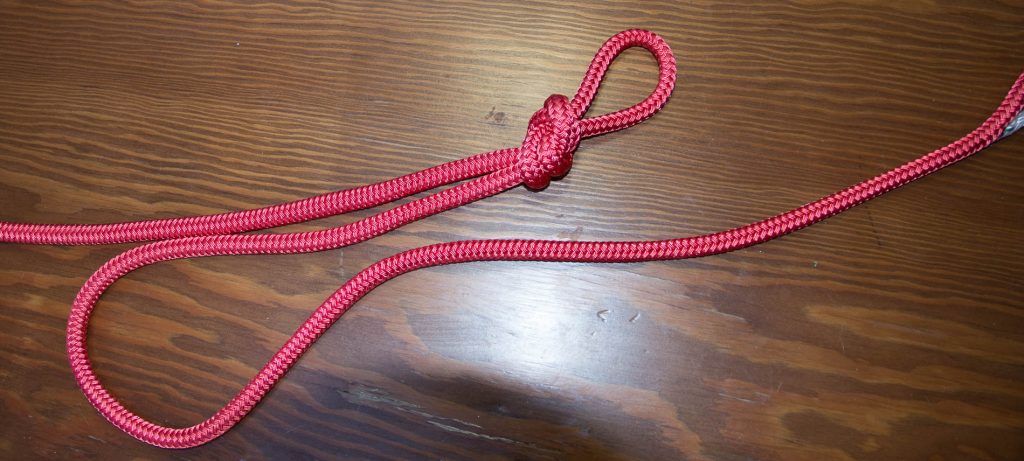
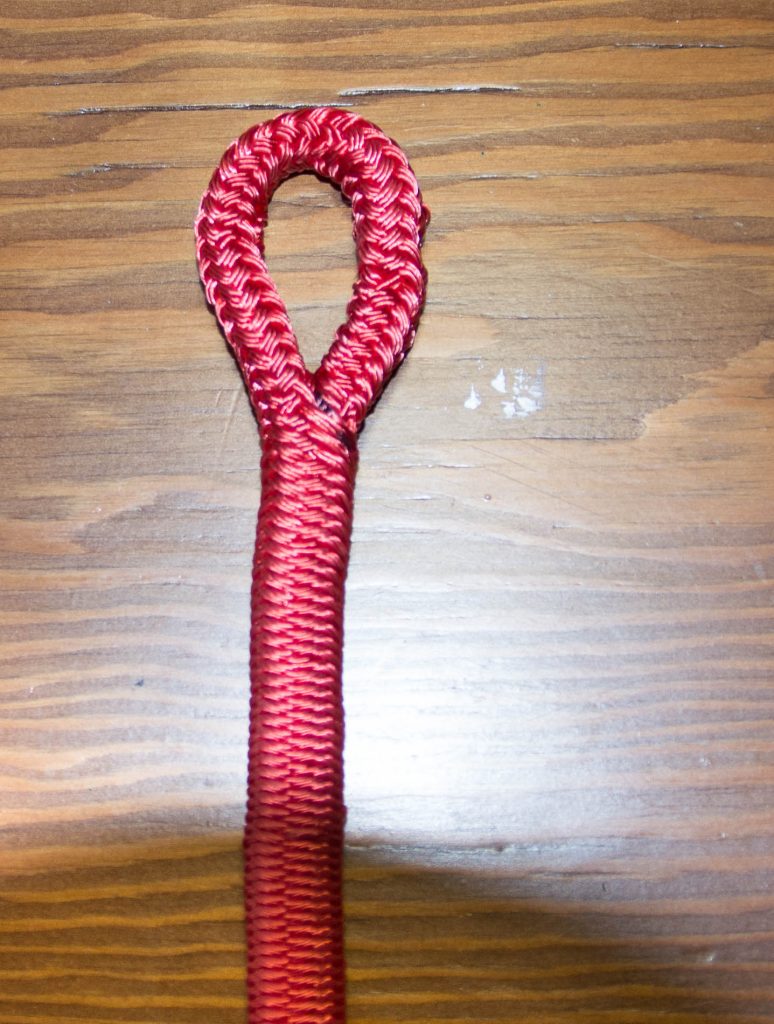
I’m slowly working through replacing all the running rig (ropes that control the sails) as I redo the sail plan. I have no idea the age of the existing lines so this way I’ll know when they need to be replaced next. For the main halyard, I need it to terminate in an eye to attached the headboard on the sail. The place I buy boat supplies from wants $20 to do each splice so I figured I’d teach myself how to do an eye splice on double braided line. Now that I’ve done it a couple of times it’s really an easy eye splice and only takes 10 minutes or so (like finding an extra $20 in your pants pocket).
So here is how to make an eye splice:
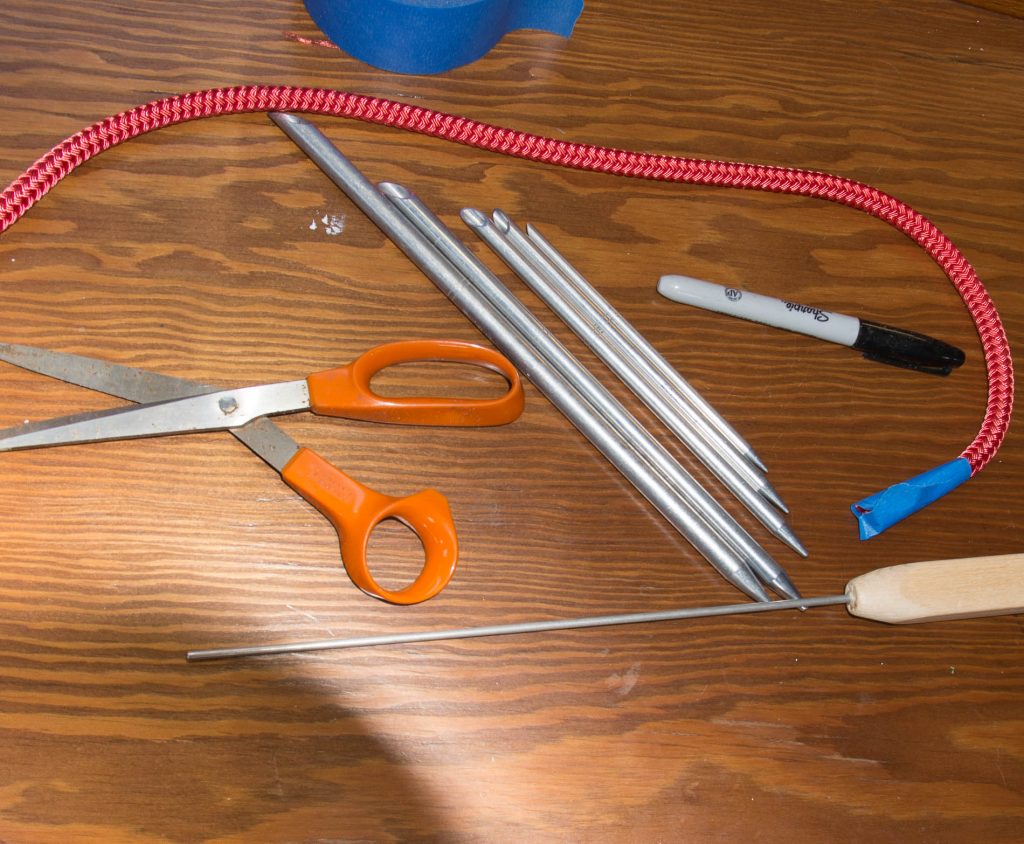
You’ll need:
- double braided line
- scissors
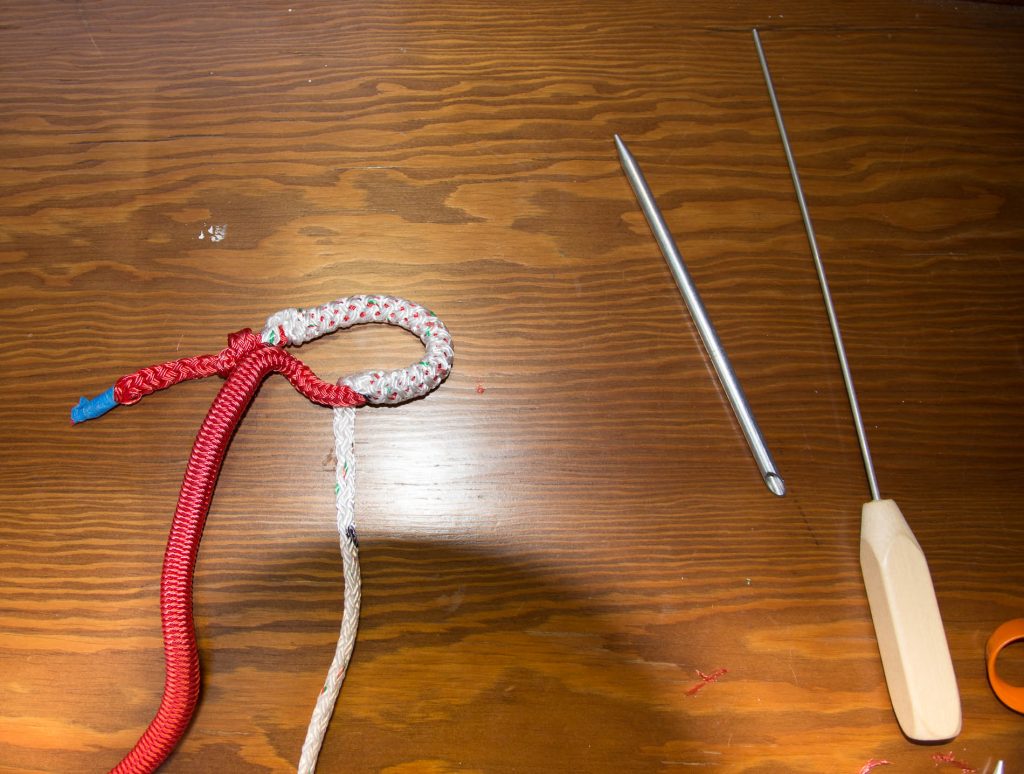
- set of fids (these are hollow tubes used to run the parts of the line inside of each other. they are size specific to match the size of the line)
- marking pen
- pusher (I bought a fid/pusher kit from the local boat supply shop but you can use anything for the pusher)
- masking tape
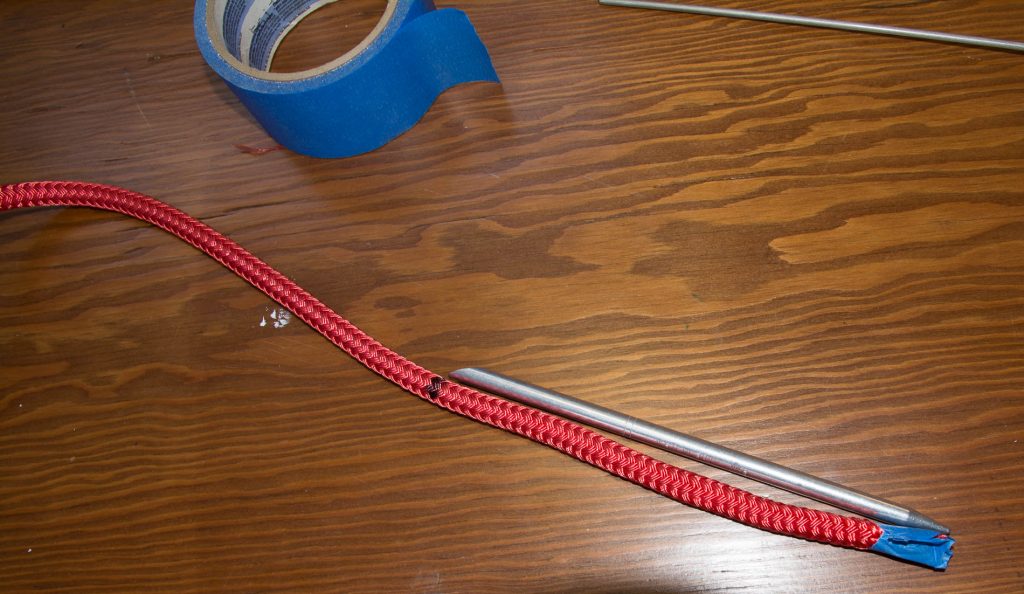
Step 1
Make a mark on the line a full fid from the end of the line.
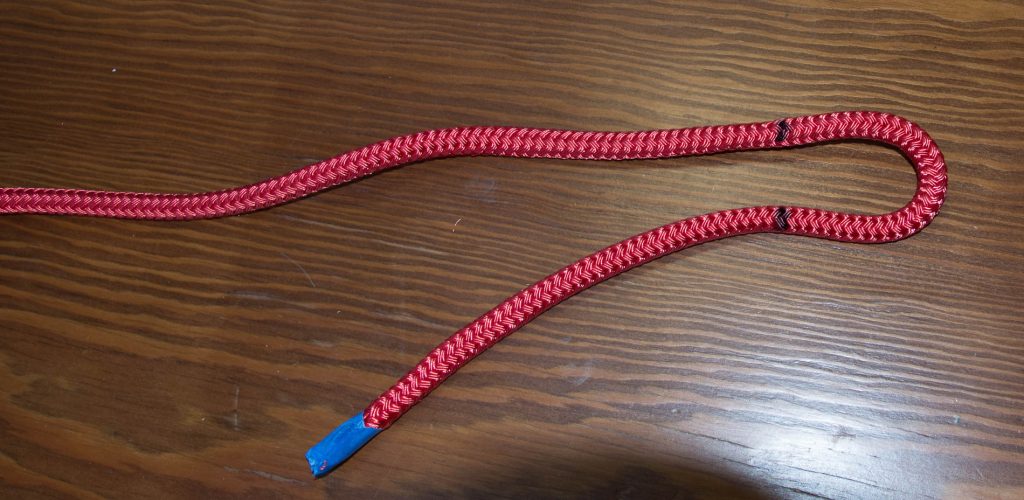
Step 2
Make the eye a little larger than what you need and then mark the line at the other end of the eye.
Step 3
From second mark move down the line approximately 5 full fid lengths. Tie in a slip knot at this point. So that you tighten it as you move away from the end of the line.
Step 4
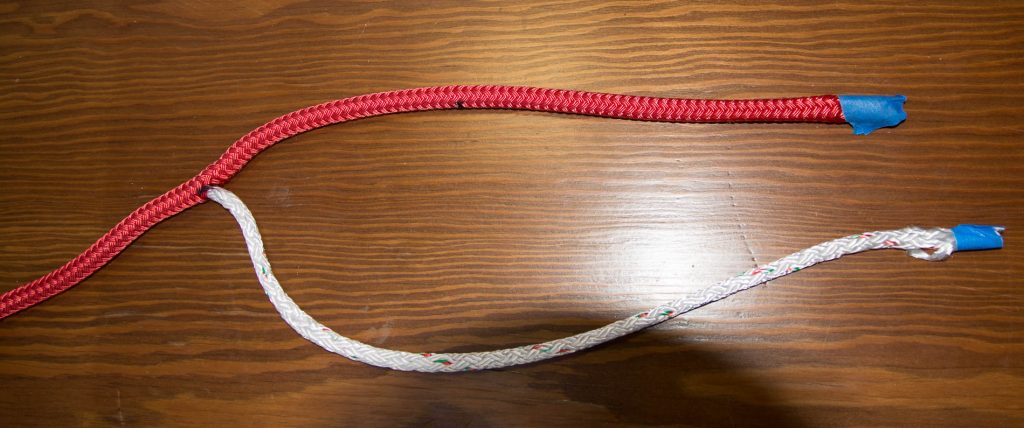
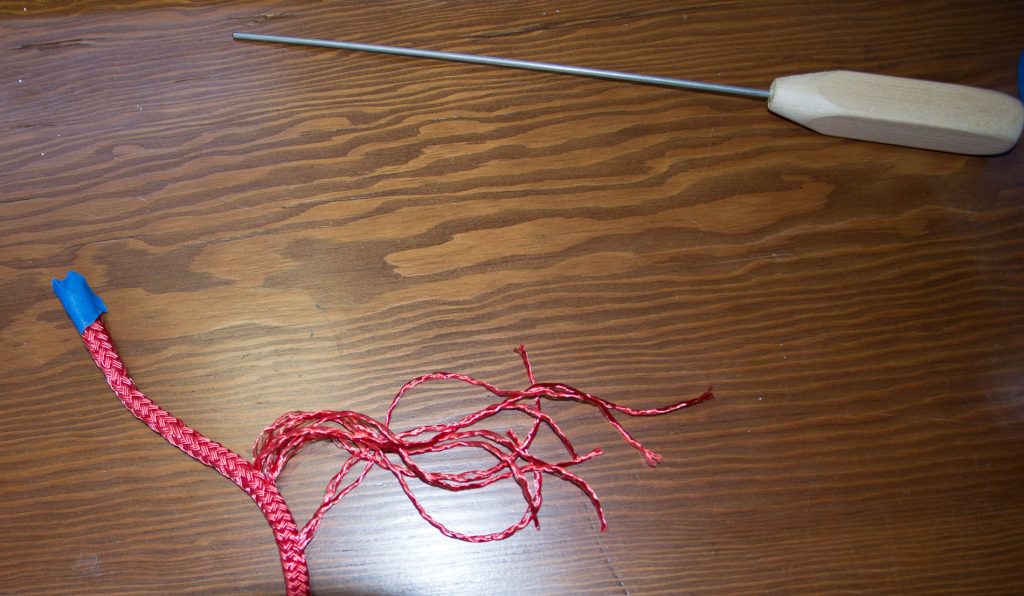
Return to the second mark on the line which was where you marked the size of the eye. Bending at that mark move the line back and forth to spread open the cover. Using a small fid, work the core out of the cover.
Step 5
Pull the core all the way out of the cover. Tape the end so that it holds together (tightly).
Step 6
Work the cover from the knot down towards the end of the line so the core is slightly longer than the cover.
Step 7
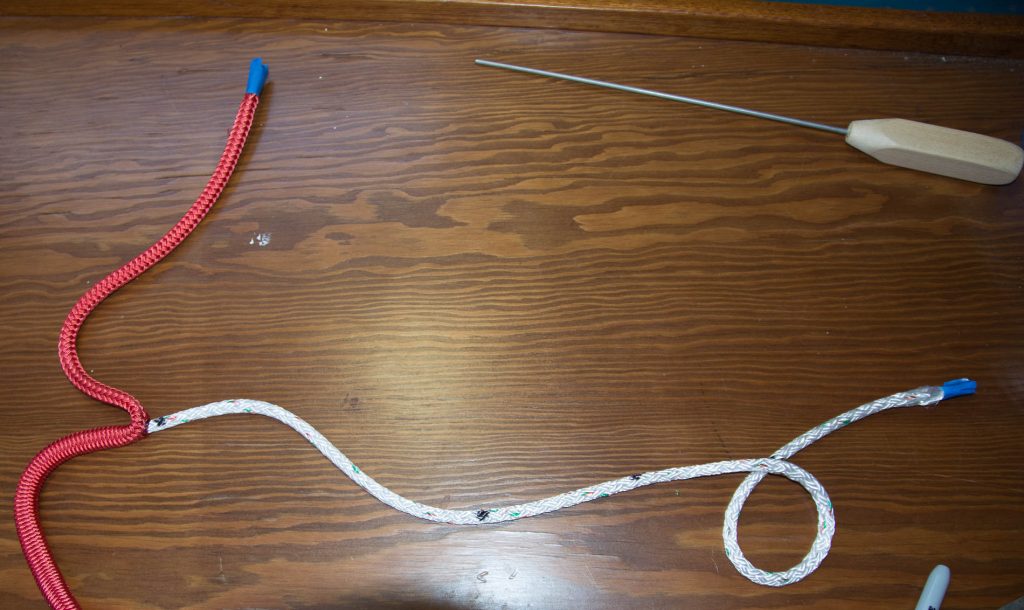
Mark the core where it comes out of the cover. We’re going to make 3 marks on the core.
Step 8
Mark a short fid length from the mark on the core in the direction towards the slip knot. A short fid length is marked on the side of your properly sized fid with 2 stripes.
Step 9
From the short fid length mark, you just made, go one and a half fids and make the 3rd mark
Step 10
Taper the cover. From the first fid mark we made, go about 1 inch towards the end of the line. Remove 3 or 4 strands from the cover. Repeat this step as you move 2 or 3 braids down towards the end of the cover. Trim the 6 – 7 strands once you’ve pulled them out of the cover with a pair of scissors.
Step 11
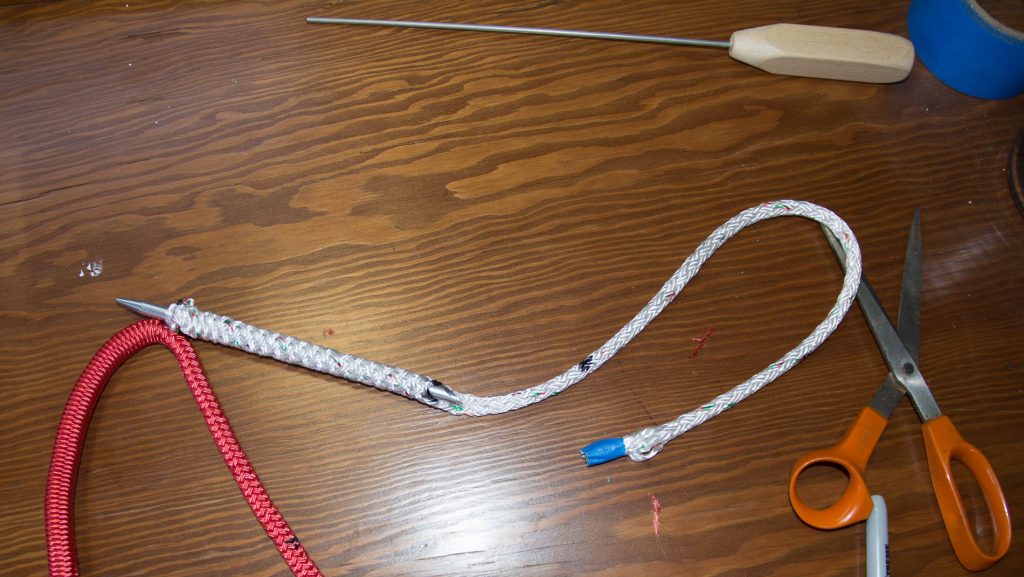
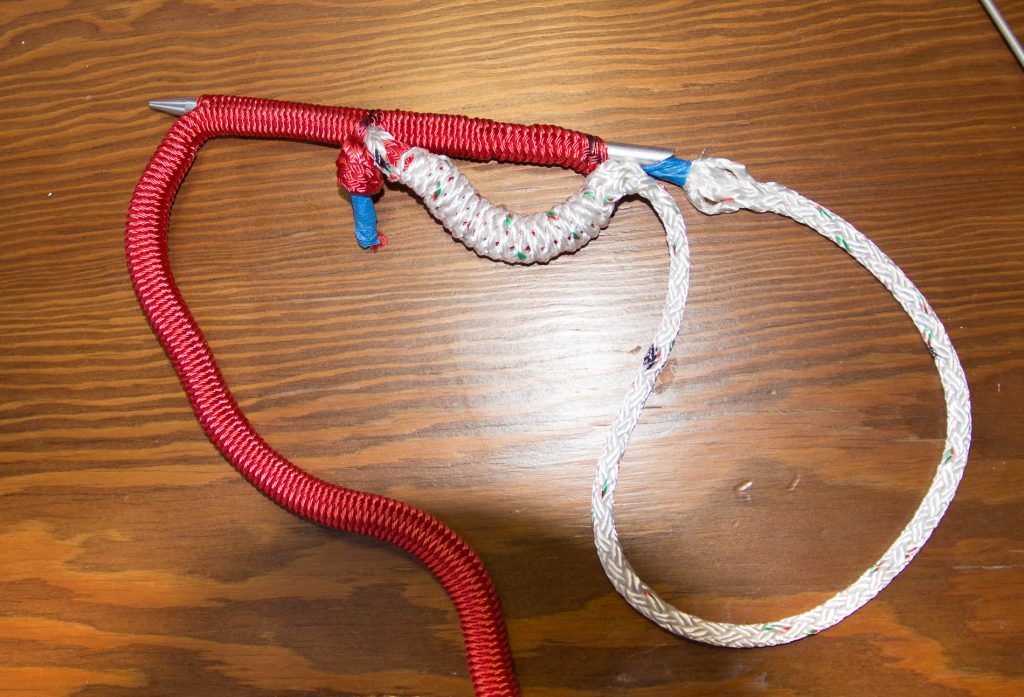
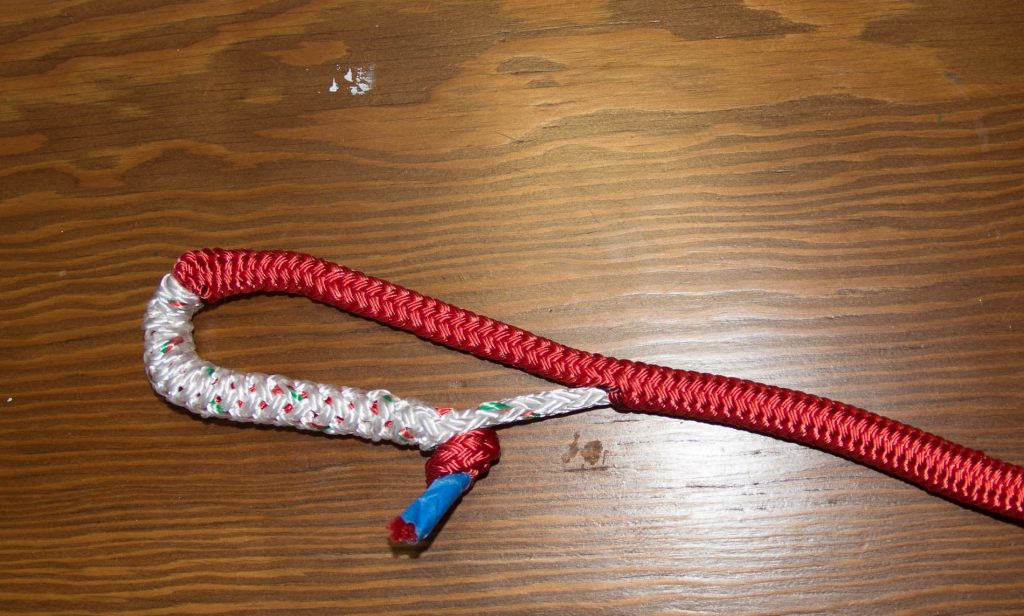
Put the cover into the core. Take the core and locate the second mark (it’s the one that was a short fid length from the first mark). Insert the fid into the core towards slip knot. Exit at the last mark you made towards the slip knot. Insert the end of the cover into the hollow end of the fid. You may need to compress it to make it fit into the fid. Take your pusher, place it at the hollow end of the fid. Push the fid and cover through the core and out at the last mark. Tie a knot in the cover so it won’t slip back into the core.
Step 12
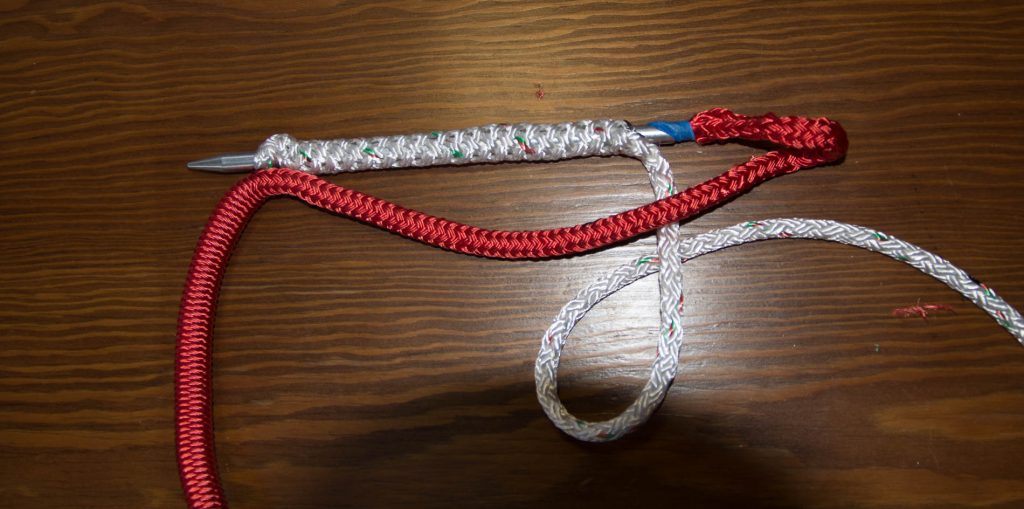
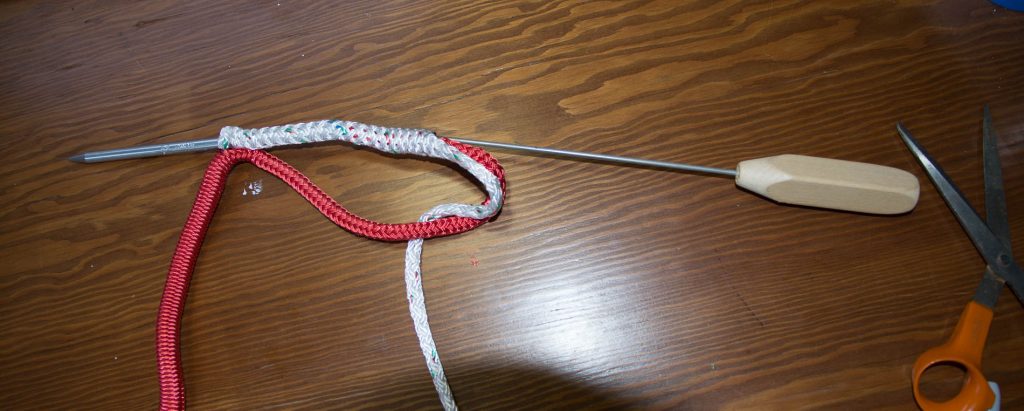
Put the core into the cover. Locate the first mark you made back in Step 1. Push the fid past the “y” of the splice to about a half fid past the splice and exit the cover. Pull the core out all the way until it jams against the cover.
Step 13
Take the end of the core and push it into the end of the fid. Use the pusher to work the fid and core into the cover. This might take a little elbow grease.
Step 14
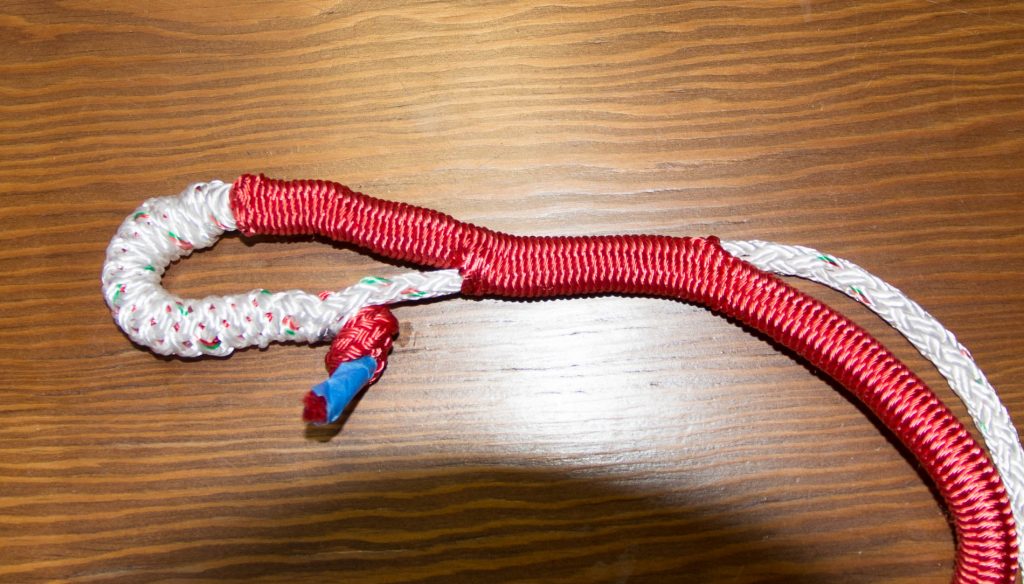
Hold the cover where it meets the core. Work the core down the core until it’s smooth.
Step 15
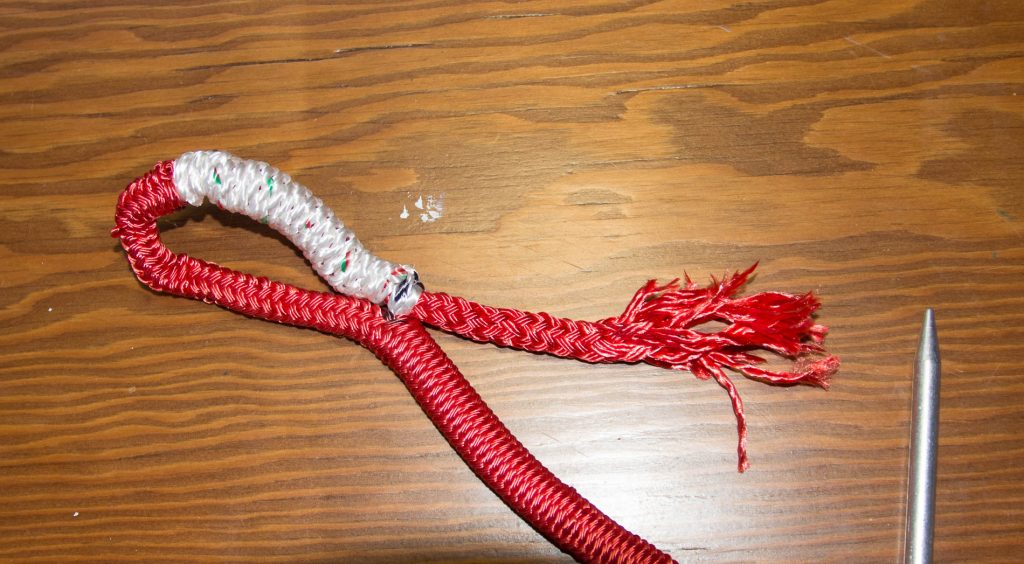
Mark the core where it exits the cover. Pull a small section of core out of the cover. Cut it and fan out the end of the core. Cut a 45-degree taper into the core. Smooth the cover down over the end of the exposed core.
Step 16
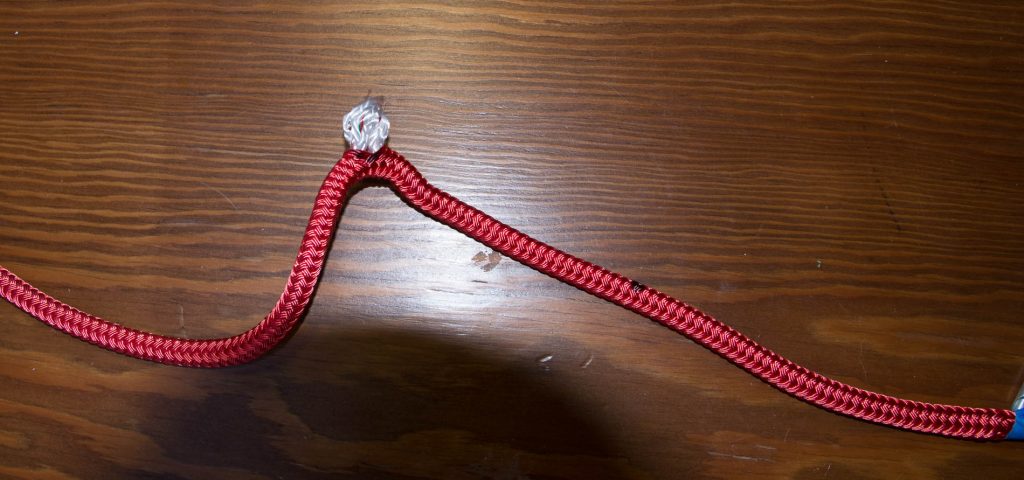
Remove the knot in the cover. Remove the tape and fray the end. Cut at a slight taper.
Step 17
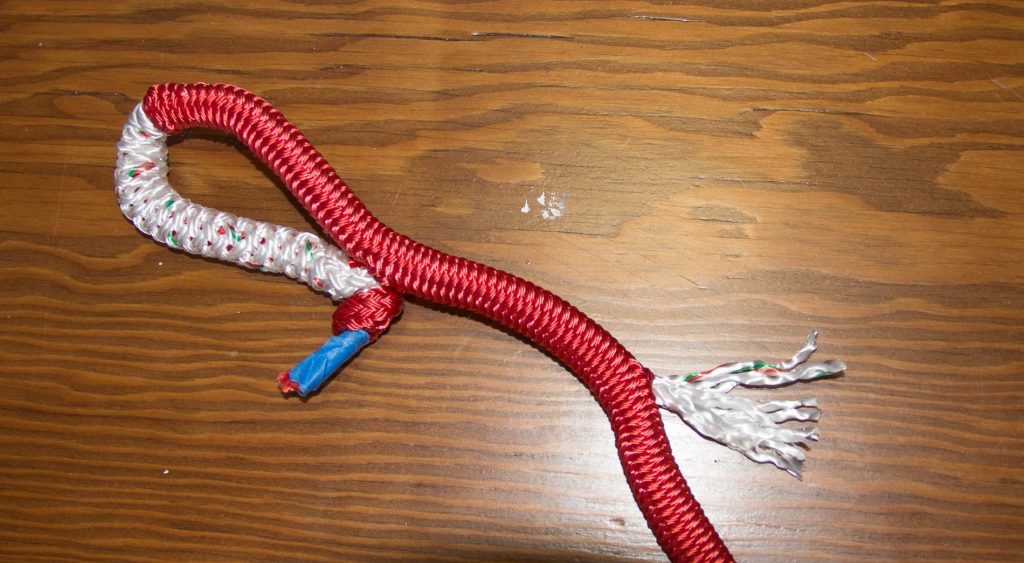
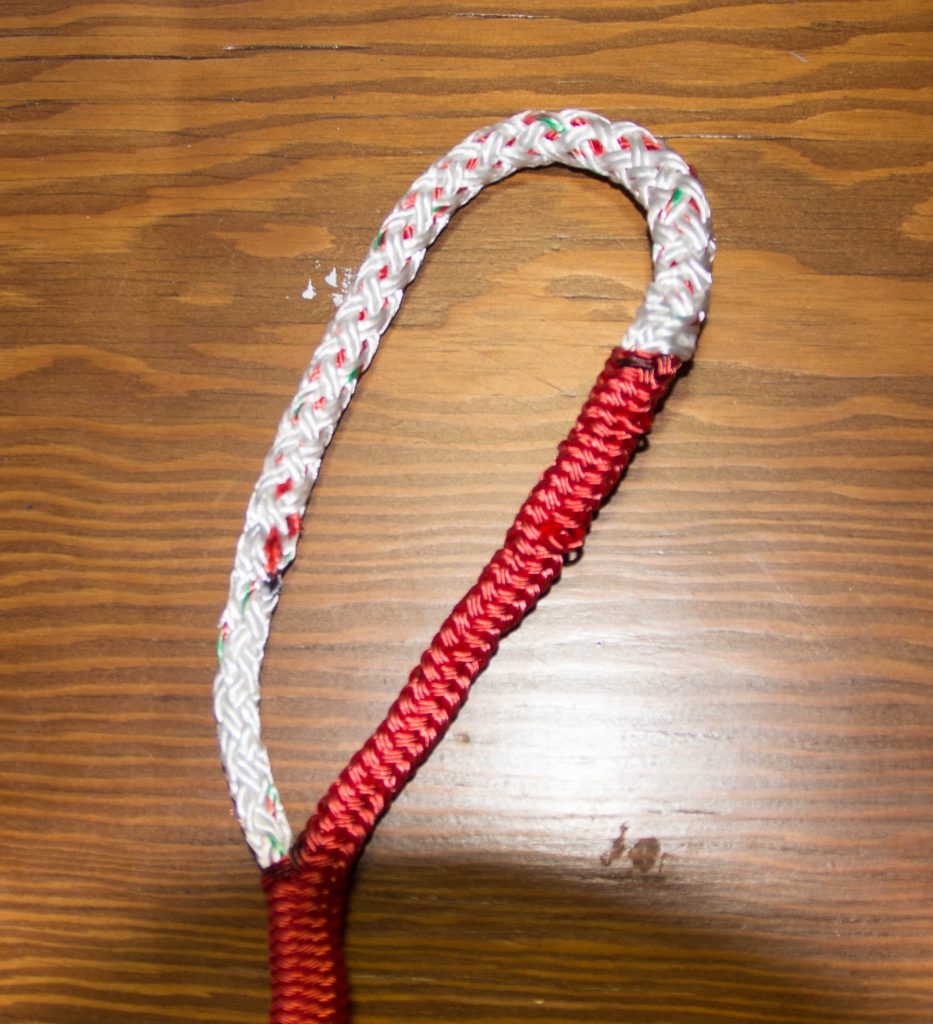
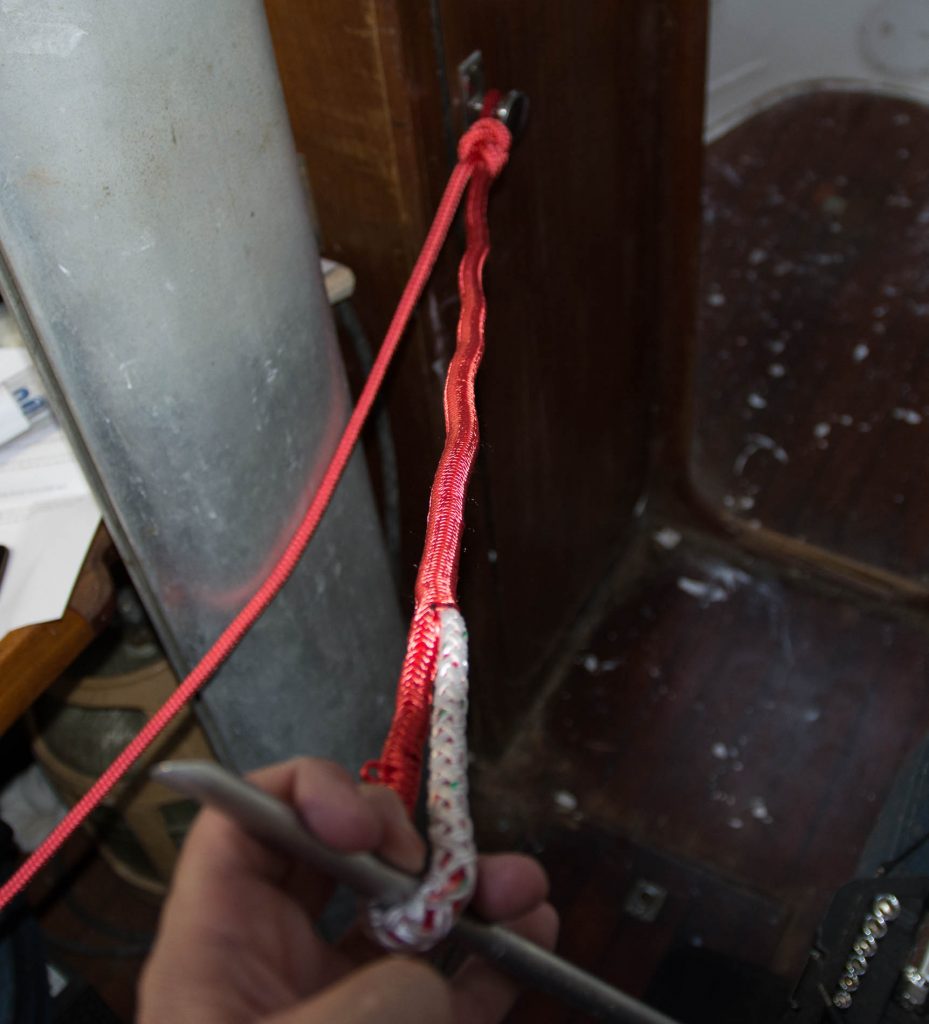
Milking the splice. Attach the slip knot to something sturdy (to hold it as you pull). Using a large fid through the eye pull against the knot. Slowly milk section by section keeping pressure on the fid. Work this until all the core is inside the cover. As you get to the end massaging the “y” and applying pressure will finalize the splice.
And now you have an eye splice in your line.

