One of the things that came out of the Hurricane Matthews experience was a case of the molds. During the height of the storm, there were a few small leaks that started up at various stages. When the conditions where tropical storm level there were a couple of small leaks around the fixed windows on the starboard side. When the wind got howling at the peak, the roof hatches and companionway cover start leaking along with the port side windows. Most of these were small drips, and the windows were a known item to replace. The top hatches are not storm-quality hatches so when the wind was blowing the rain sideways it allowed it to go between the glass and the gasket. I’ll replace these with offshore hatches, which have a 1″ side that wraps around the window. Also, someone has told me that you’re not supposed to be out running around the deck in a hurricane and those exit/entries to the boat let in a lot of water (along with soaked clothing that piled up). Coupled with all that, the previous interior paint job was poorly done. With all the rough surfaces and places for mold to grow, and not be easily wiped down, I figured the solution was to start painting all the interior areas.
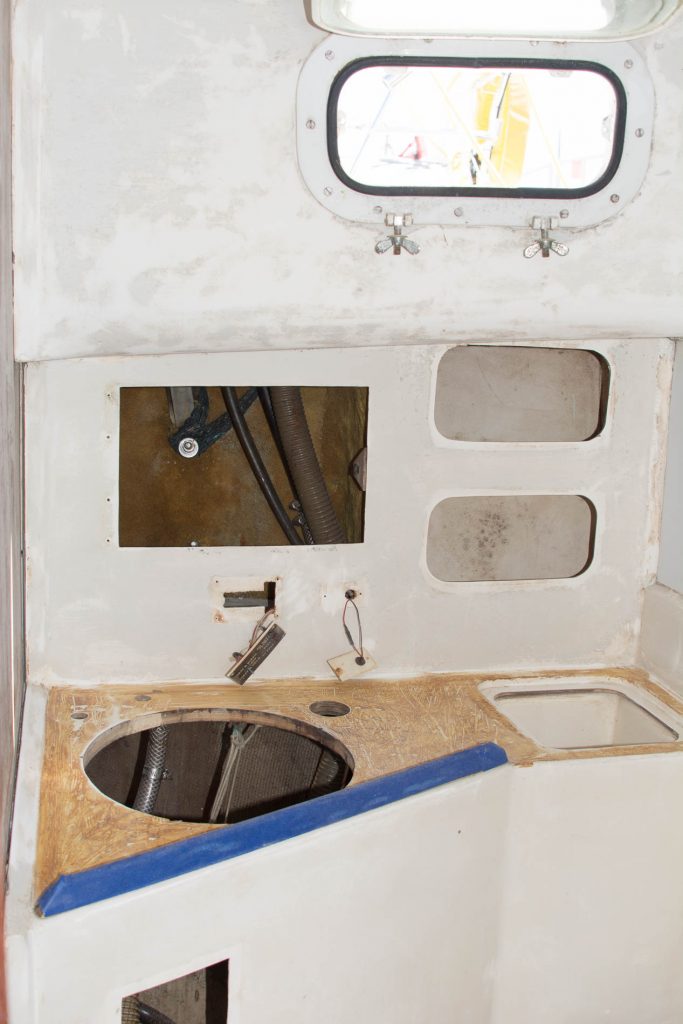
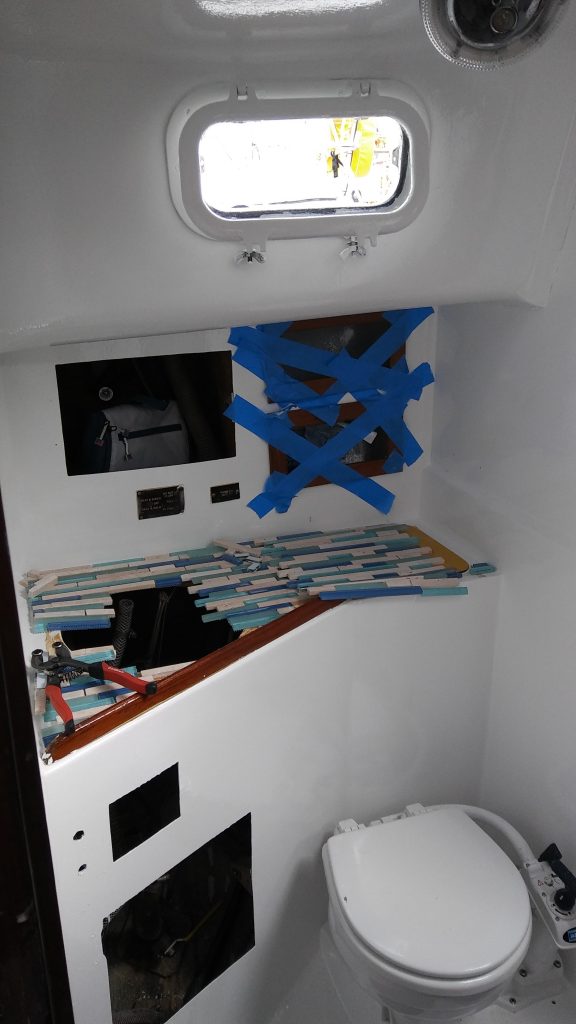
For the most part, this interior house remodeling is a new experience to me, so I figured to start with the smallest area to make my mistakes in. At first, I was just going to paint the walls, but I’m getting frustrated that I’m only getting 1/2 way through projects and not able to strike them off my list. So I stripped out the bathroom (head) and came up with a game plan to finish this area of the boat and not have to touch it again (knock on wood).
Head Remodel
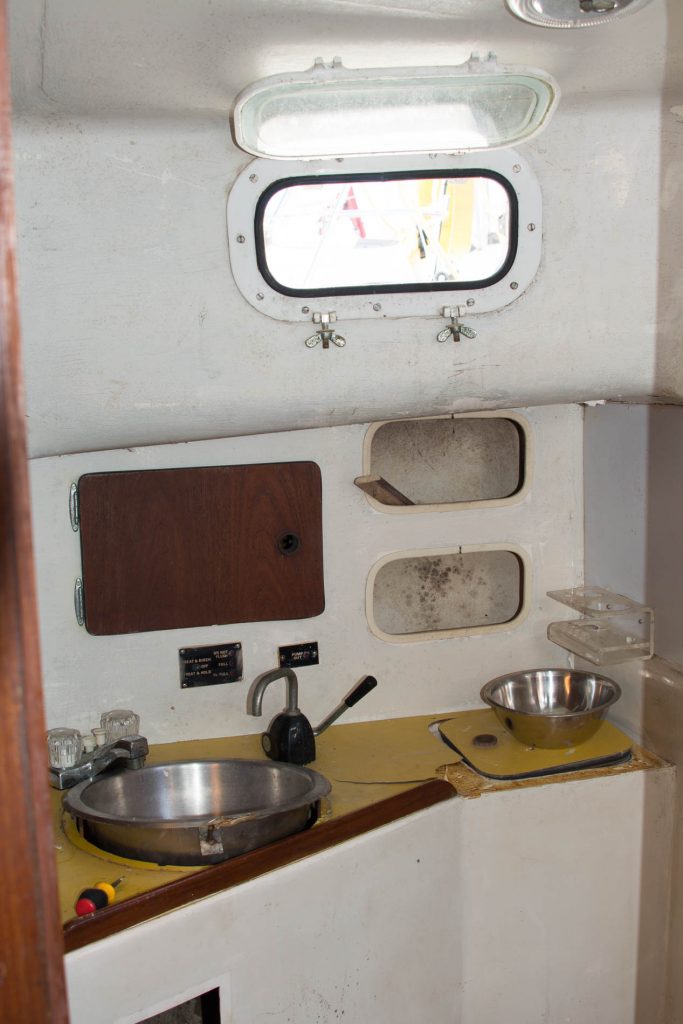
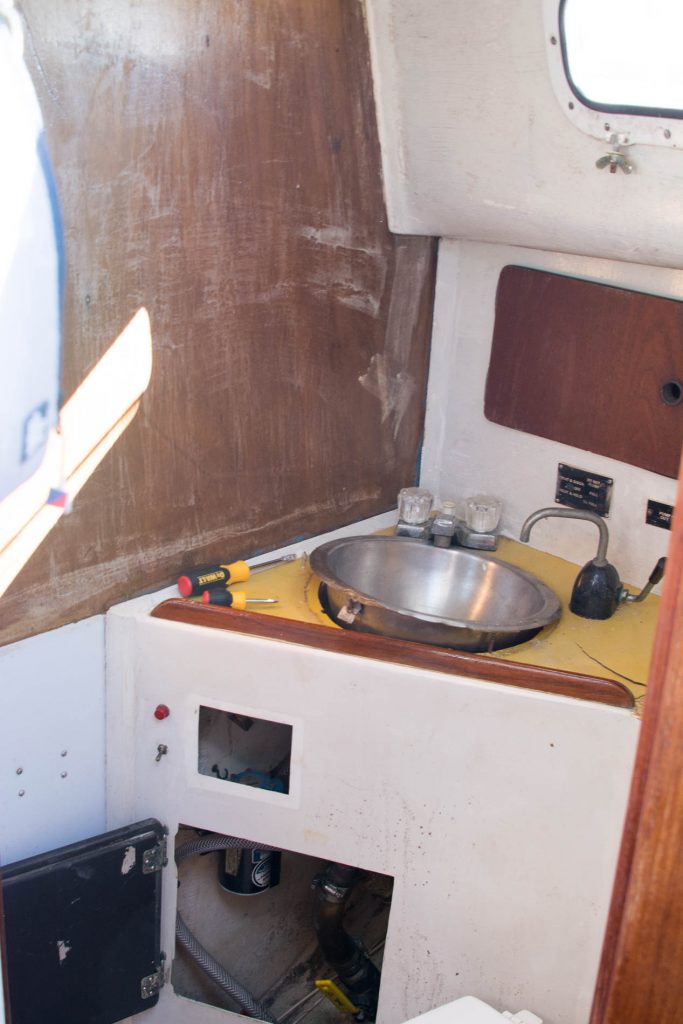
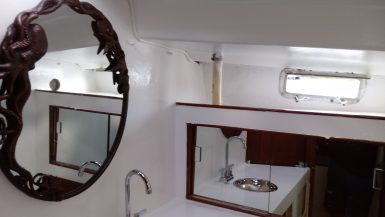
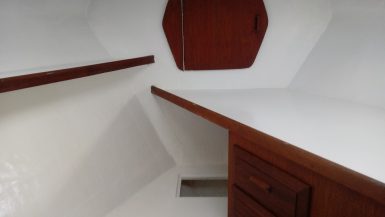
Here’s some before and after pictures.
Paint
The first consideration was what to use for paint. I opted to take the high road and use Interlux’s Brightside high gloss white. This is their second tier paint for use on the decks, so hard and able to stand up to sunlight and other punishment. I figured it would be impervious as an interior paint. Luckily the interior cubic feet is small, cause this stuff is expensive.
The process I used was as follows:
1) Wipe down everything (floor, ceilings, and walls) with the solvent remover to get rid of any oils and waxes.
2) Sand everything down with 50 grit paper (thank god for power tools, of which I’m getting quite the collection going).
3) Paint with a roller and trim brush with primer.
4) Wait 24 hours.
5) Repeat steps 2 & 3
6) Sand with 160 grit sandpaper.
7. Apply Brightside with a “roll and tip” method. This was a new technique for me, which requires that you apply the paint with a foam roller in a small area (4 sq ft or so) then lightly overbrush with a clean brush at a 45-degree angle. The “tipping” removes any little air bubbles left by the foam roller gives you a smooth surface. At first, it leaves little brush marks, but as the paint dries, it flattens out smooth.
8) Sand again with 160 grit sandpaper.
9) Apply the final coat of Brightside.
You can see little areas of imperfection if you look closely (operator errors) but for the most part, I’m pleased with the outcome. A physically strong, easy to clean, mildew resistant surface that will last.
The first paint application, I did my normal “running with scissors” work methodology and ended up with paint all over me. The head is smaller than most refrigerators in people’s homes, so I bumped into painted walls whenever I moved around. The next time I used painter’s coveralls, so I didn’t have to take a sponge bath in mineral spirits (sure to have cancer in 10 years from that experience… ).
Plumbing Fixtures
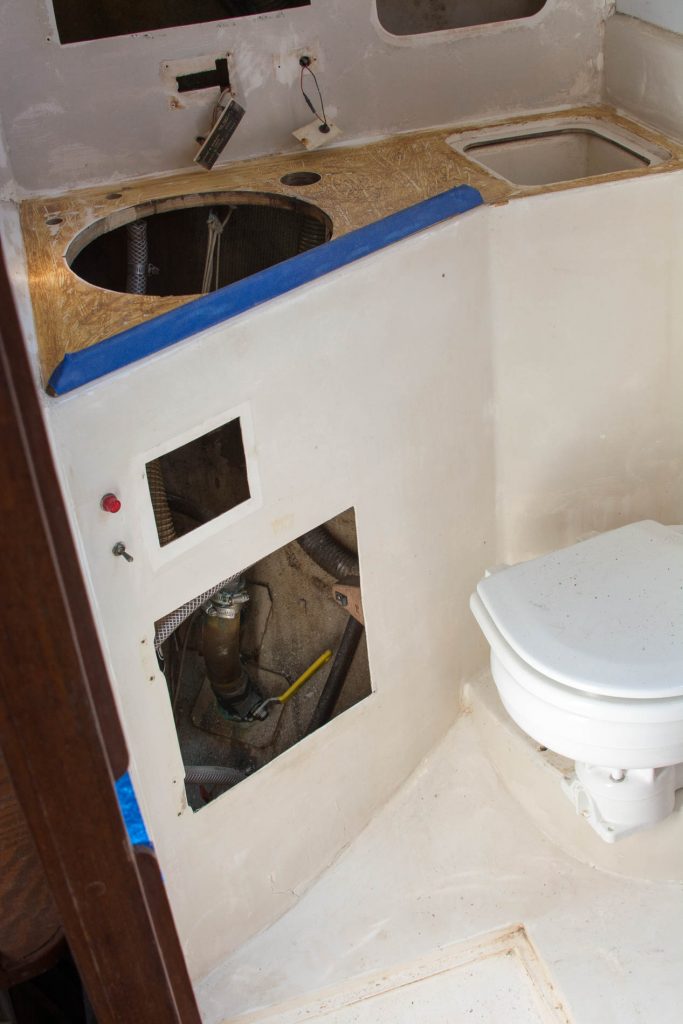
The old plumbing fixtures had seen better days. Boats have a unique system where you can utilize a hand pump at the sink location to pump saltwater from the outside to use to wash with (as long as you’re not docked at a murky inlet on the ICW in Florida in which you get muddy water). The sink, therefore, was encrusted with 40 years of saltwater wash downs.
I also opted to remove the freshwater faucet. This faucet required running water lines, which are under pressure, from the stern of the boat where the water pump is located to almost the bow. In preparation to be self-sufficient (meaning I have to fix anything that breaks), I decided to eliminate this long run of hose. This leaves only a short run of about 6′ to the galley sink from the pump. There are two reasons to take this route. First, any leak in that line means the fresh water tanks would be let free in the hull of the boat, and I’m focused on keeping the water on the outside. Second, as this fresh water is also your drinking water to lose this in mid-voyage where you’re days or weeks from land would be an ugly situation. So I simplified the system to be easier to deal with in an emergency.
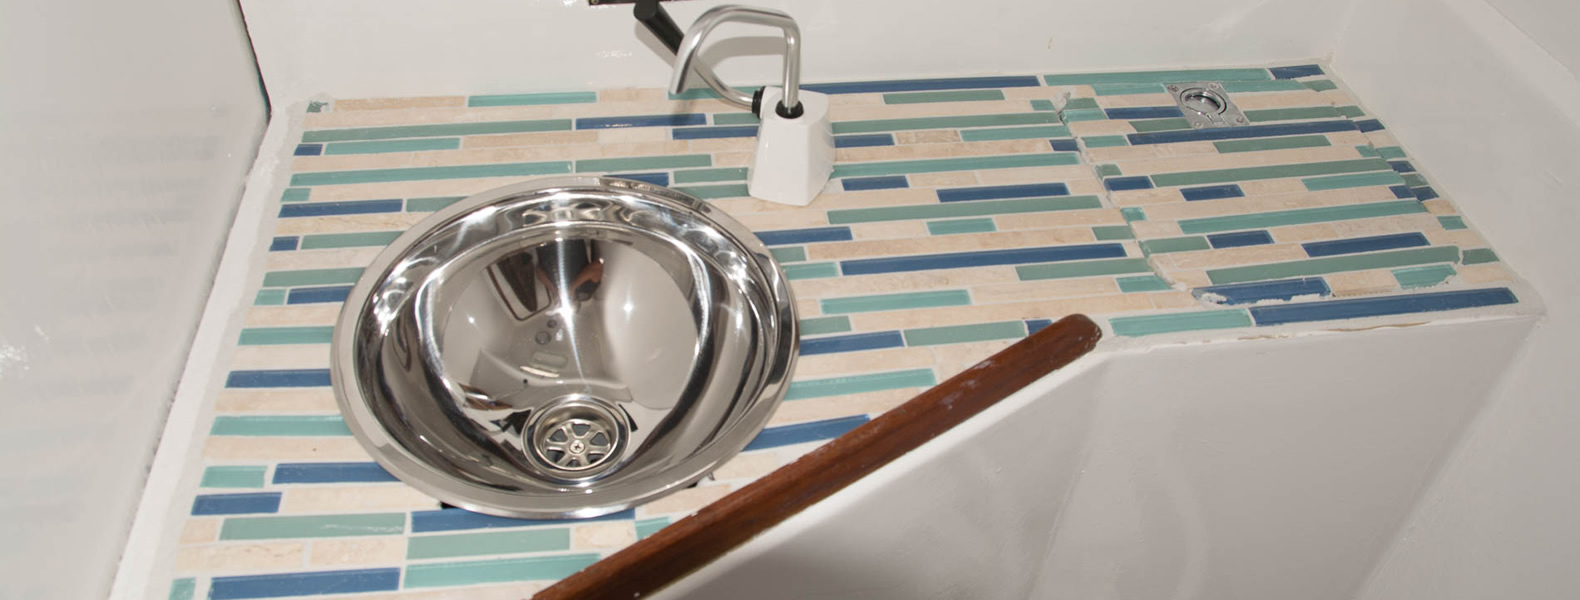
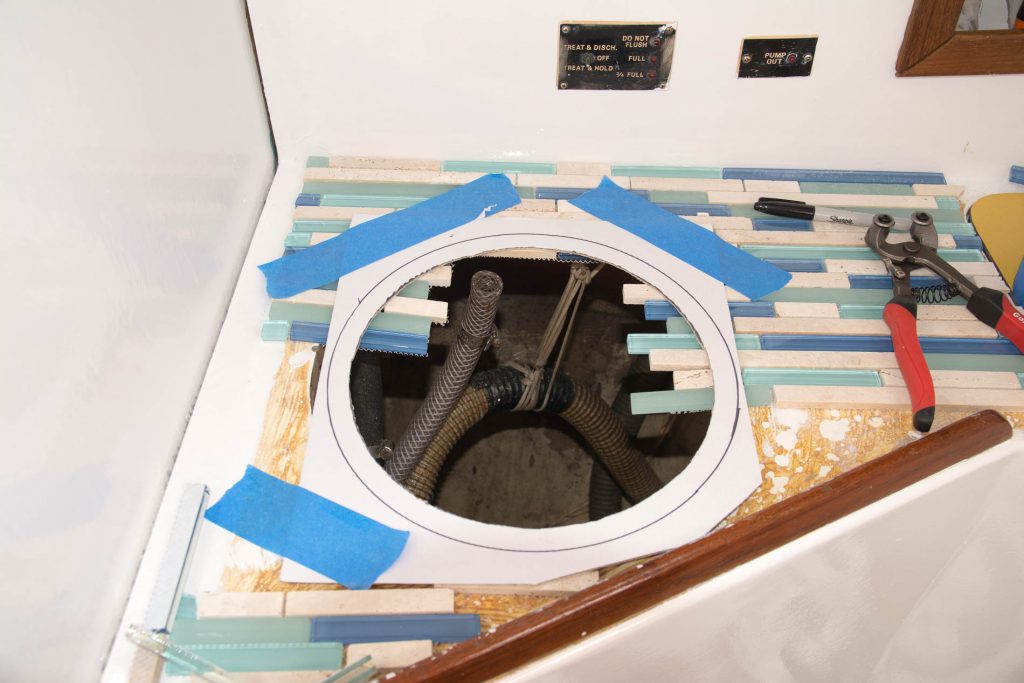
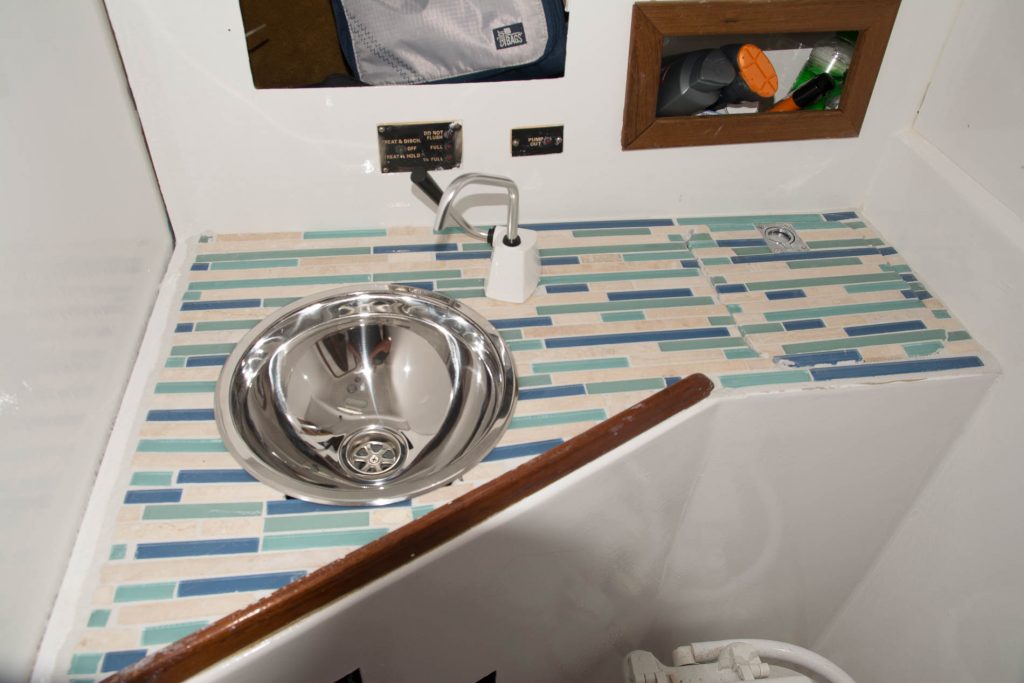
One issue I ran into was that the original sink was 12″ and the largest replacement I could find was 11 1/2″. This left a 1/2″ gap that I used the tile to bridge. I made a template out of cardboard for the inside edge of the sink which I then laid over the tile to mark them for cutting. There’s not much weight on the tile, and with the grout and strong adhesive, it worked well.
Tile
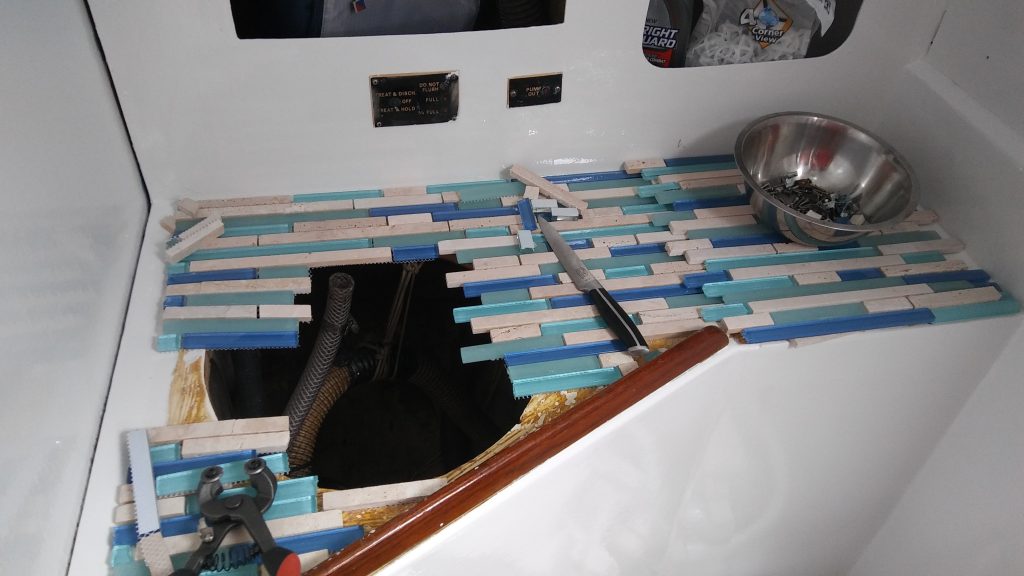
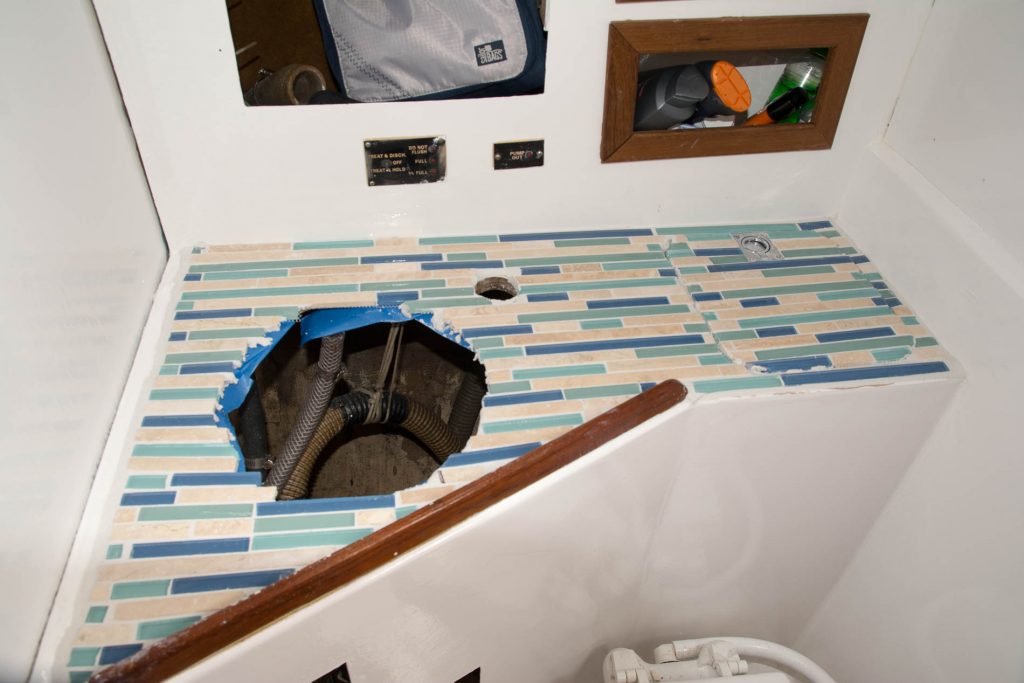
One of the things I dislike with the boat in its current state is the yellow/tan/baby shit brown color used on cushions and as covering for the counters. So I opted to replace this with glass mosaic tile. This adds more weight than the Formica that was used back in the 70’s, but I think it looks better and adds a unique look to the boat interior.
Finished
Lights
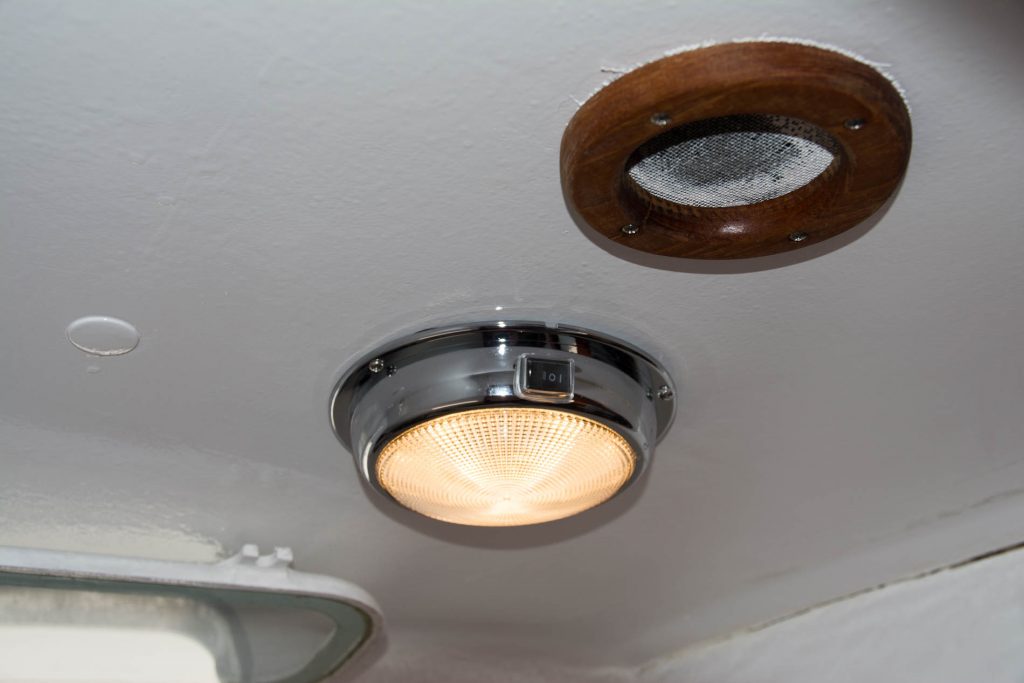
One of my goals of this project is to replace all the lighting with LED lights. They use less power than traditional lighting. When designing a solar-based power system you either need to expand capacity (more batteries or more solar energy) or conserve energy. Batteries are expensive and solar takes space on a deck that is already crammed with stuff, so the cheap and easy way to limit usage, and you do this be using efficient systems and removing unneeded luxuries. I also went with a light that has both white and red lights. This way while night sailing you can use the head without losing your night vision.
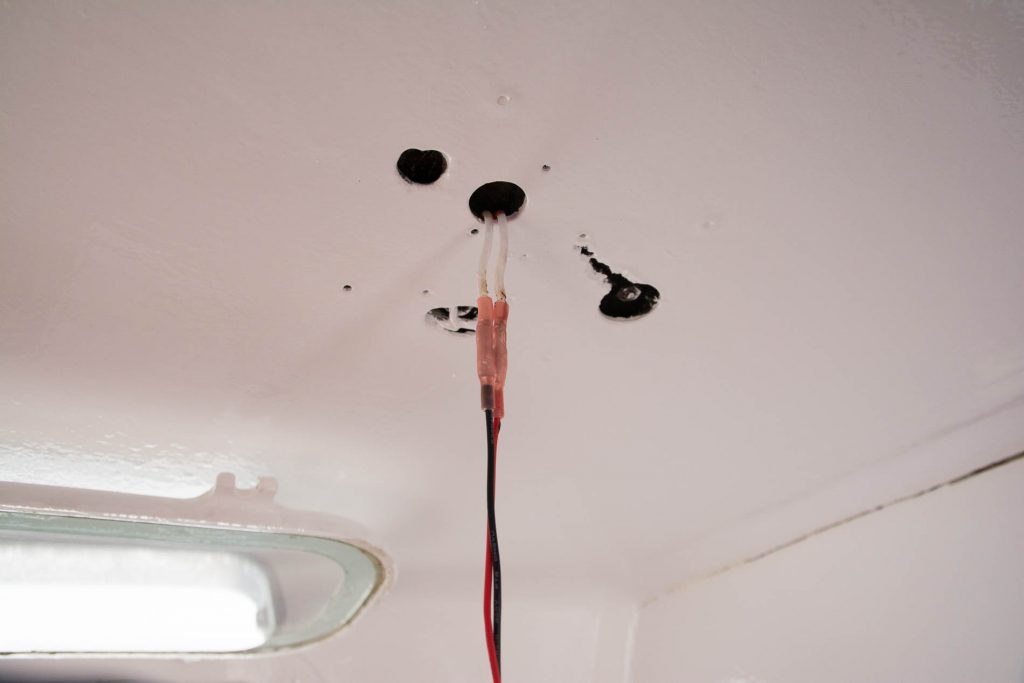
Another item that is very important to me on this project is replacing the electrical system. Probably the worst environment you could find to use electricity in would be one surrounded by saltwater. To combat that, you utilize tinned copper wire and connectors that have shrink tubing around them. The shrink tubing extends past the connector and over the wire you are attaching to. You crimp the connector to make a mechanical connection, then heat the pipe with a torch (lightly) so that it seals around the wire. This keeps water out of the connection as well as from getting into the cable itself. The current system isn’t that way, being a collection of wire types and crappy household connectors.
Finished product.
Shrink tubing connections
Trim
As this is my home, I wanted to get away from the 1970’s style of cheap plastic trim on shelf openings. So I used teak trim to outline the shelf openings. These are just oiled for easy maintenance instead of using varnish. The trim is just glued to the fiberglass (blue tape to hold it as it dried)
Finished
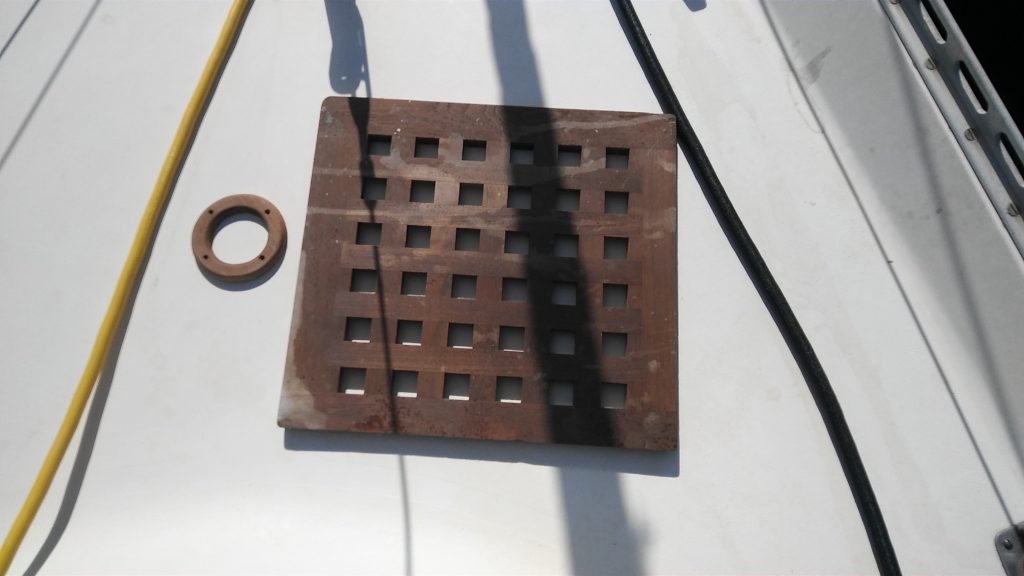
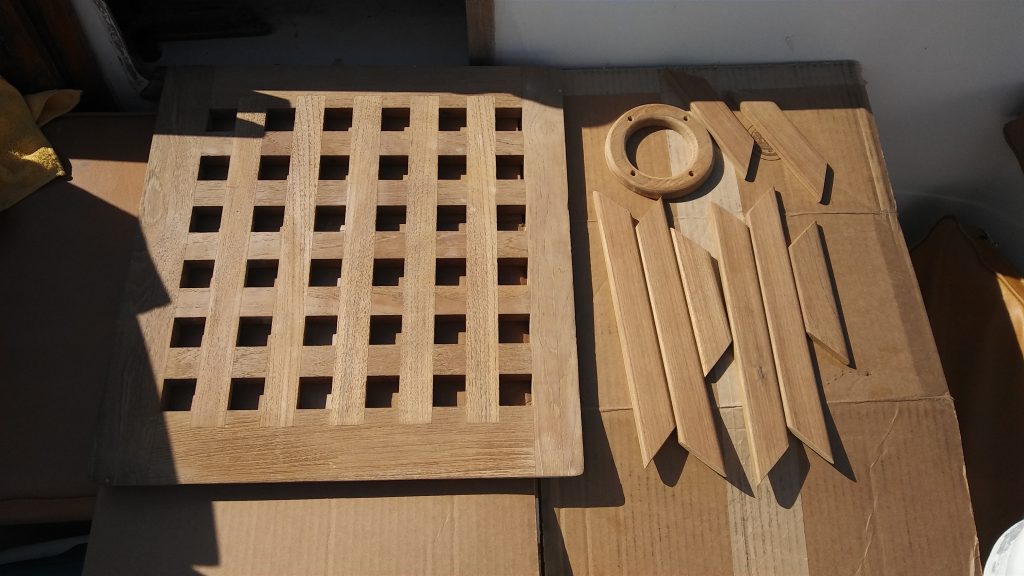
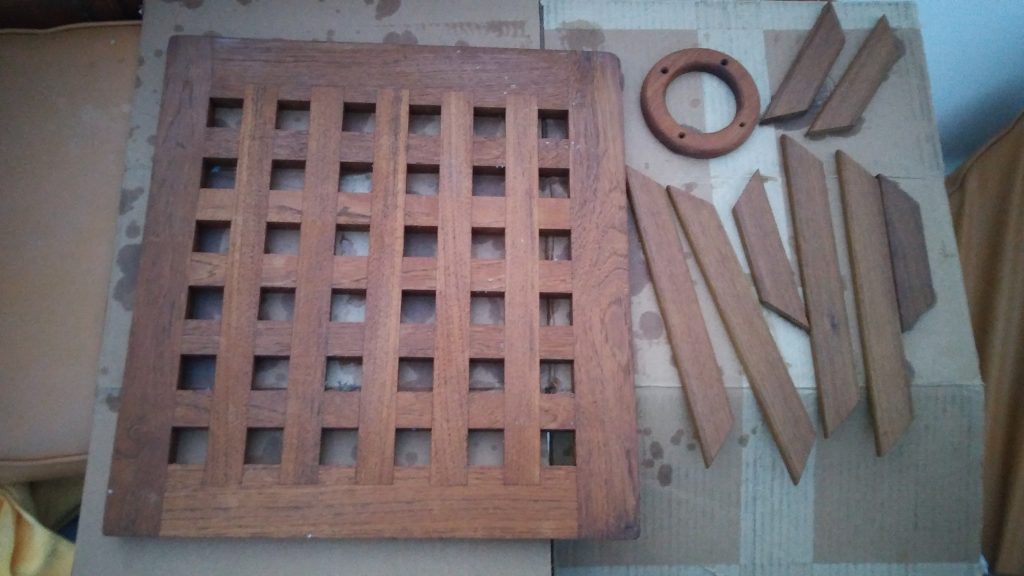
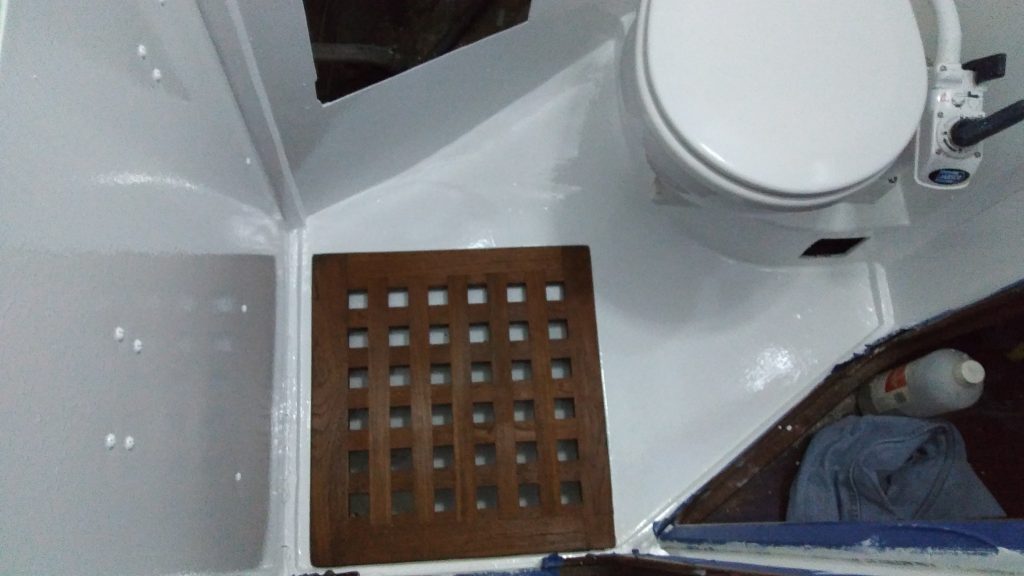
Also, on the shower grate in the floor, there were a lot of bleach stains, and the wood had just been used roughly. So I stripped the teak grate like I did with the exterior wood and refinished. I think they came out quite well.
Before
Stripped
Oiled
Finished
Cabinet Doors
This part of the project took a lot of research. I debated buying teak planks and custom made cabinets in the various sizes I needed but the price was crazy, teak is very expensive to get. I looked around at some of the online cabinet door shops and even utilizing another wood type I was looking at over $2000 to replace the cabinet doors. Luckily I found a company online that provided kits for making doors with louvers. You order side pieces which have the receiving slot for the louvers, cross pieces to create the top and bottom edge of the door, and length of louvers. You then need to measure and cut the pieces to make door size you need. All said and done, $700 for all of them including the hardware (yea, online wholesale hardware sites!!!).
Well, that completes the bathroom remodel. All told it took me two months to do this, mostly due to having a day job and having to wait between painting cycles. Now on the V-Berth, which I’ve already taken the sawsall to…


[…] Remodeled the head […]
[…] haven’t been posting much because I’ve been working on a complete head (bathroom) remodel. What started out as “just going to paint the walls” has turned into […]