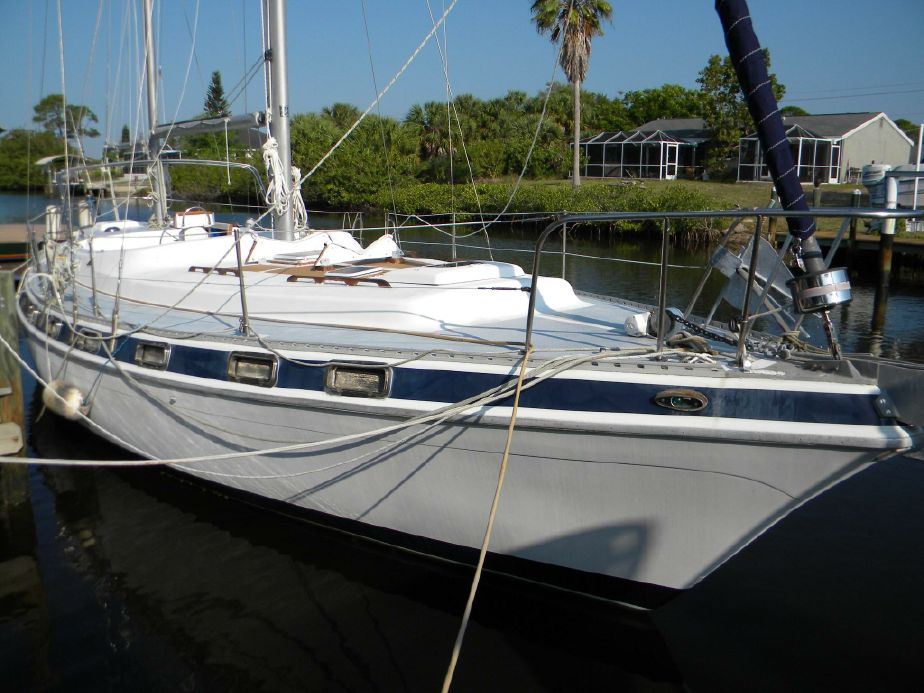
While I like the New Found Metal portlights that are installed on the boat the one in the galley was leaking and is set too far back to easily reach so my project last weekend was the portlight removal and fiberglassing in the resulting hole.
Portlight Removal
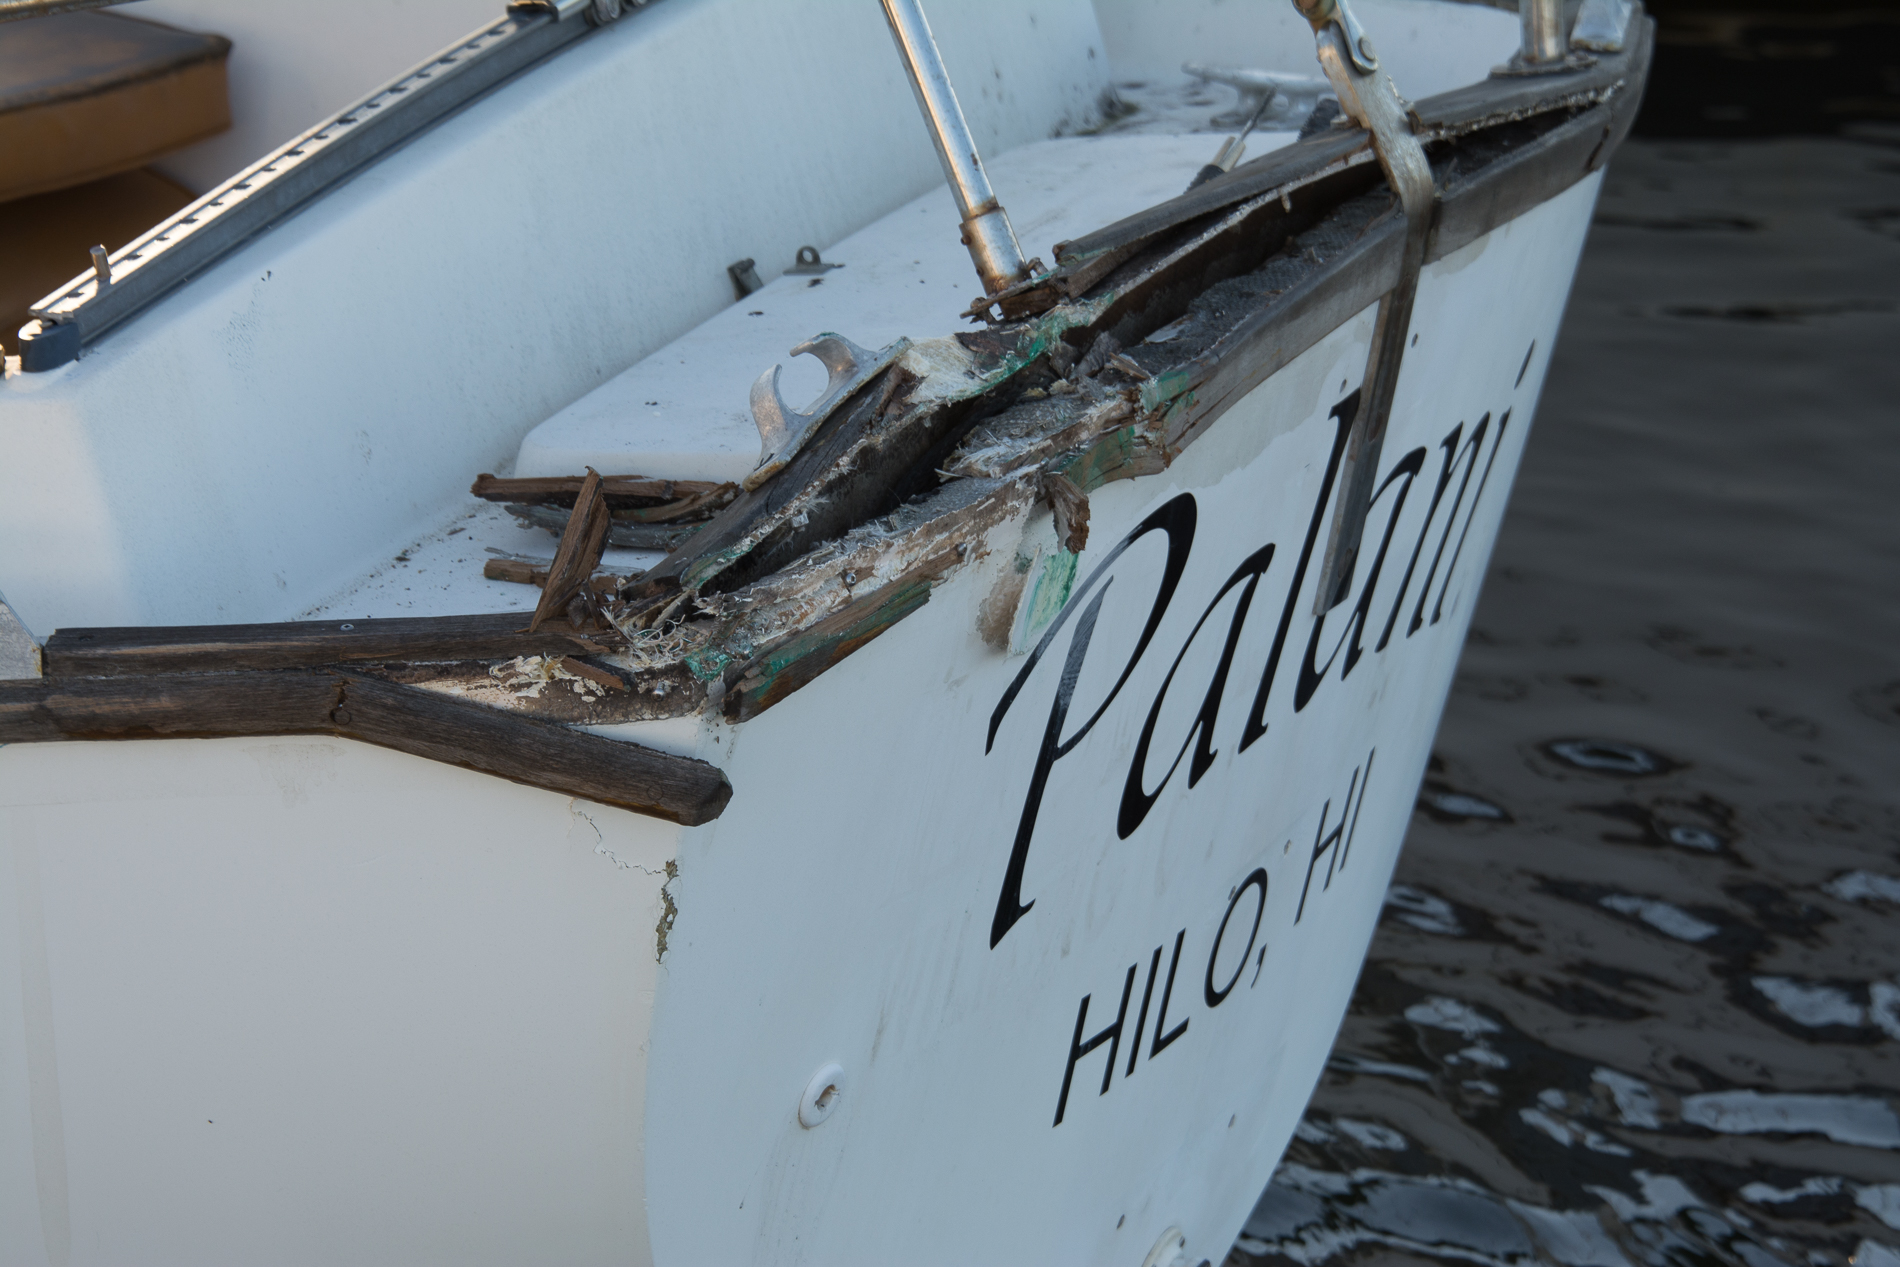
The removal of the portlight was easy as it’s just eight screws holding the window in place. In the pictures below you can see the rot caused by the leaky window. Also, the leaks made it impossible to use the drawers below them as they would fill with water (with the drawers out the water would roll down the inside of the hull to bilge). I’m trying to get the boat organized, so I needed those drawers.
Fiberglassing In The Portlight Hole
The first step in filling a hole that goes through the hull is to use something for backing to give you support as you apply the fiberglass and epoxy. I made a beginners mistake of using duct tape to do this. While duct tape works good enough for small areas, a hole this size I should have used either wood or plastic to provide more support. The duct tape bulged inwards. As this area will be behind cabinets that I’m going to install it’s not a big deal but it did require me to use more material than I should have.
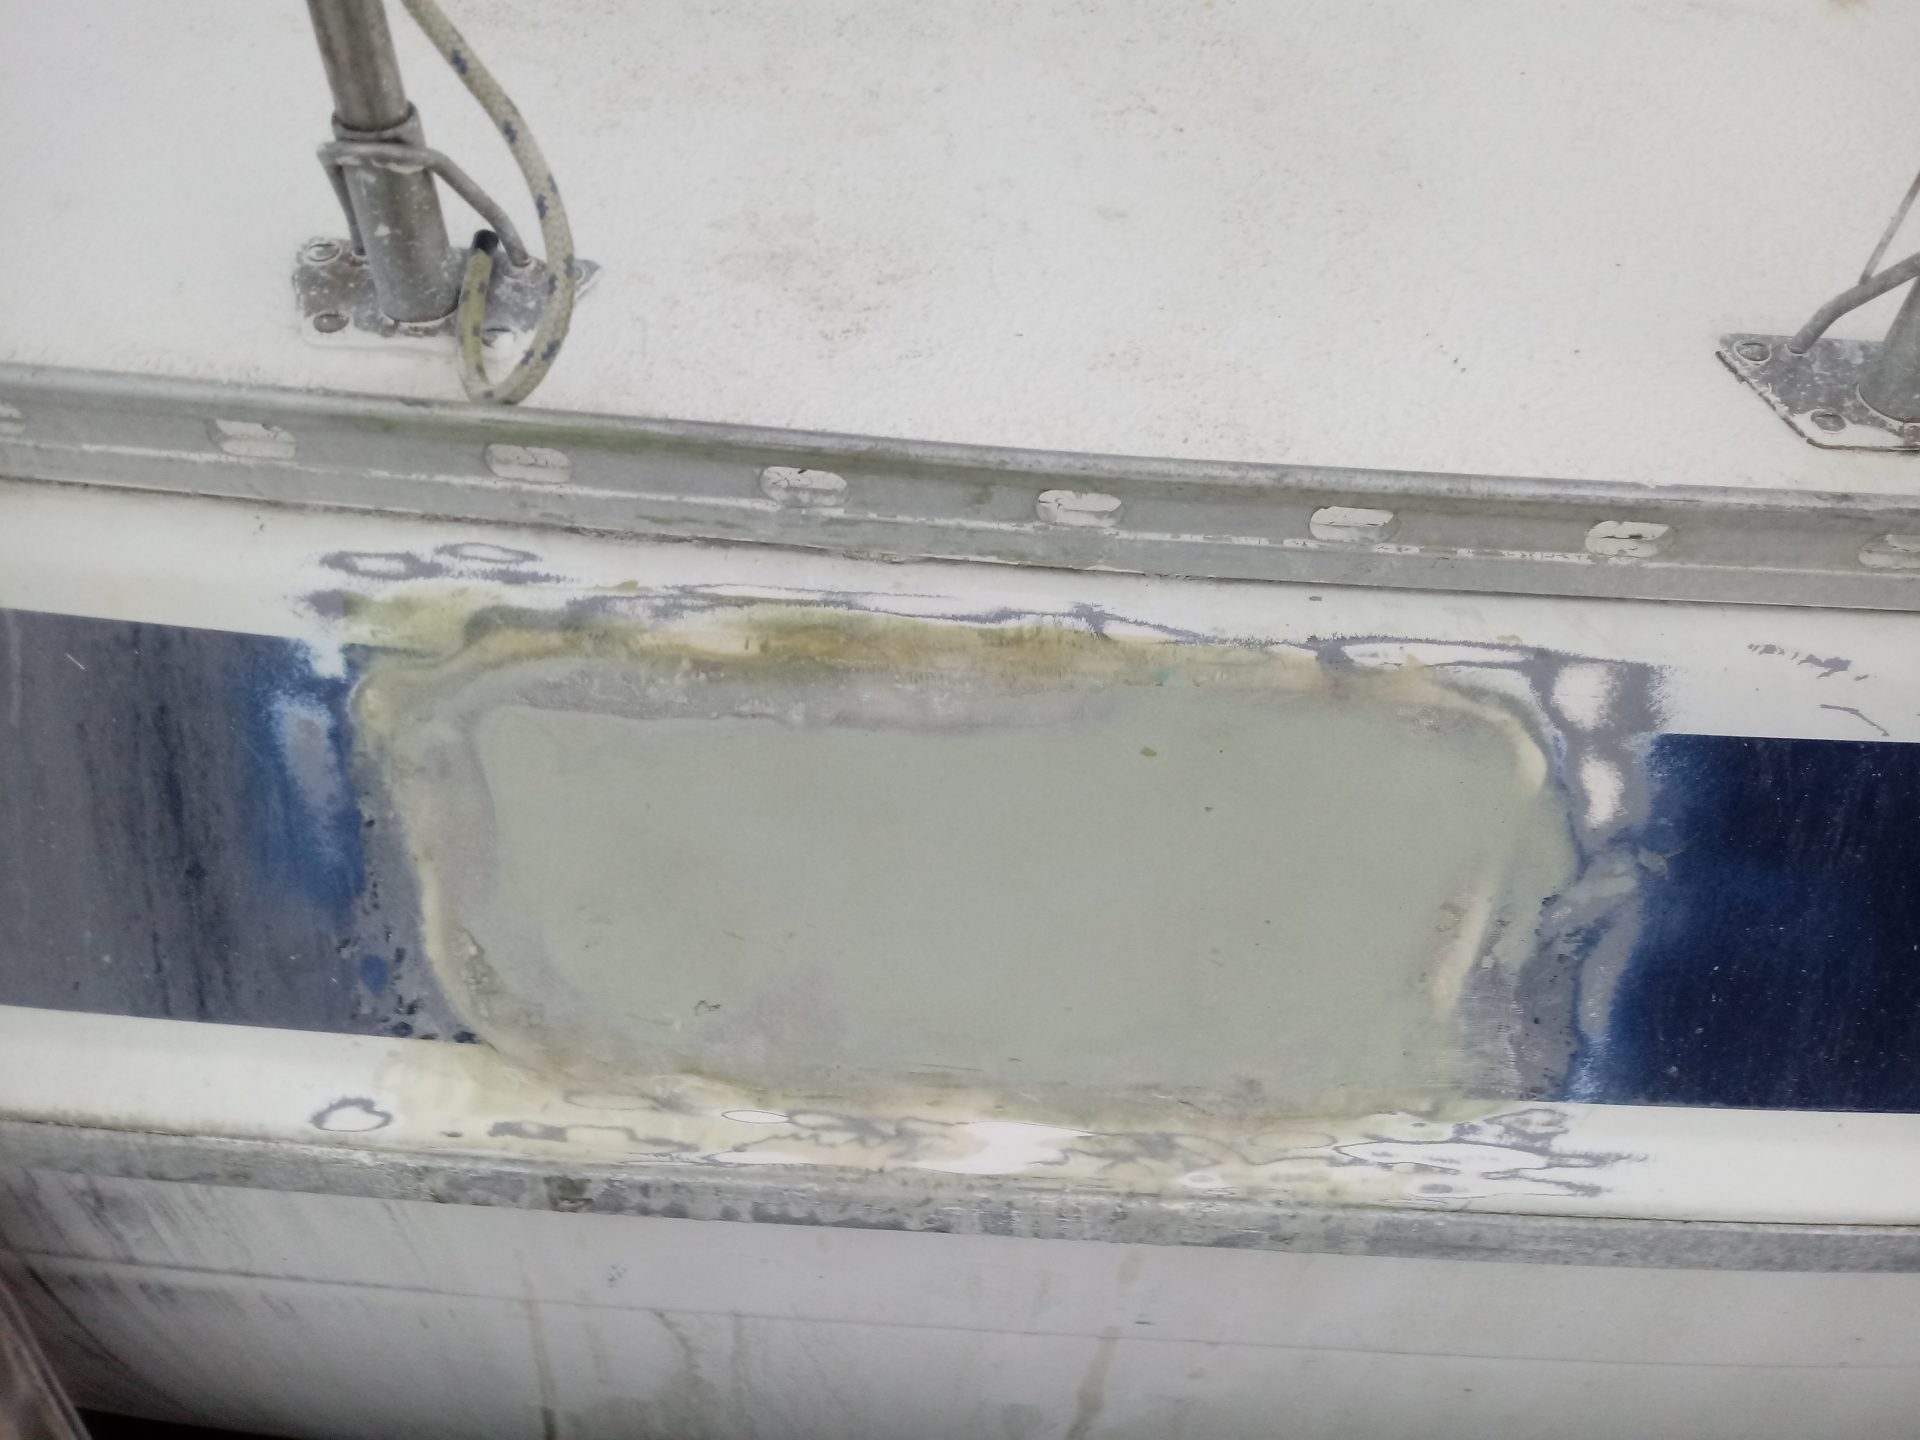
I used a thin layer of epoxy filler as it will be the inside layer and is easier to sand than fiberglass. I then placed ten layers of 10-ounce fiberglass. The core I used on the deck was too thick to use here, so I just used epoxy filler to build up a core layer then fiberglassed that in with more 10-ounce sheets. A final layer of filler to give me a sandable surface.
I’ll paint the stripe area (all the way from the rub rail to the toe rail along the length of the boat) when the summer rainy season is over. My mistake with the duct tape has this area way overbuilt now, but from the outside, you’ll not be able to tell there was a portlight there, and now I have storage in the galley. Down the road, I’m going to make cabinets to fill that shelf area where the gally portlight was located.


