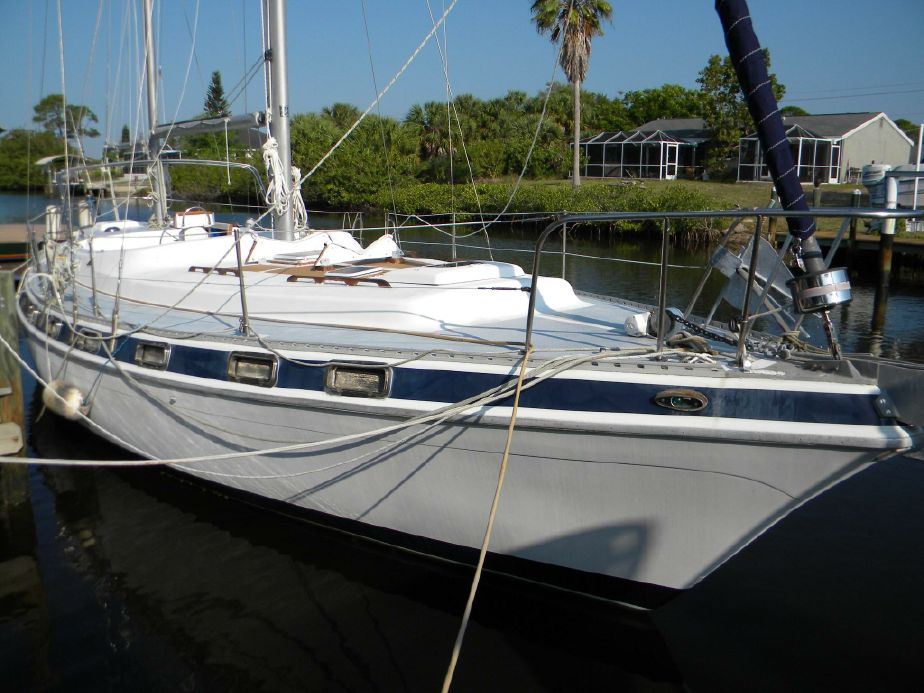
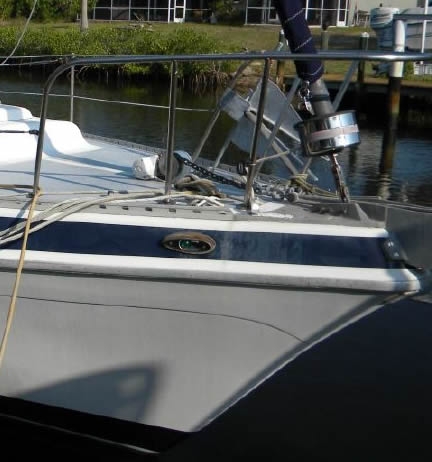
One of the known issues, when I purchased Pomaika’i, was a few soft spots in the deck. The bow area that supports the windlass, an electrical winch that raises and lowers the anchor chain, was the worst area on the deck. When you used the winch the deck would bounce so much the windlass just turned into a blur of motion. Definitely not something I could rely on to hold the sailboat in a blow.
Decks of production sailboats from the 70’s and 80’s are made of marine grade plywood sandwiched between and top and bottom layer of fiberglass. This method was a compromise between weight, sturdiness, and cost for construction. The wood core is lightweight and cost-effective but vulnerable to rot due to water intrusion. The Morgan Out Island’s were constructed with 3/4″ core layered top and bottom with 1/4″ of fiberglass, plenty sturdy as long as you didn’t get water intrusion.
As I was painting the deck (write up coming in a couple of weeks as I need to finish that project up), I decided to fix the soft spots in the deck beforehand.
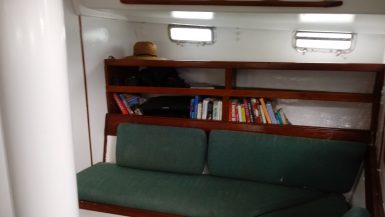
There was a soft spot next to the hatch in the main salon. As this didn’t affect any structural areas and was a minor issue, I fixed this by injecting epoxy and filler into the deck core. I drilled nine 1/4″ holes in the area and let the deck core dry. I then poured epoxy into the holes to build support columns for the deck area and reinforce the rotted wood. I then topped the holes with epoxy and filler to provide for a finished area for painting.
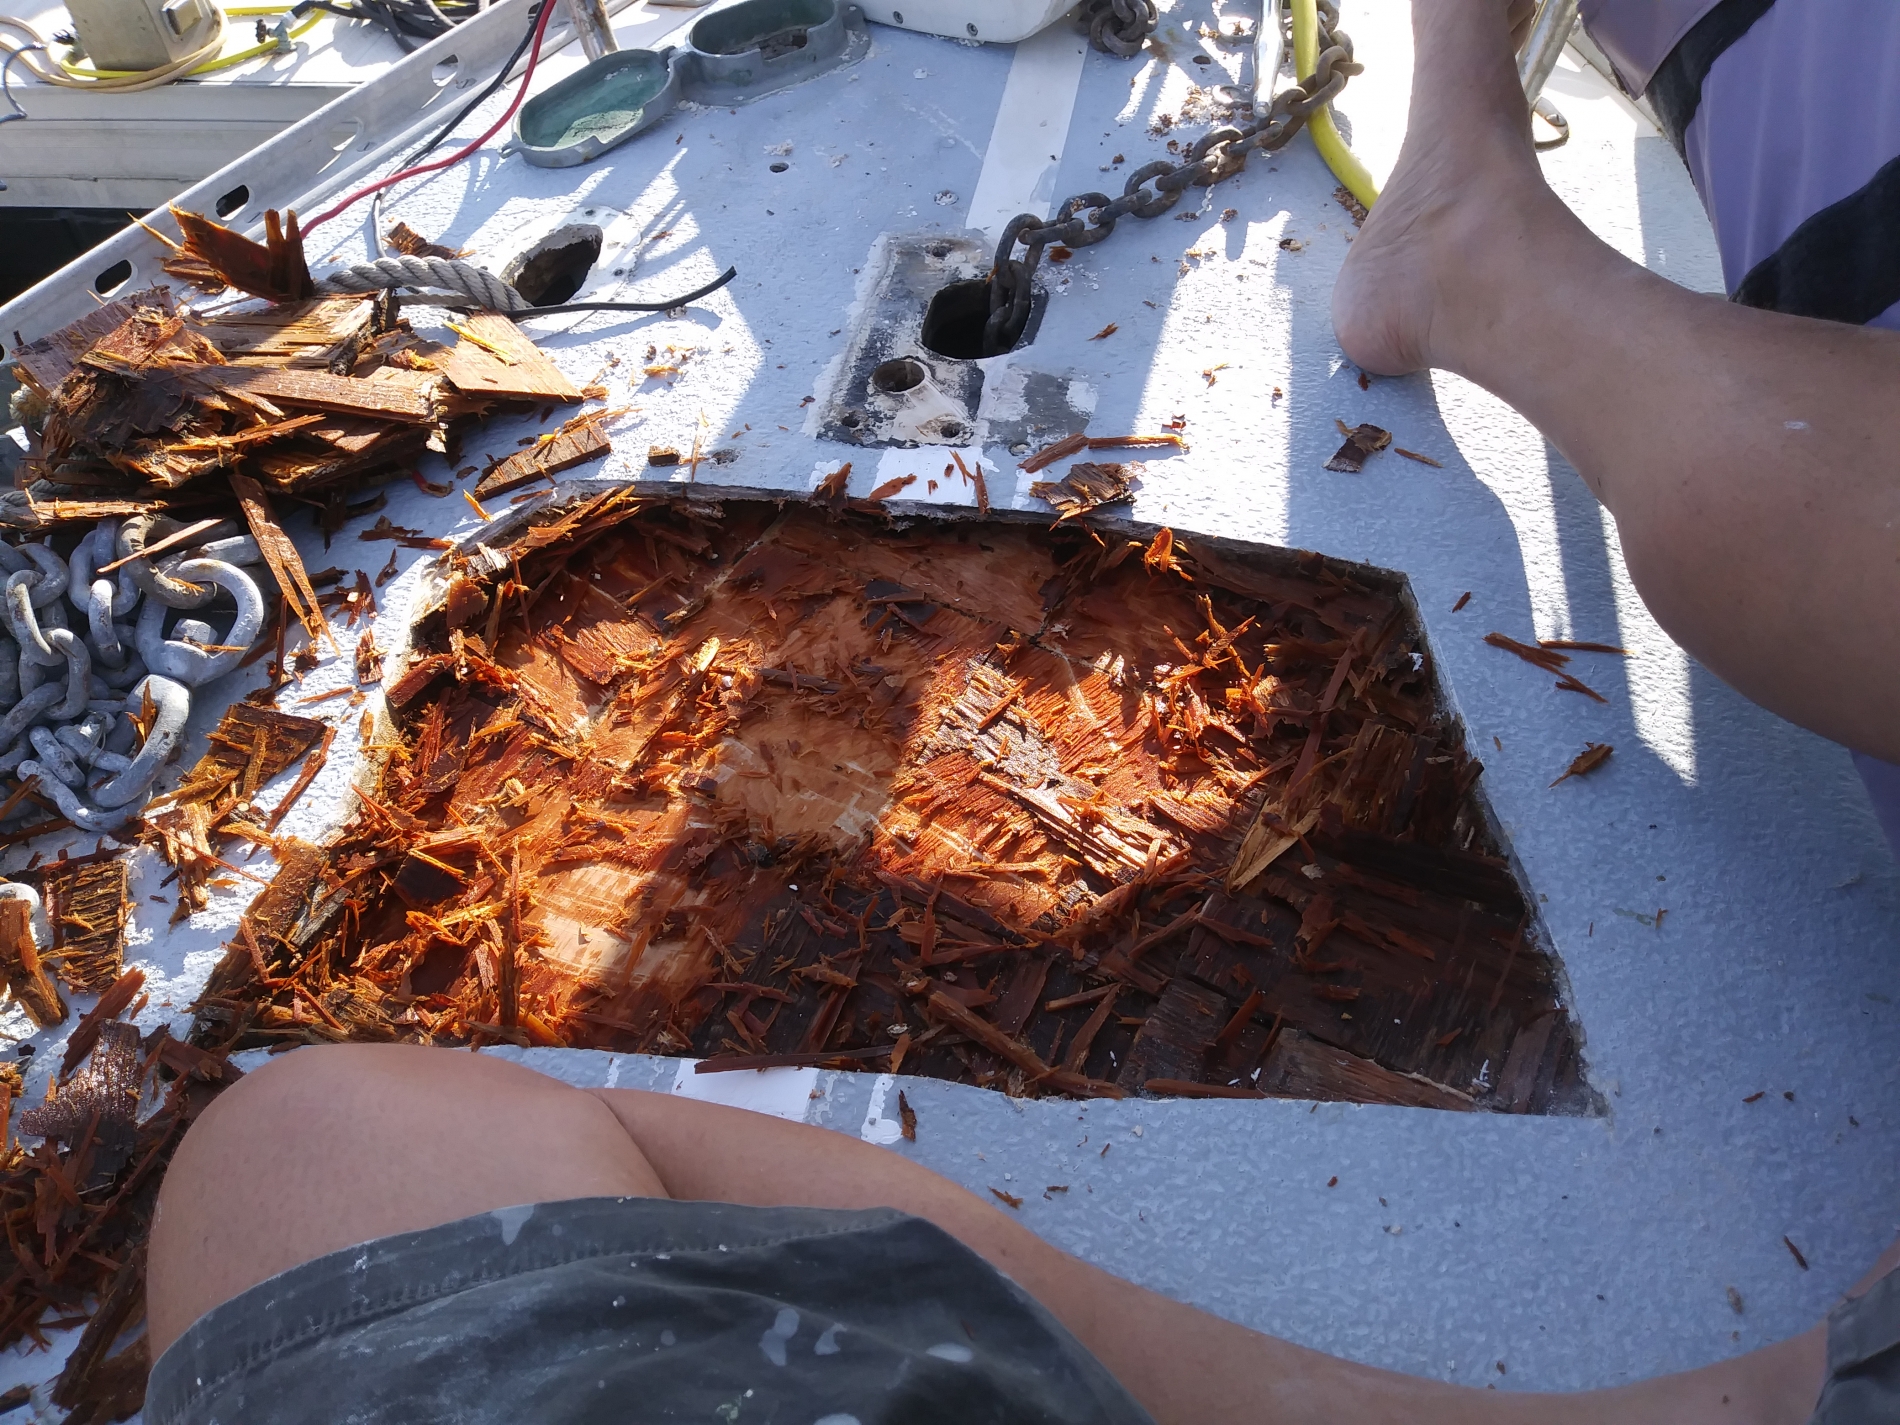
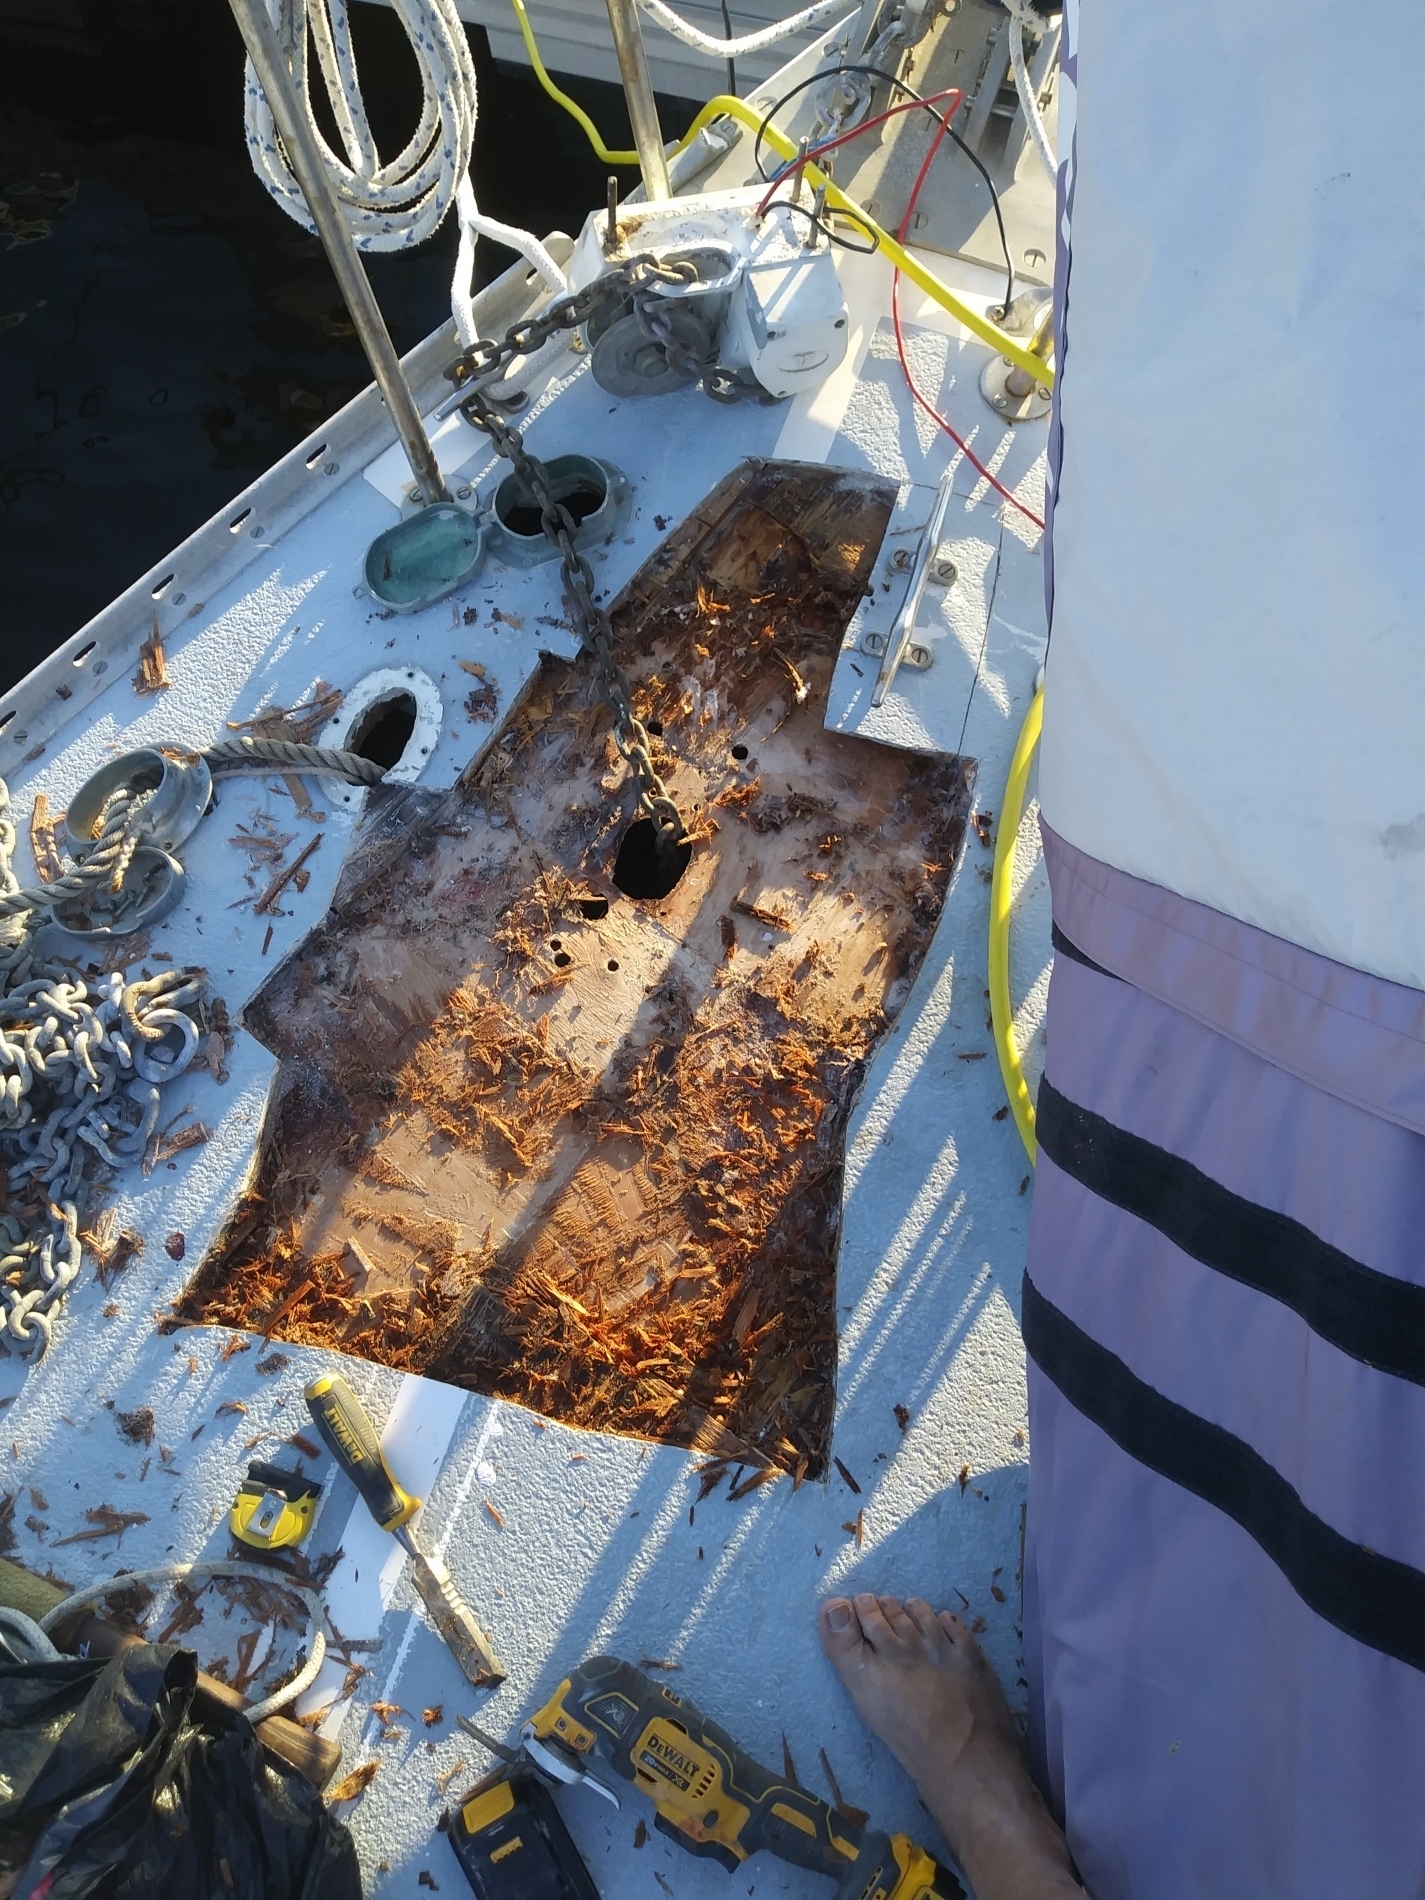
The windlass area was much more involved as there is a lot more pressure, both up and down, from the windlass operation. Using a multi-tool, I started cutting away the top layer of fiberglass. I chased the sound wood, expanding the cutout area so I could remove the remove the deck core that was rotted. In hindsight, I should have made a standard square/rectangle area to make cutting the core and fiberglassing easier.
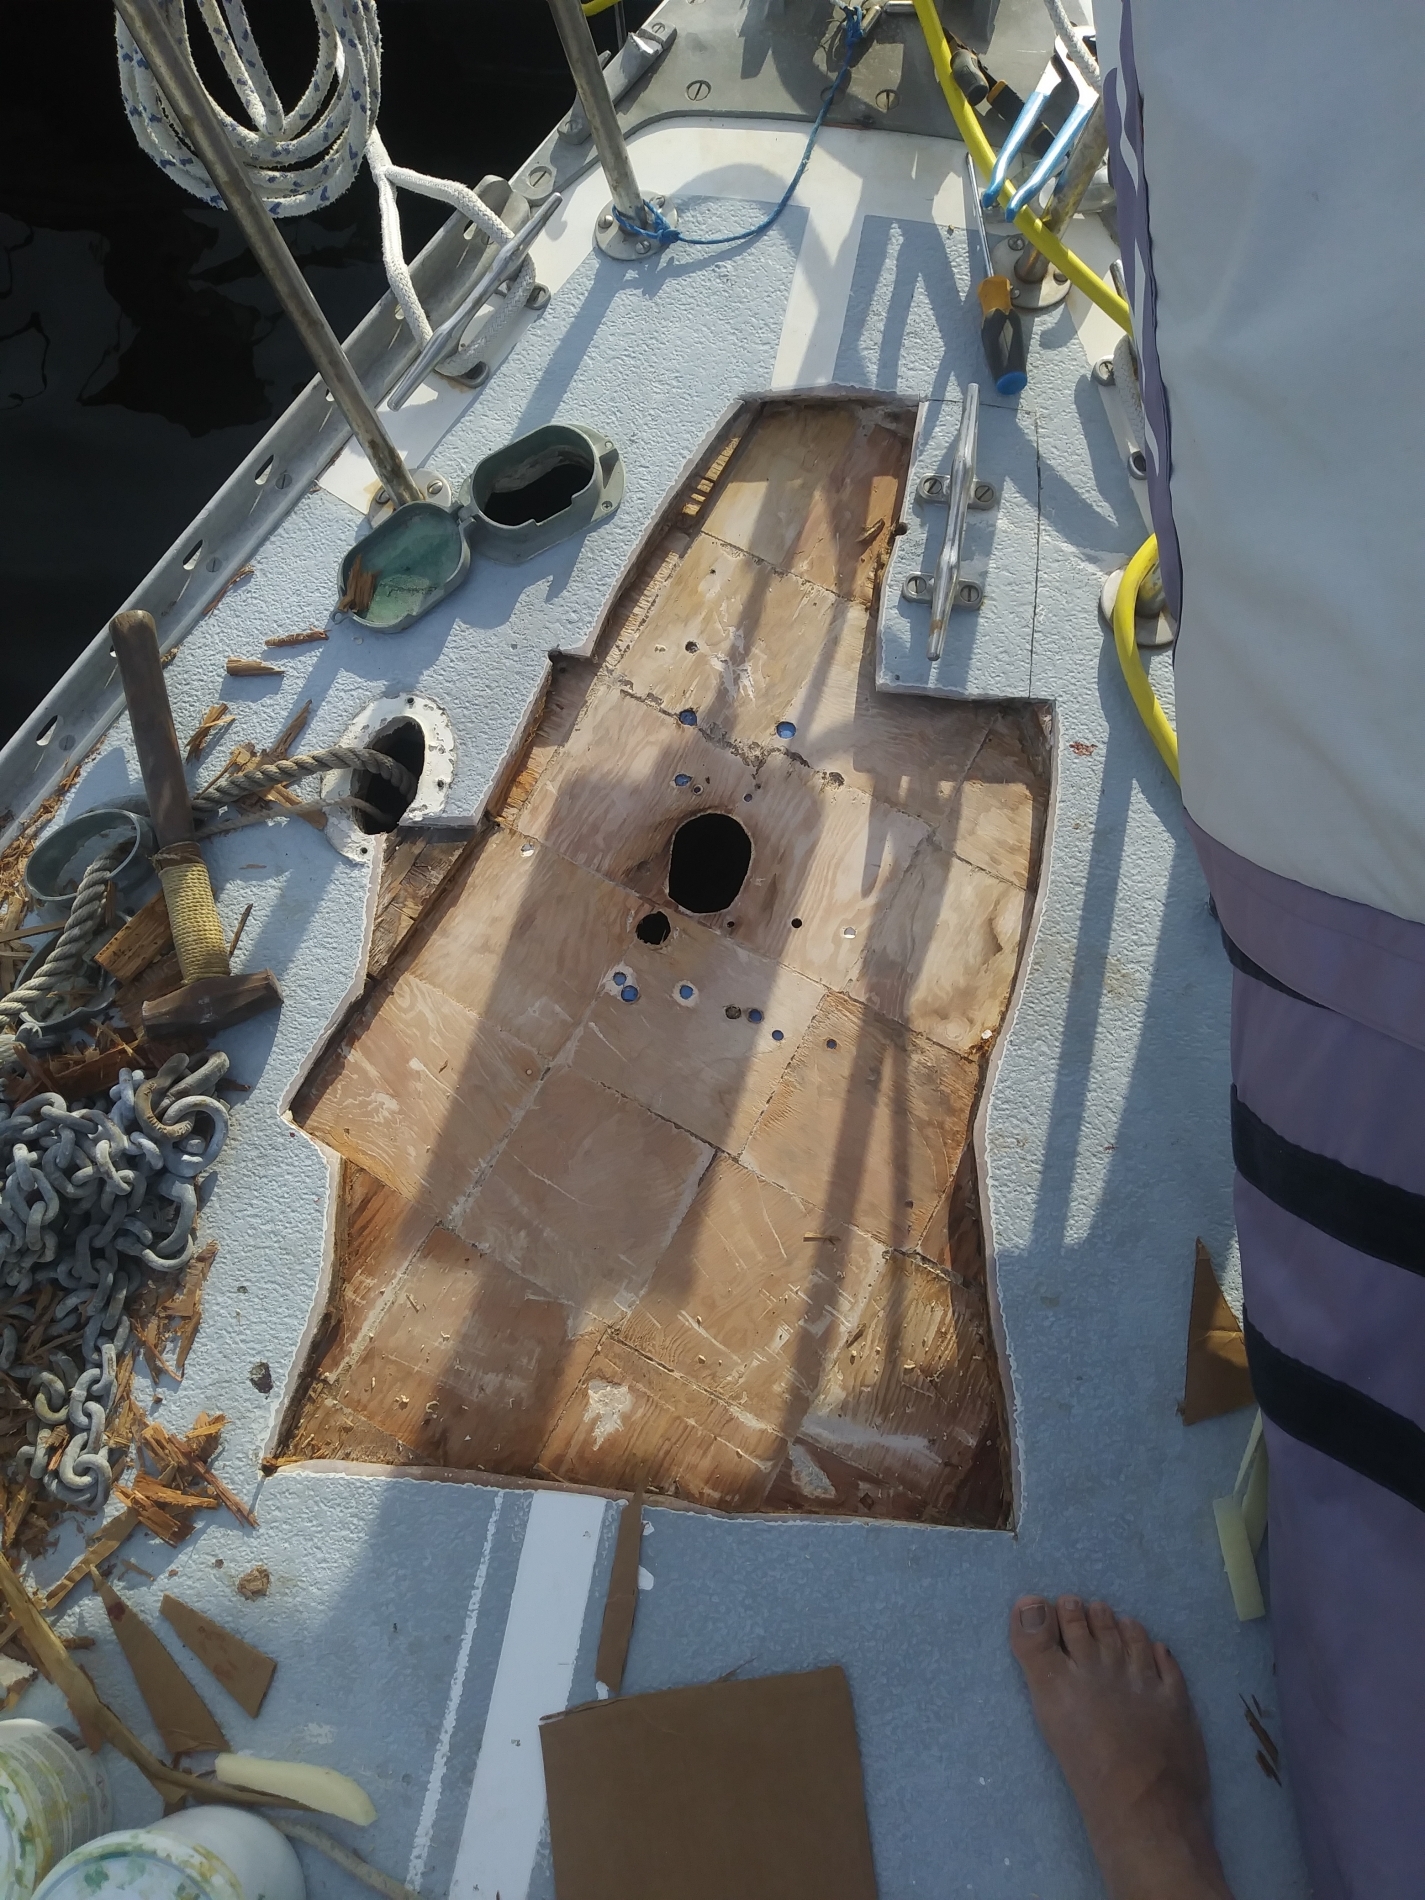
After cutting out the top fiberglass layer, I then removed all the rotted wood core. Most of it was like tissue paper, wet soggy tissue paper. I could wring out water from the wood. Once the bulk of the wood was out, I used a chisel to clean up the edges and remove any wood still stuck to the bottom layer of fiberglass.
I let this stand for three days to allow the area to dry. I then sanded the bottom layer of fiberglass (on the core side) and beveled the top level of fiberglass in preparation to replace the core and glass it over.
Deck Core Rebuild
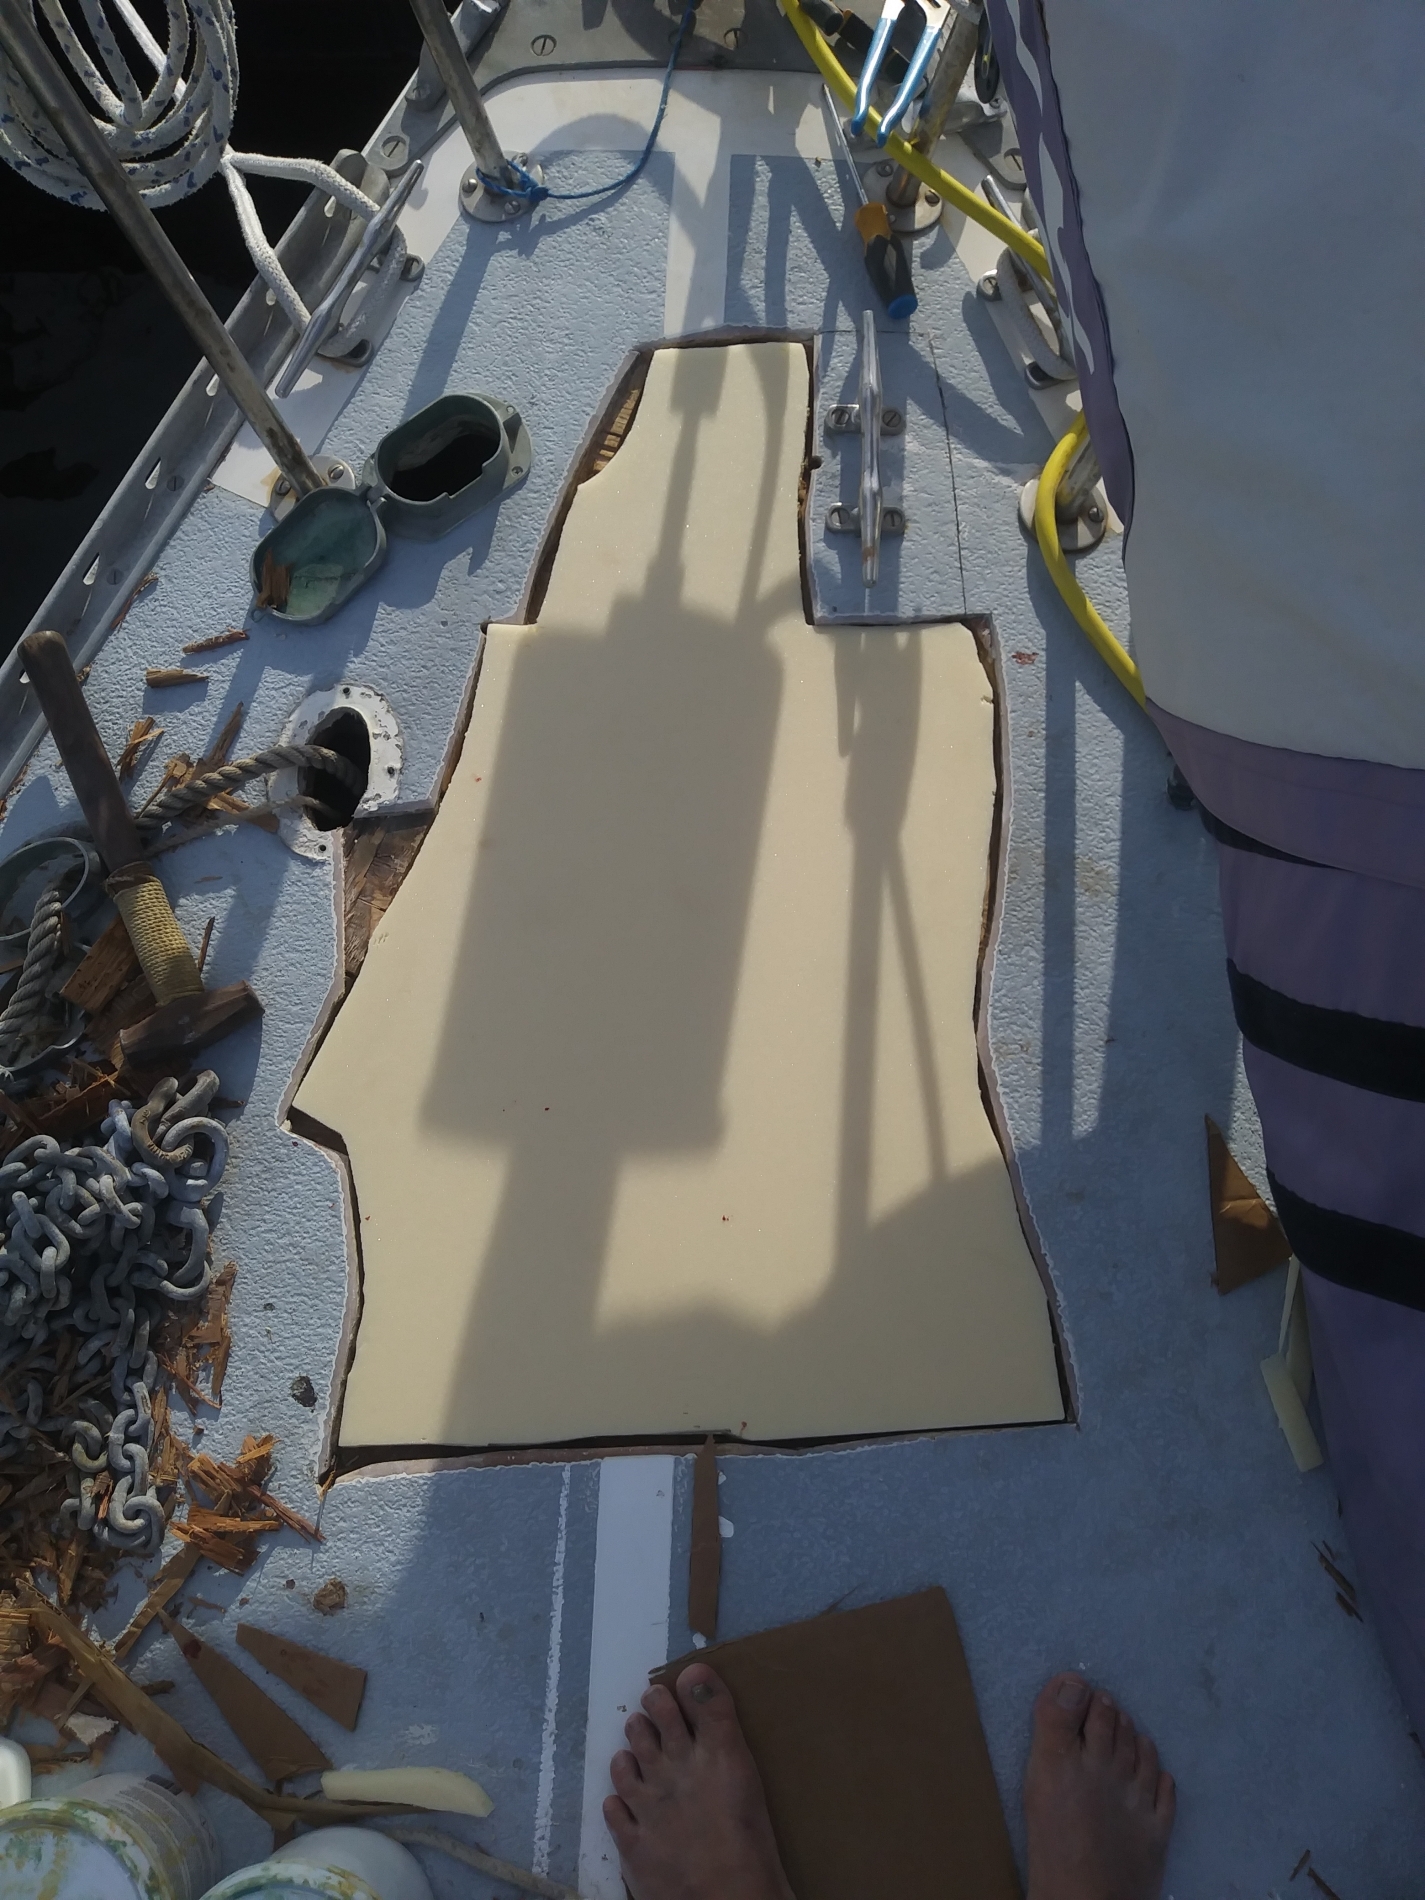
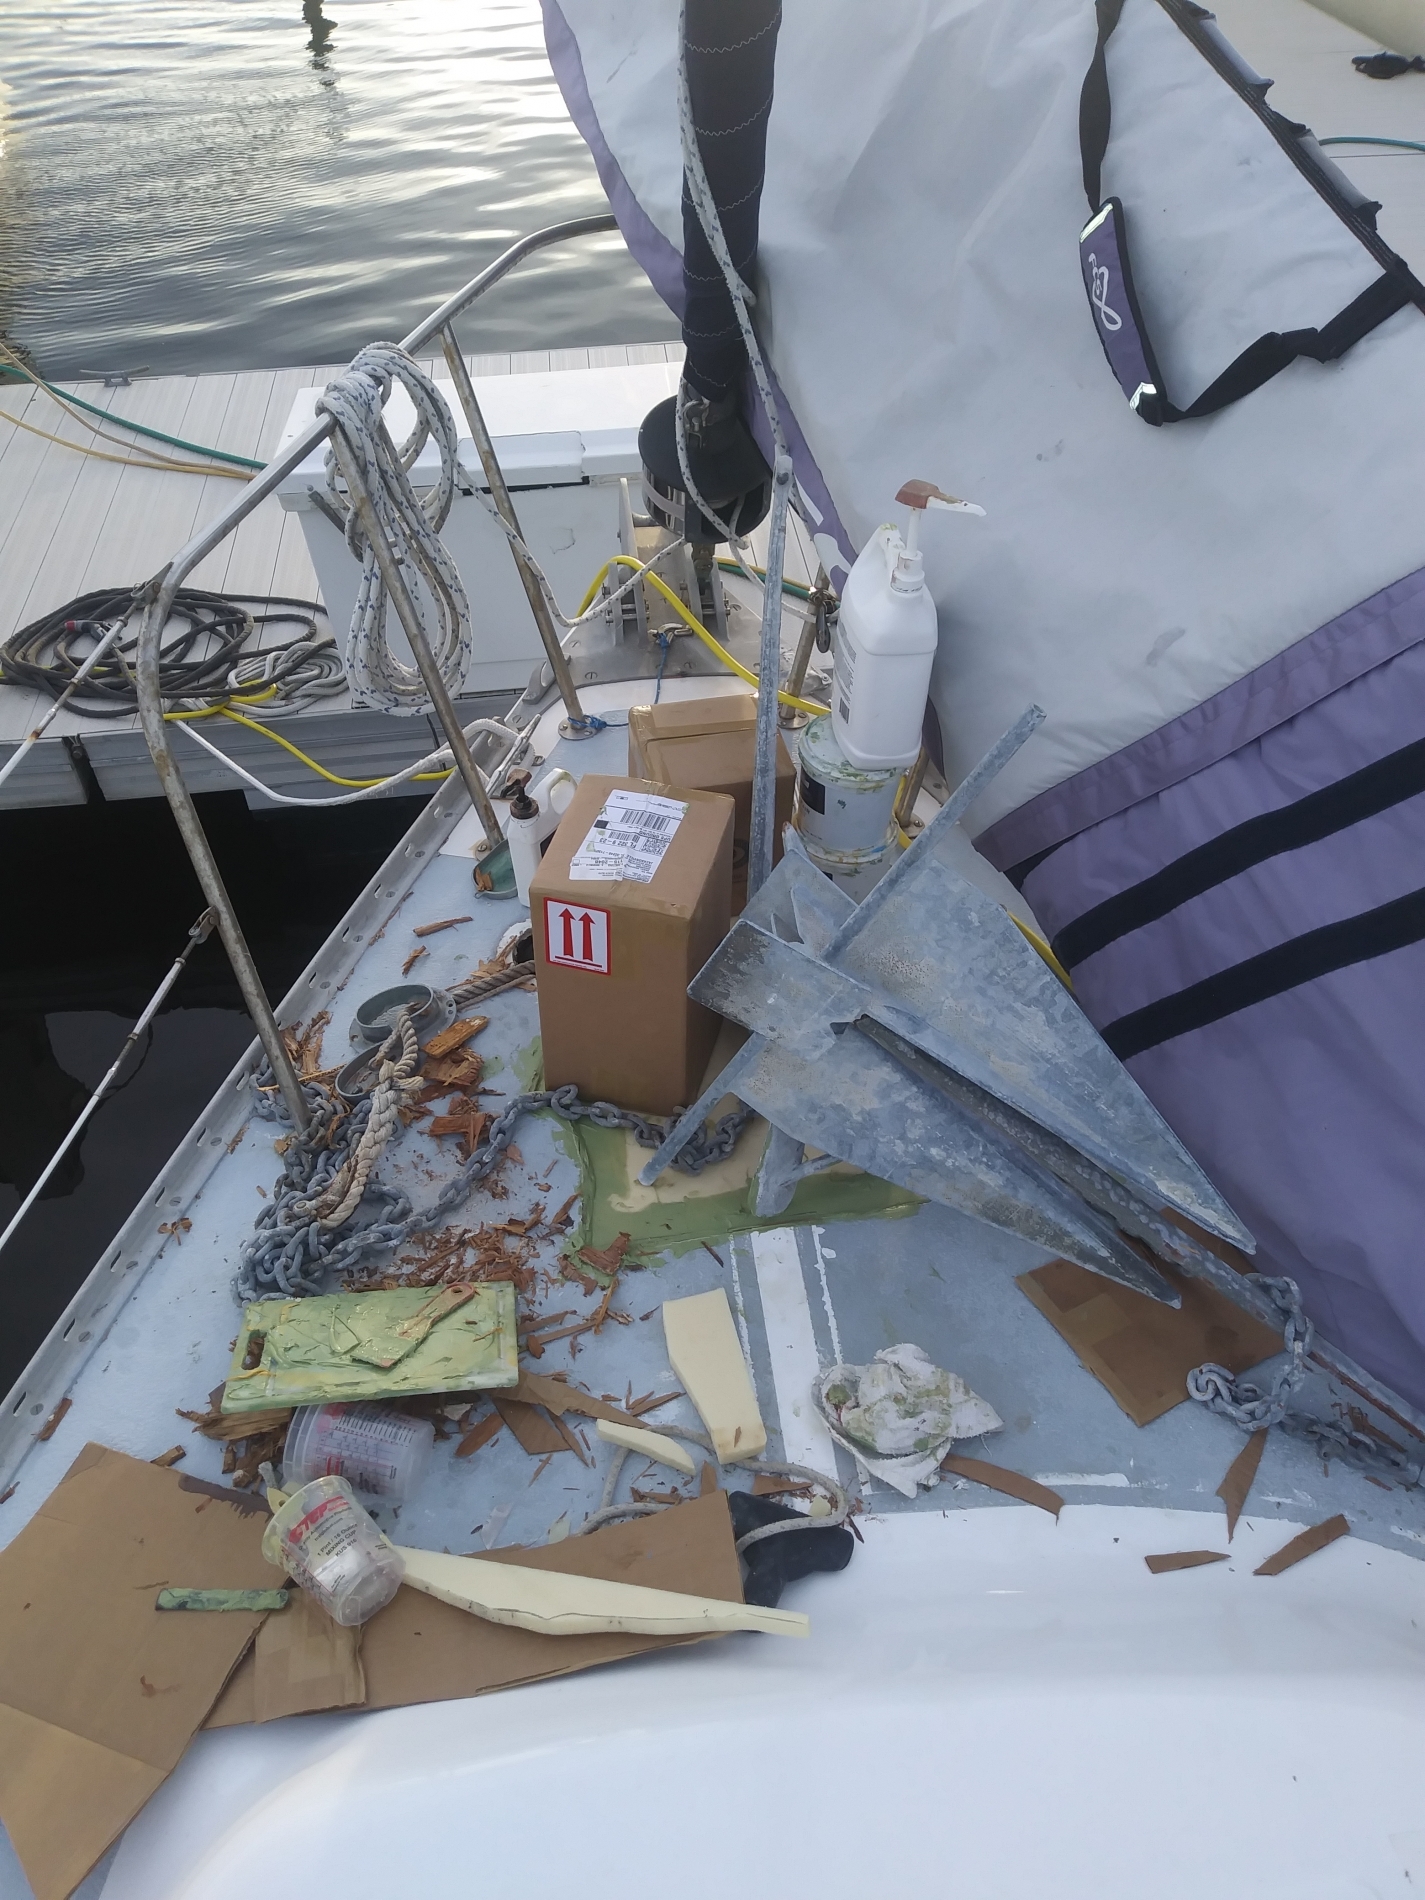
I used Gurit Corecell to replace the wood core. This foam core was easy to shape with a jigsaw and won’t rot if water gets into the core again. I used some cardboard to cut a pattern for the unusual shape needed (one of the reasons a standard square or rectangle cut out would have made things easier). I then cut the core cell to match that shape.
I painted the cutout with epoxy to adhere the core cell to the bottom fiberglass layer and placed the foam core into the cutout. I filled any gaps between the new core and the old wood with epoxy and filler. Since I had created an angle with the chisel when I cleaned up the old wood, this provided a mechanical as well as a chemical bond between the two cores.
As the deck in this area has a slight curve I used the anchors and chains (and anything else with weight) to hold the core in place. This also pushed up any extra epoxy filler making sure that any gaps were filled entirely.
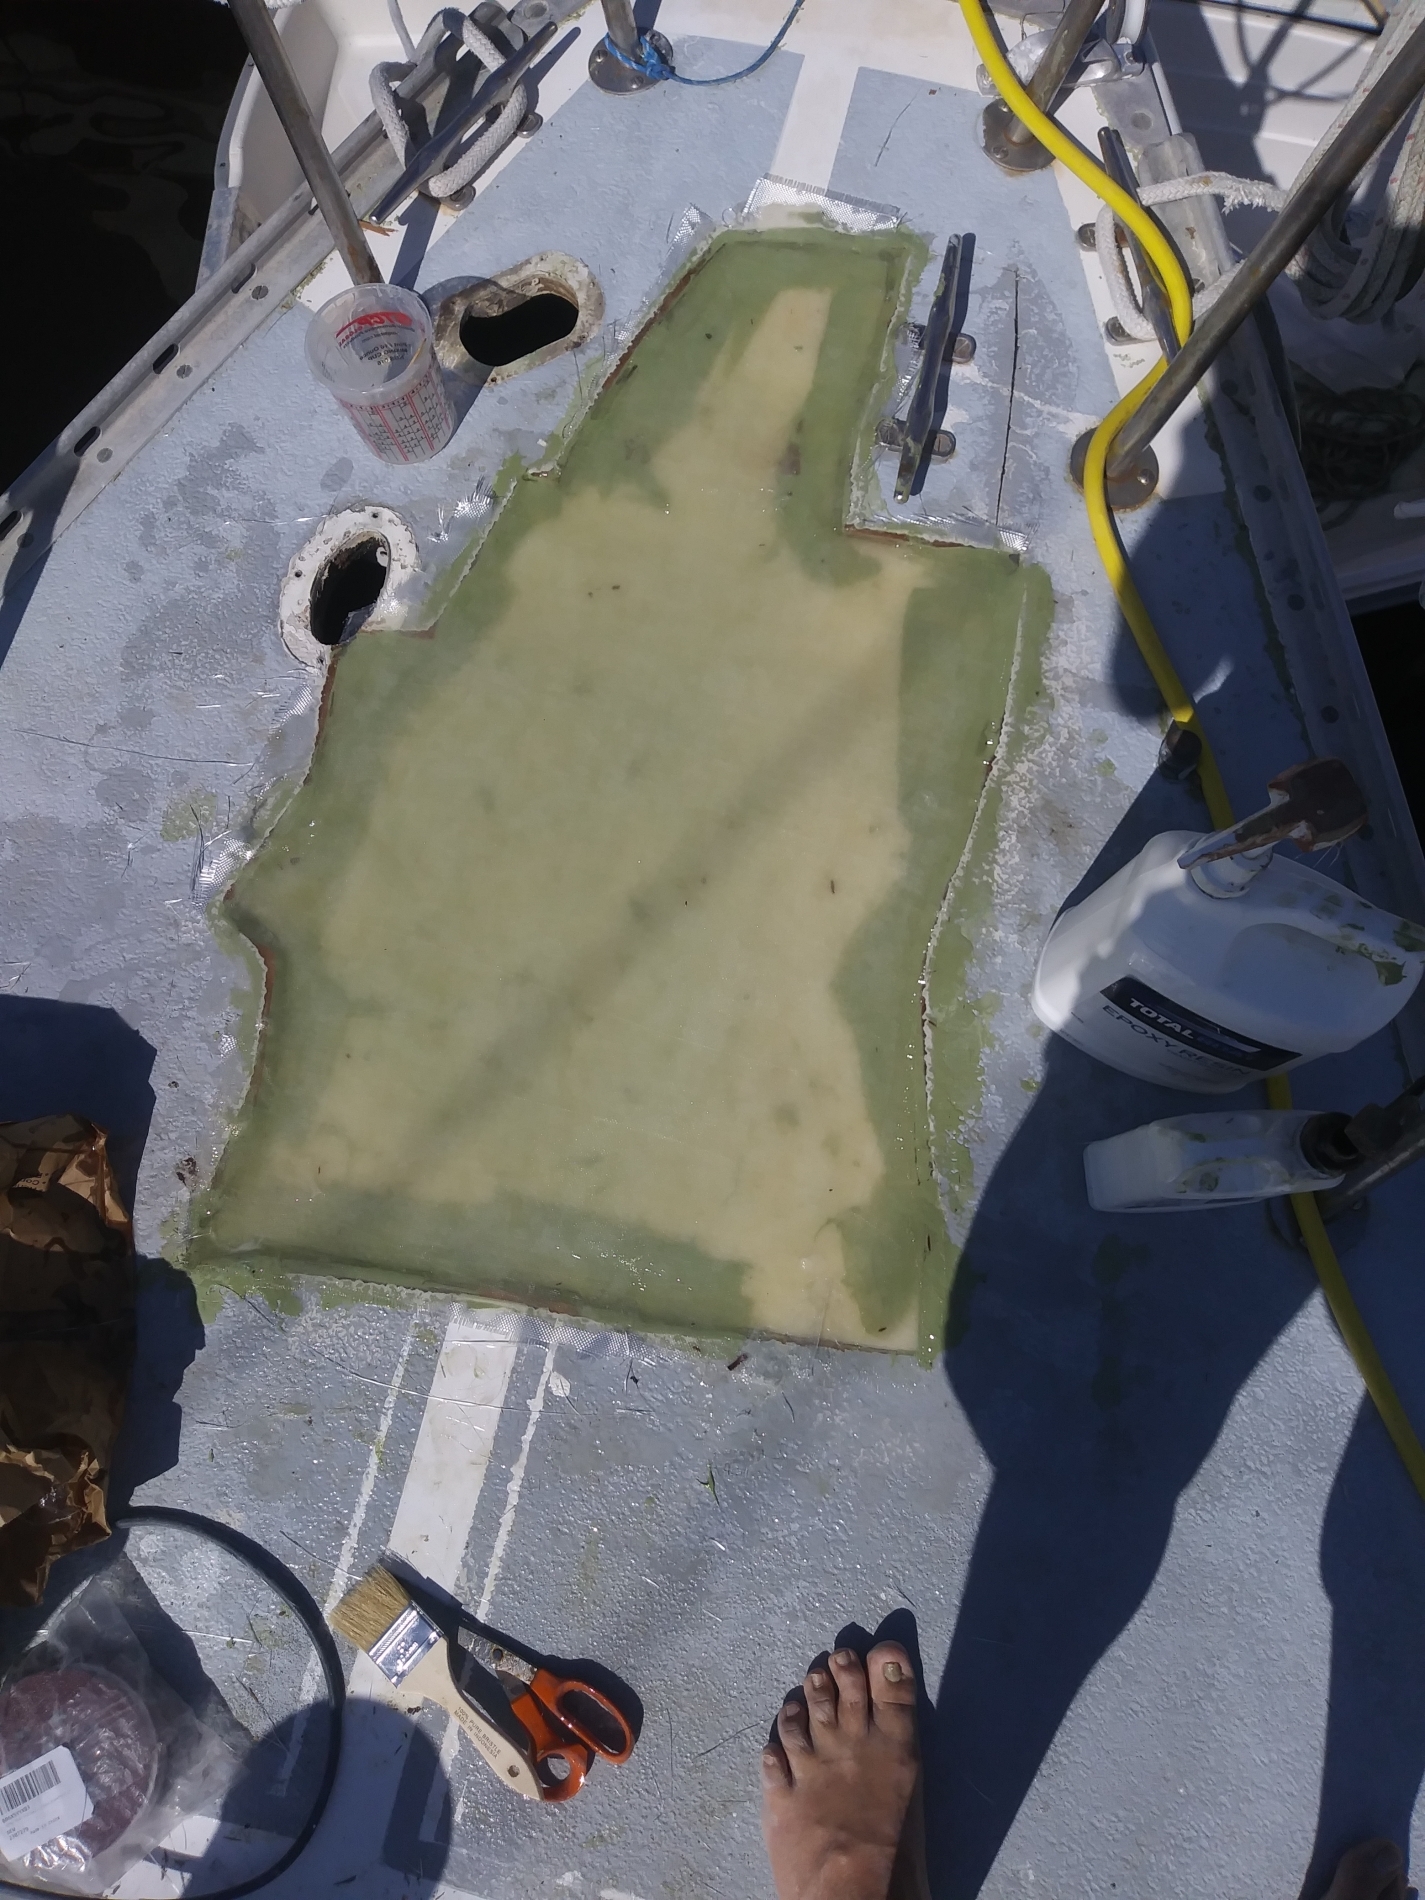
After drying overnight, I then sanded the area once more in preparation to fiberglass in the area. I had forgotten to order fiberglass cloth (I thought I had some already) so had to buy some locally. They only had 6 oz cloth, but usually would had used 10 oz cloth in this application.
I layered 50 square feet of fiberglass cloth into this area. The last two layers were cut to match the original pattern plus a little excess to feather into the existing fiberglass layer. I let this area dry overnight.
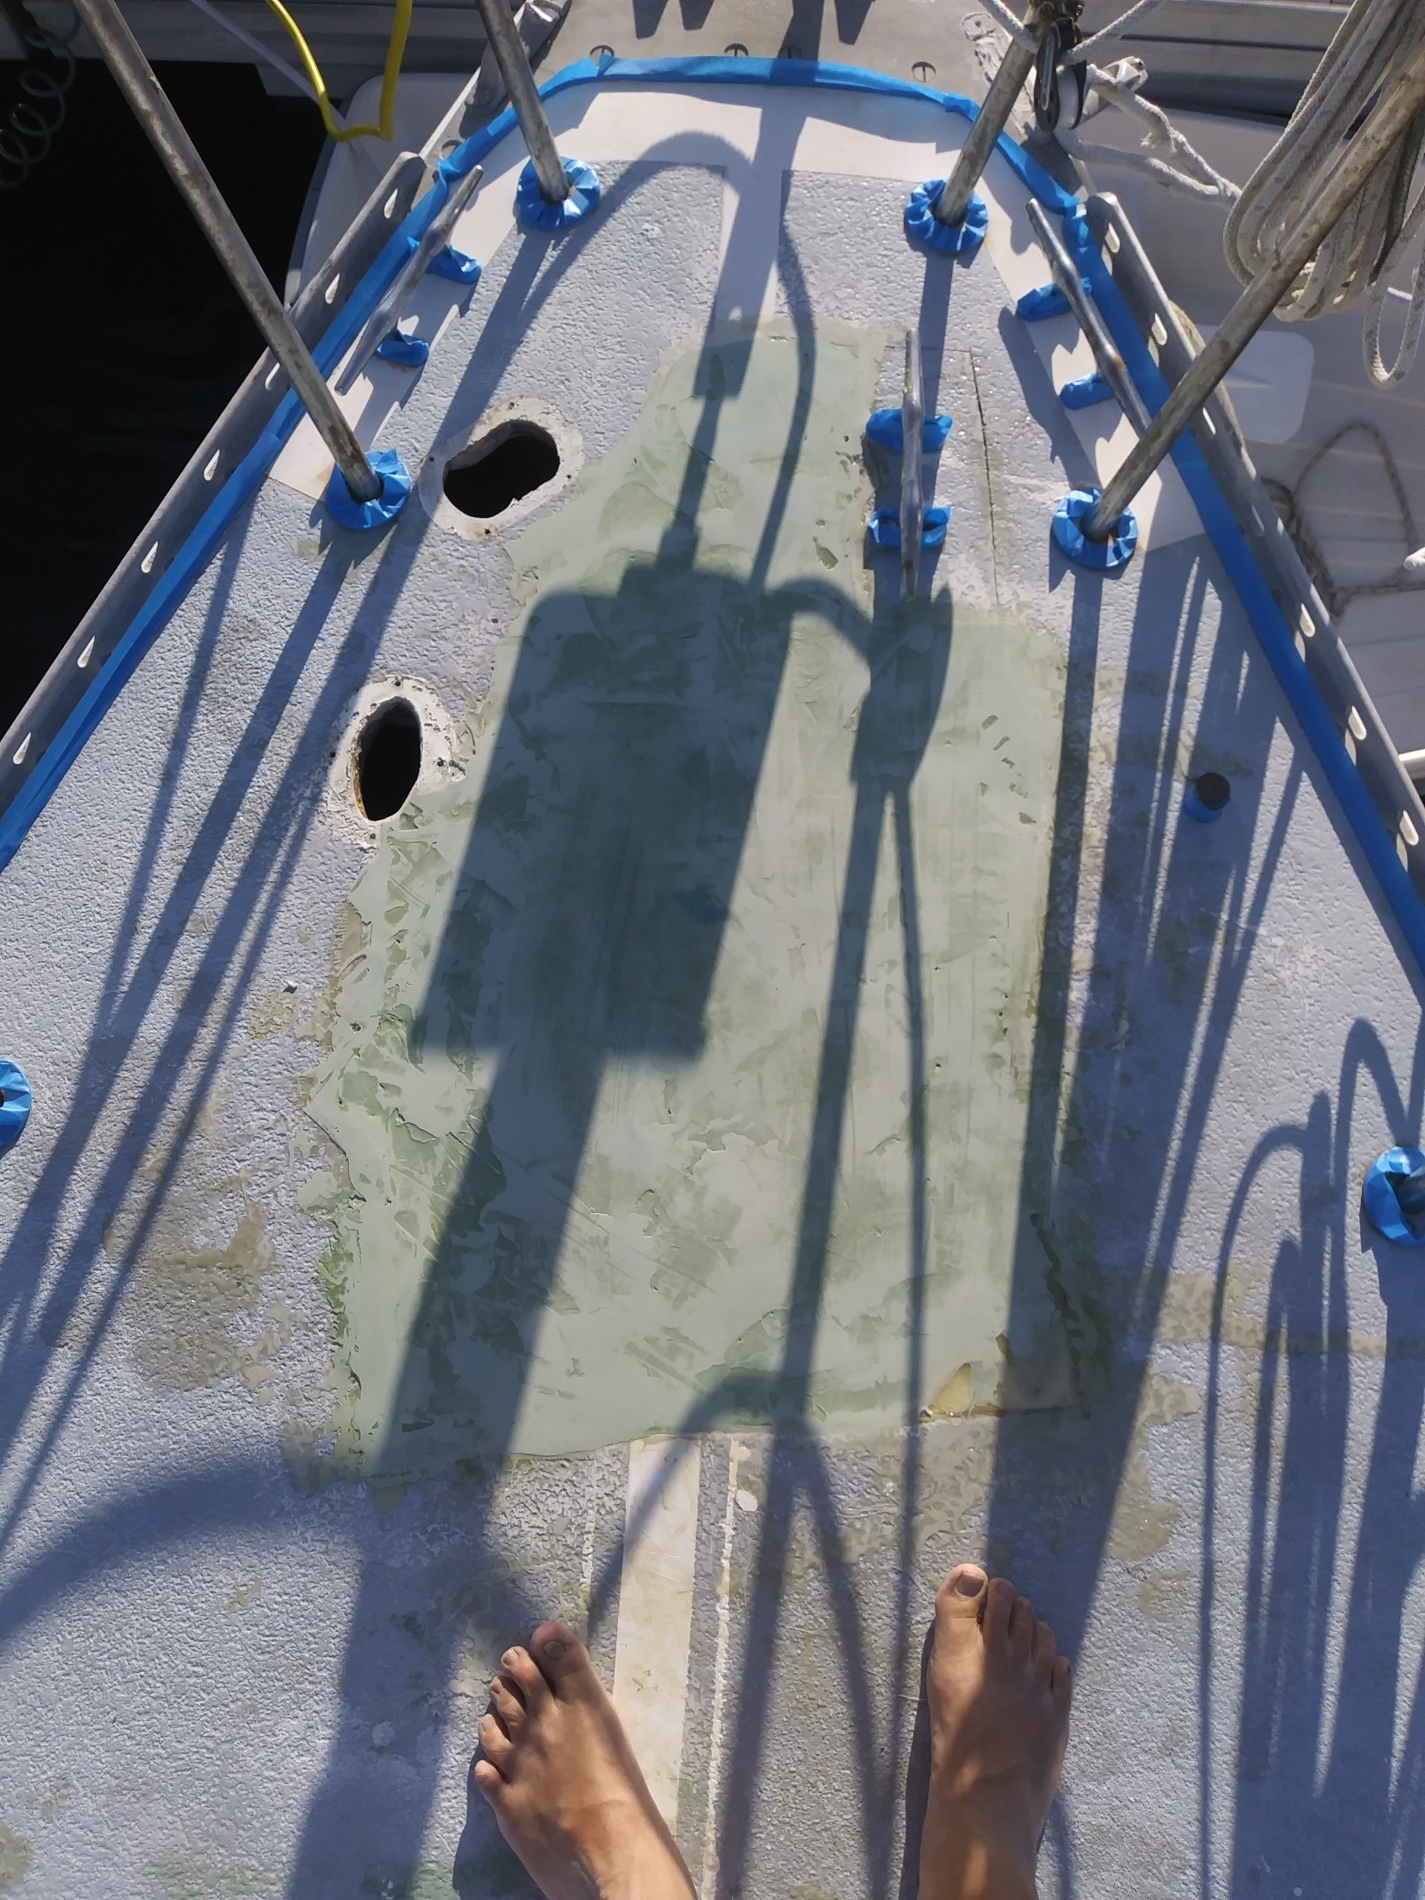
Fairing The Deck
I then sanded this area one more time and used epoxy and filler to fair the deck in preparation for painting. The more I work with epoxy the better I’ve gotten at getting a good fairing that doesn’t require a lot of sanding to finish.
The result is a solid base (the old deck core was 6″ wood squares and this is a 2′ x 2′ solid core slab) for the windlass that will be immune to water rot. It will outlast my ownership of the boat for sure.