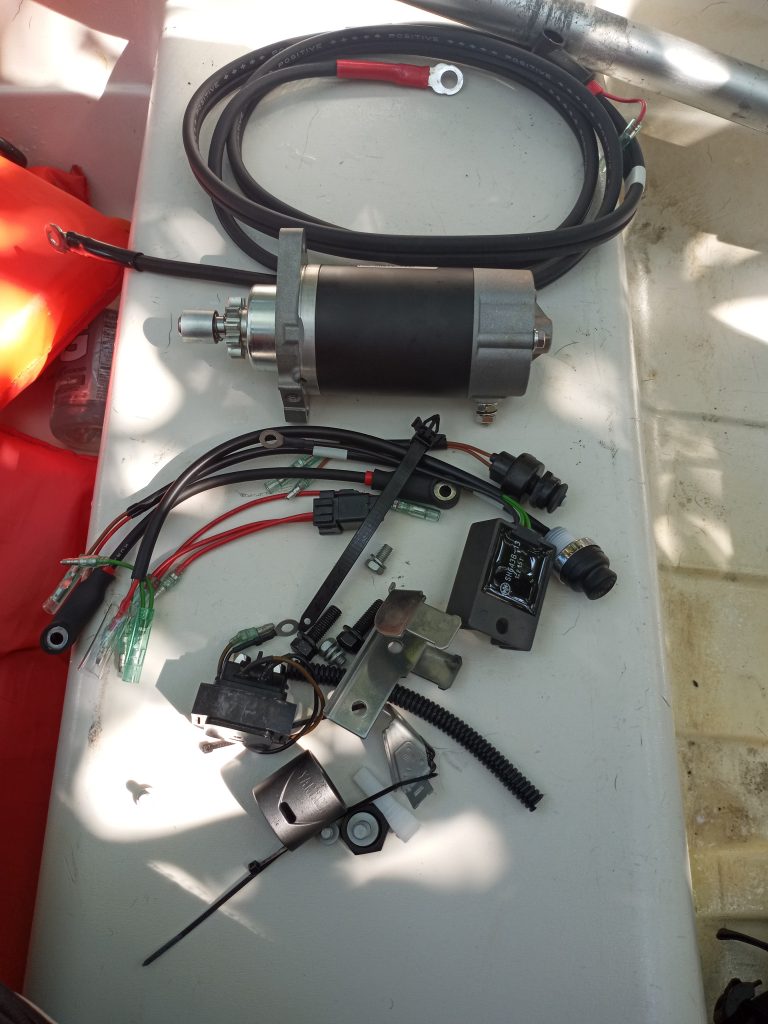
My partner has a hard time starting the outboard engine on the dinghy, which limits her ability to get off the boat without me playing chauffeur. So I bought a electric start kit for our outboard from Boats.net. The proper kit is 6DR-W8180-11-00 (around $300). I don’t have any affiliation with Boats.net, just a site that I find parts for what I’m doing.
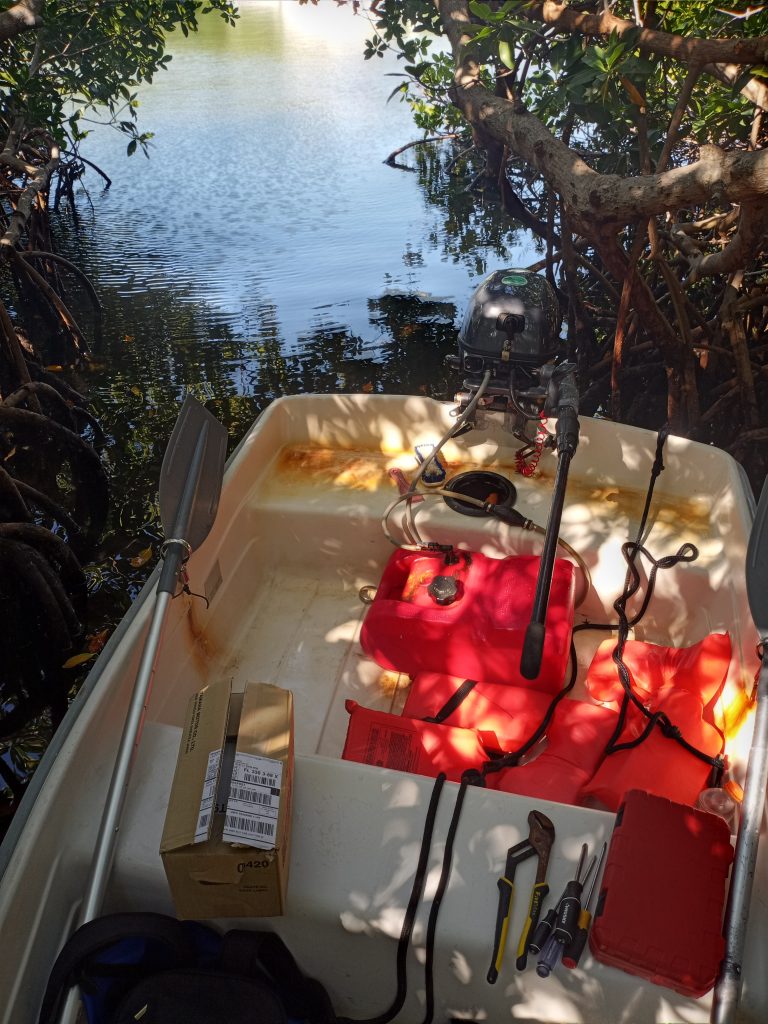
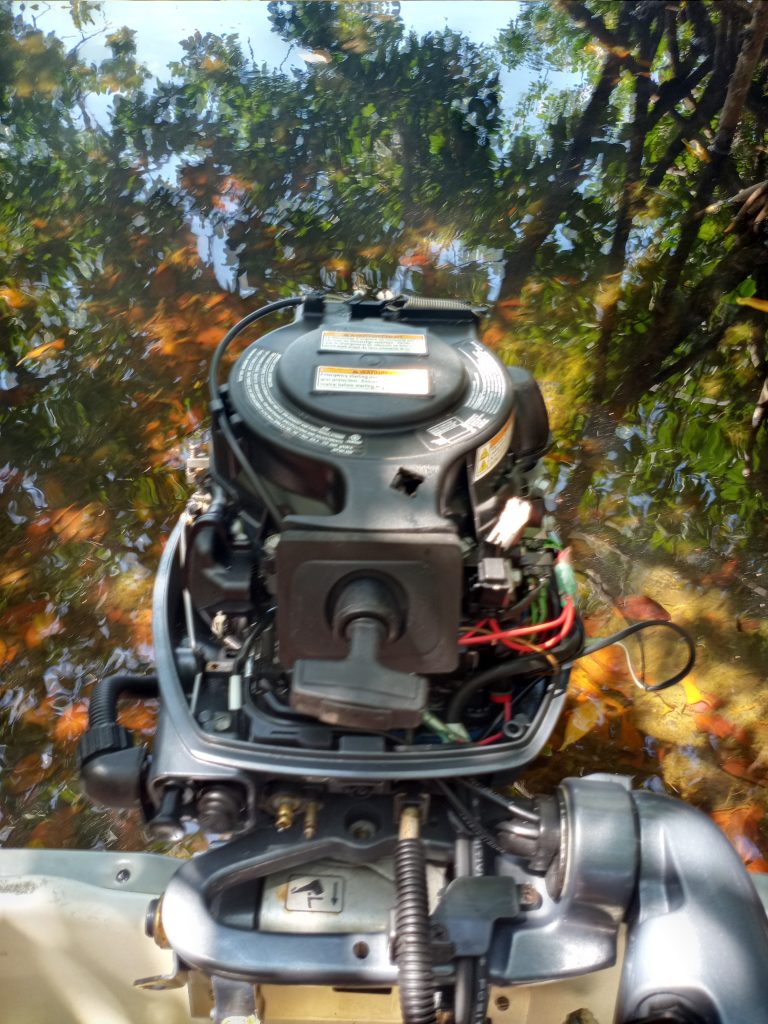
The trade winds kicked up this week so I headed into the mangroves to find a place to work out of the wind and waves. I can really be a pain trying to work on the engine when the dinghy is bouncing up and down. Here’s my workshop for the day.
I couldn’t find any type of write up or video about this procedure online so really didn’t know what to expect when ordering the kit and secondary parts. I brought a wide range of tools but all you need are:
- 10mm and 12mm sockets, small extension and drive. I’ve found small drives better as the Yamaha engineers didn’t design in being able to work on the engines and the available space is small.
- 12 wrench (for one bolt they left no space to get a socket on)
- Phillips screw driver
- Knife (to cut out areas on the rubber grommets to put in a switch and allow the battery cable to exit the engine area to the battery
It took me about 2 hours to do the process even though it was very easy installation. I’ve learned to take my time so I don’t drop bolts and tools into the water. The provided instructions where easy to follow.
I also bought a small 3 AH motorcycle battery, battery box and a solar panel for recharging the battery. All this was $100 via Amazon, but it looks like the system charges the battery so a battery and box will run you about $50.
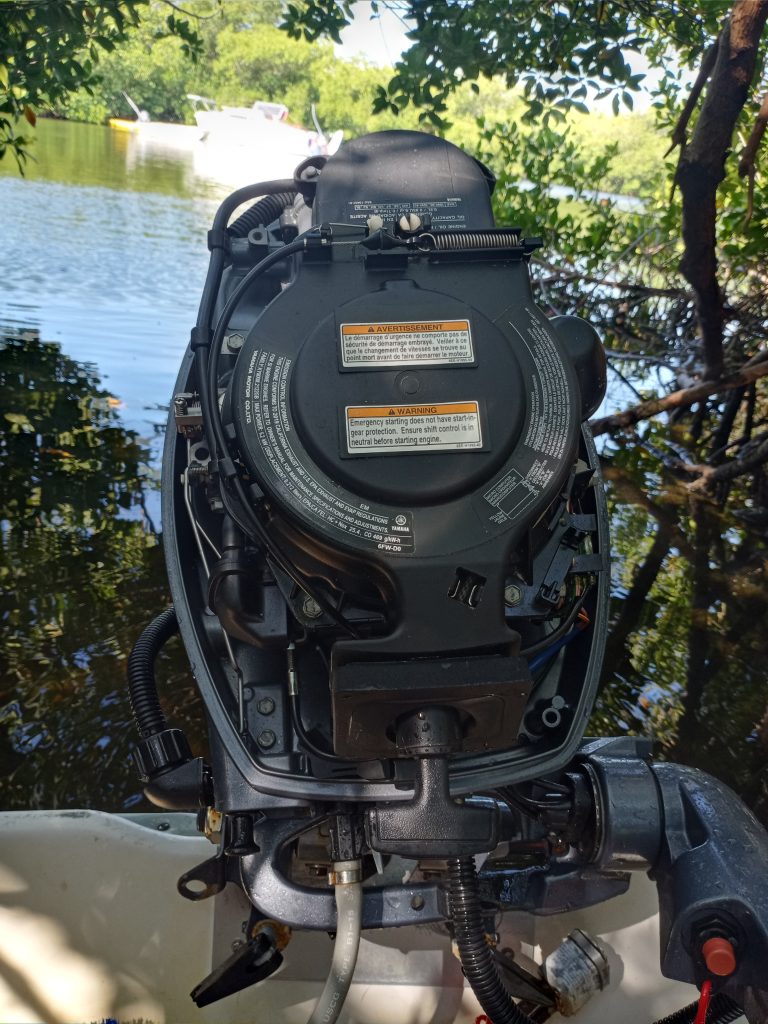
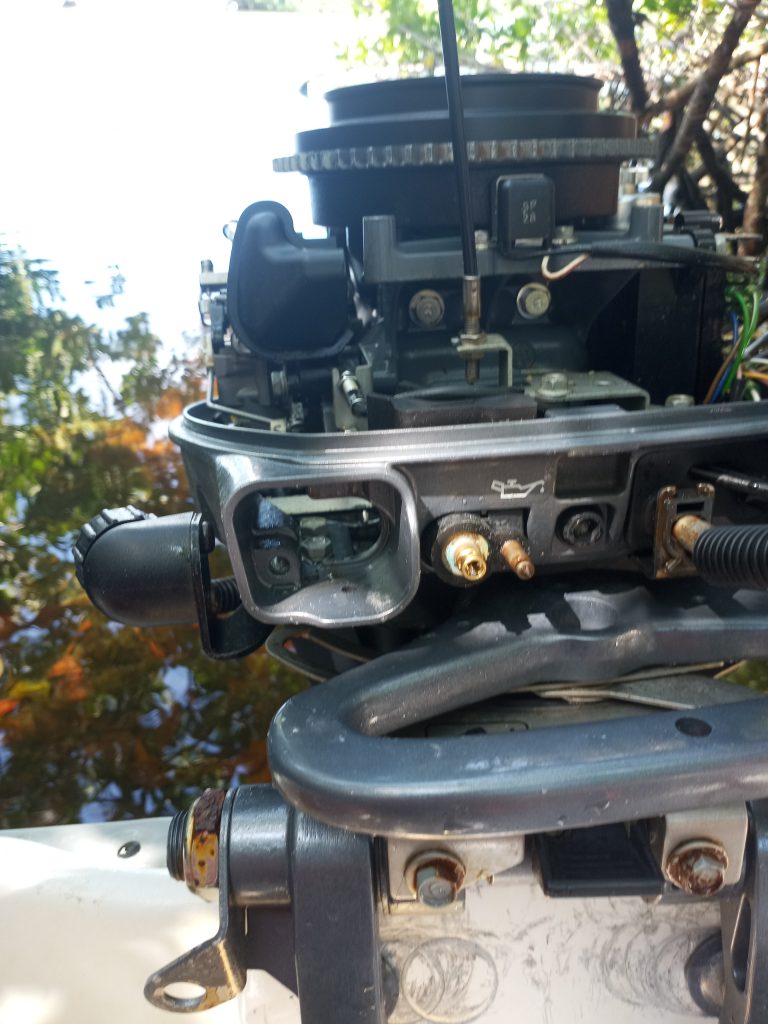
The first step is to remove the manual start system. I tilted the motor up out of the water to make it easier to work on the motor and just in case I dropped a tool or bolt I hoped it might fall into the boat. There are 3 bolts holding the pull start mechanism on fly wheel. Then you also remove the start-in-gear protection cable.
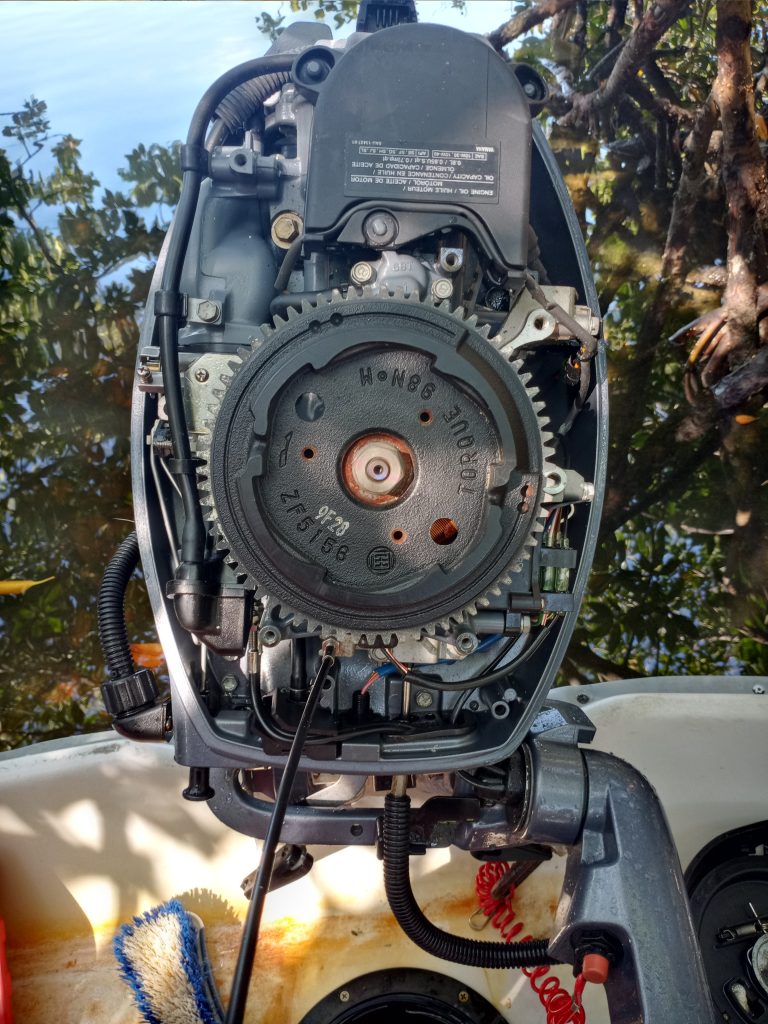
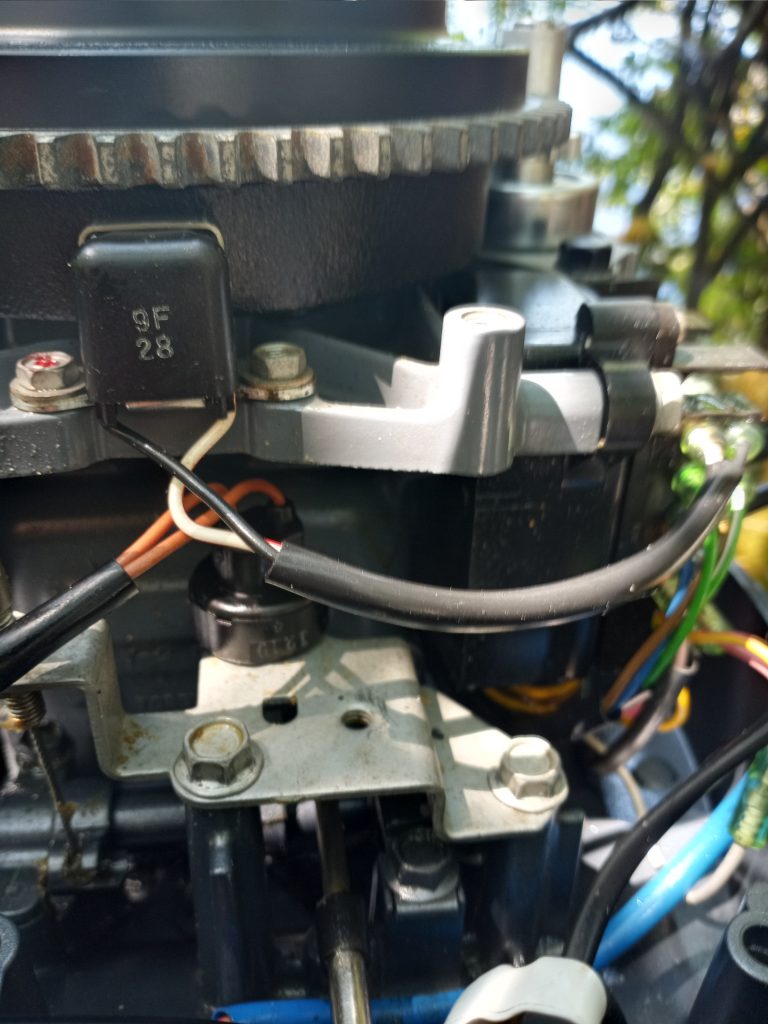
The second step is to remove the Starter Motor bracket. You remove the ignition coil system and remove the 3 bolts on the bracket (the bottom one requires the 12mm wrench to reach).

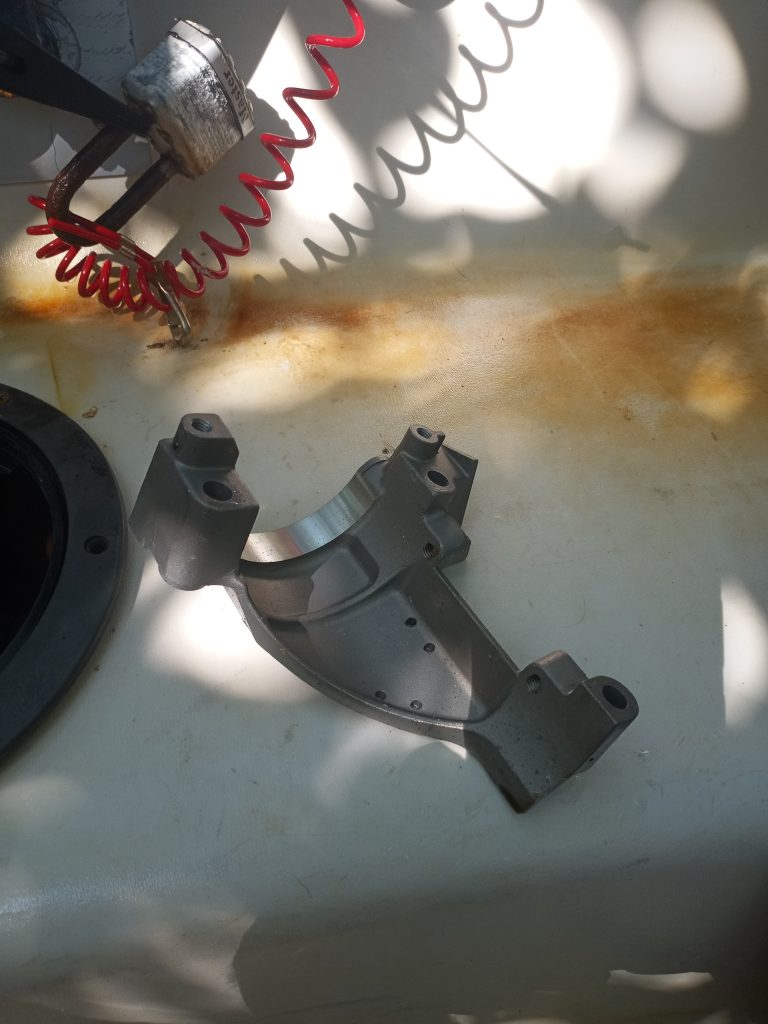
The next step is to put the regulator onto the bracket. There is a metal tab on the bracket that allows you to line up the regulator properly. This is important as there is little space in the housing.

Now we’re going to put the bracket back onto the engine. Then we’ll mount the starter motor to the bracket. Make sure to attach the wire lead to the starter motor before putting it in the bracket.
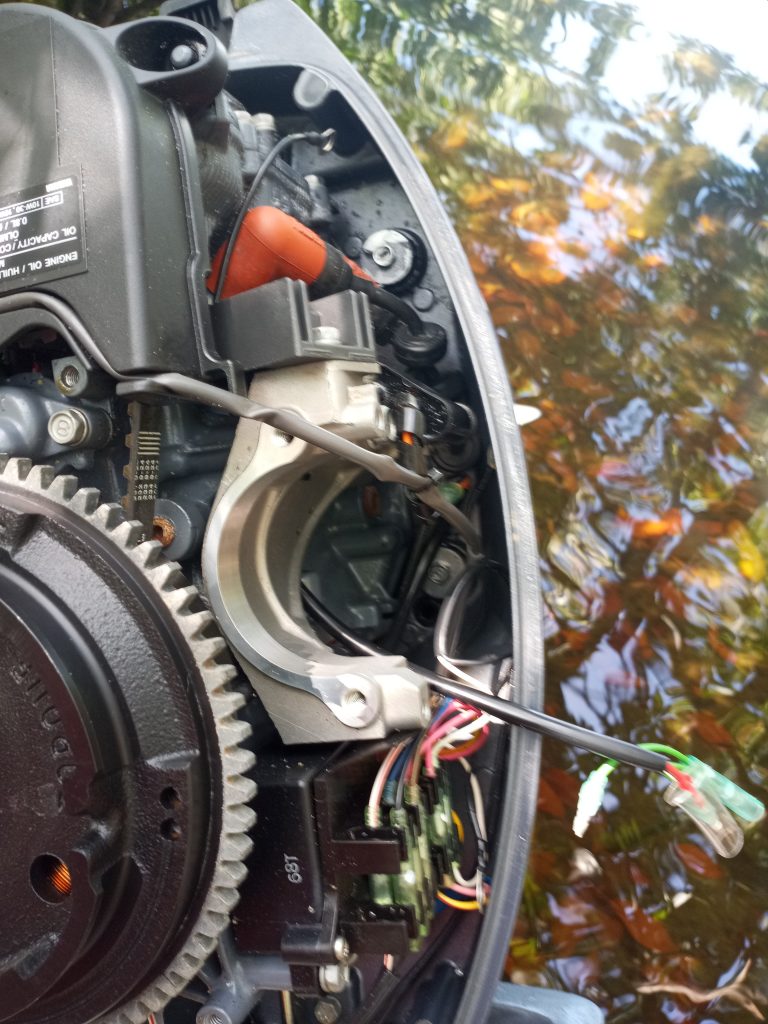
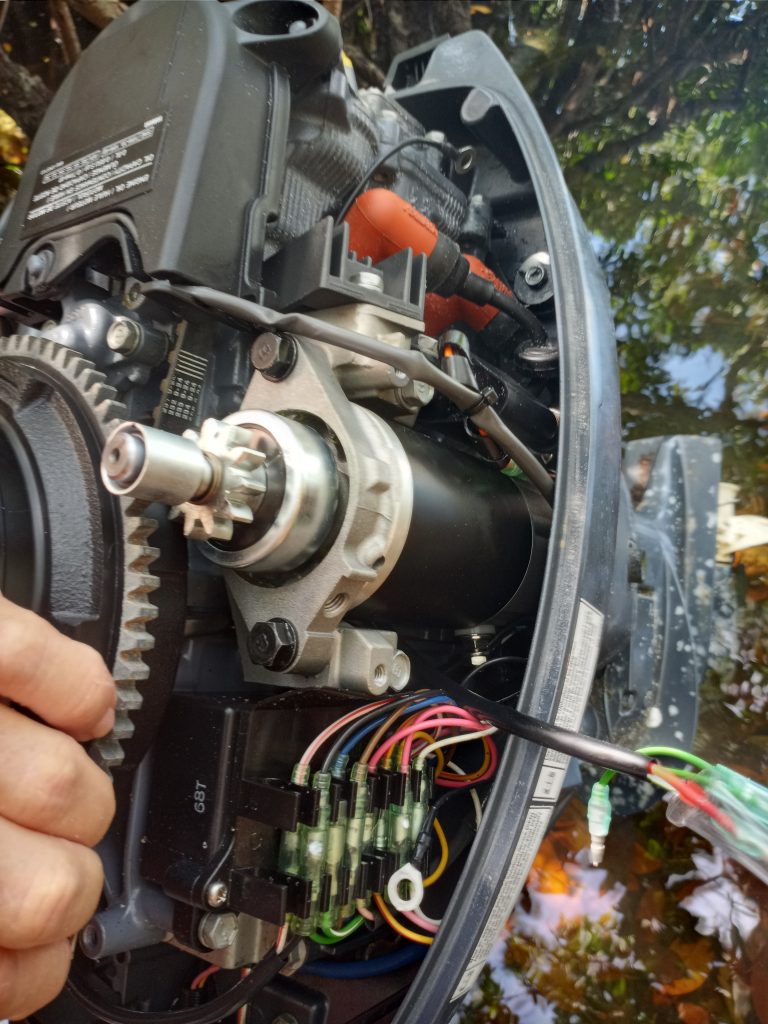
Now we are going to put the starter push button in place. You’ll remove the choke control arm from the lever, remove the battery cable guide bracket and remove the insert and grommet where the switch goes. One bolt holds this panel in place. On the rubber grommet for the chock control there is a small square you’ll cut out. It doesn’t need to be perfect, the rubber will stretch around the switch somewhat. You’ll also need to cut out the slop on the other grommet by the tiller to run the battery cables through. Run the cables under the cable guide and then screw that back in place.
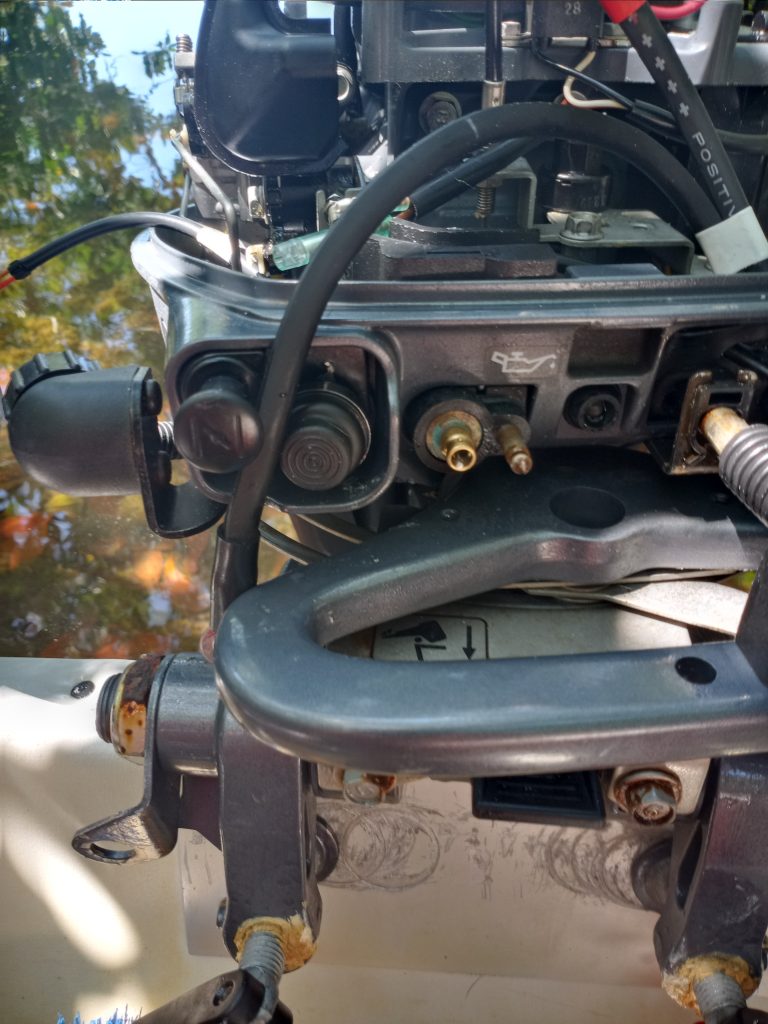
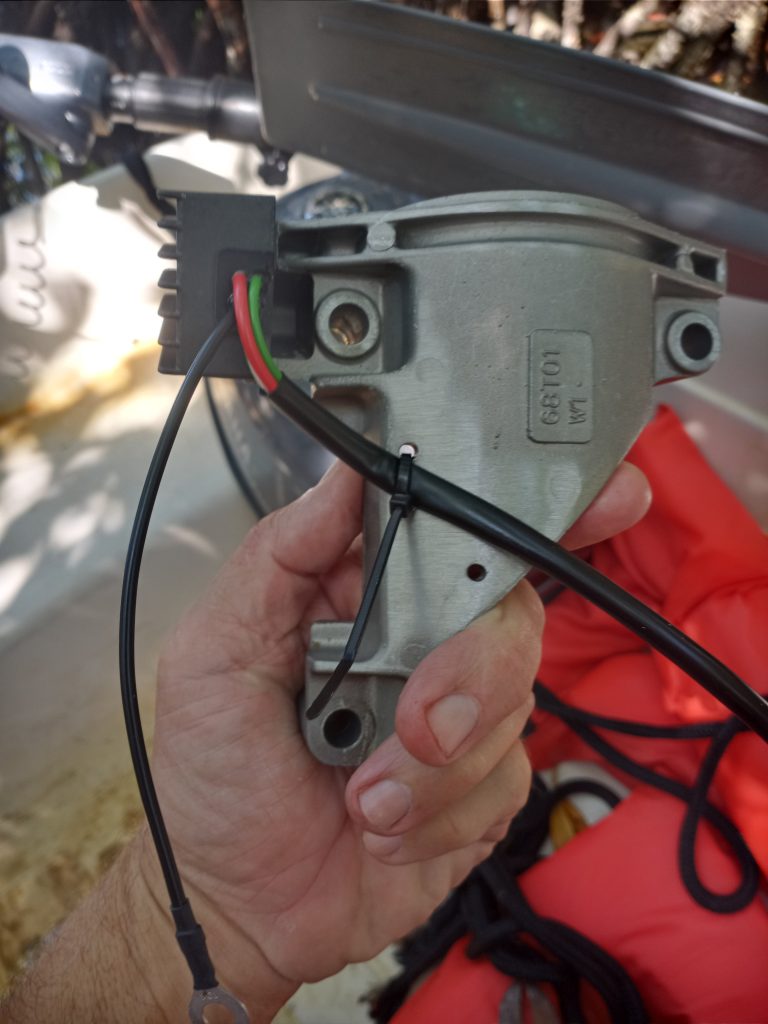
Now we’re going to place the start-in-gear protection switch for the electric start. The manual system utilizes and cable on top of the pull start mechanism that frees up the wheel when the motor is in neutral. The electrical start has a button that is pushed by the gear mechanism when in neutral. We’ll remove the bracket to put the switch on, then put the bracket back on. This is only 2 bolts.
Next we’re going to put the starter relay stay on top of this bracket and mount the starter relay. One bolt and the starter relay has a rubber block that slides onto the arms on the stay.
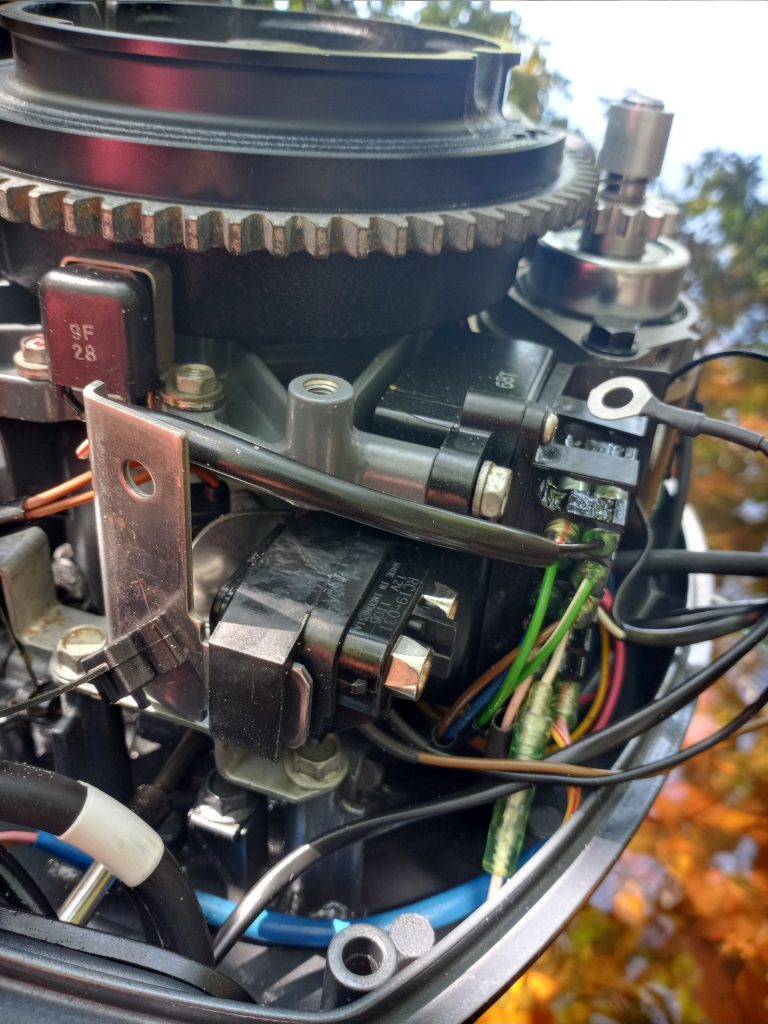
Next we’ll mount the fuse holder stay and then put the fuse holder on there. The fuse holder has an extra fuse in it. Also the fuse extractor will mount on the manual pull start mechanism when we are done. I forgot to take a picture of this step but it’s really a minor one.
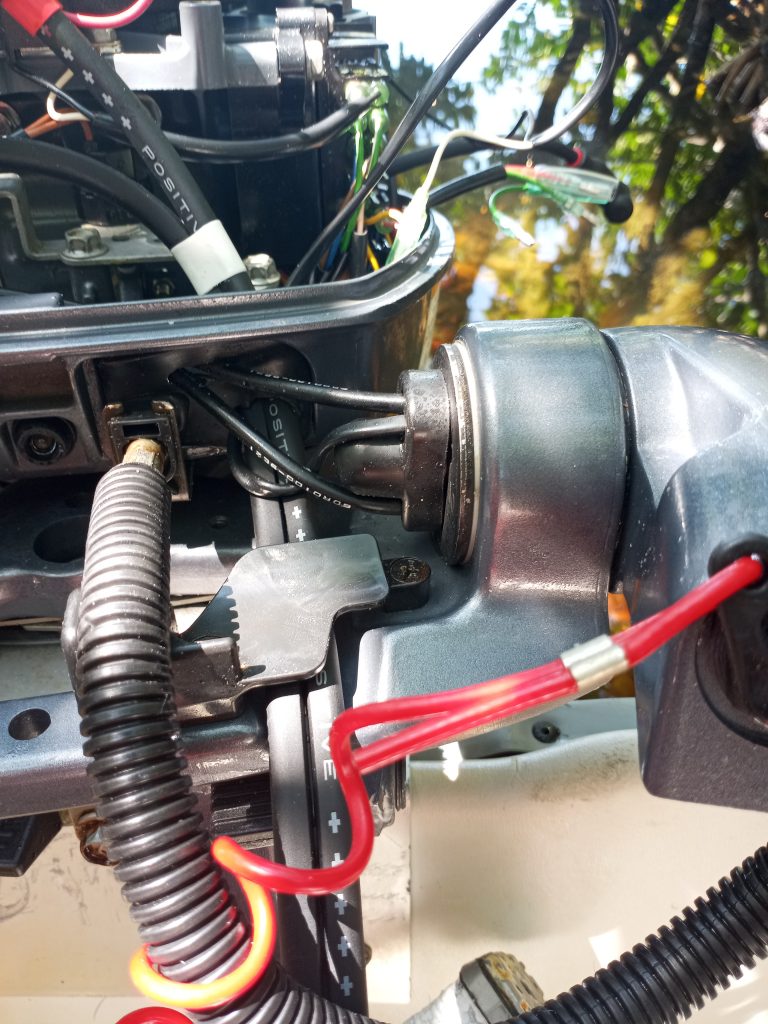
The last step is to wire it all in. In the instructions there is an easy to follow diagram and all the wires are color coded. Took less than a minute.
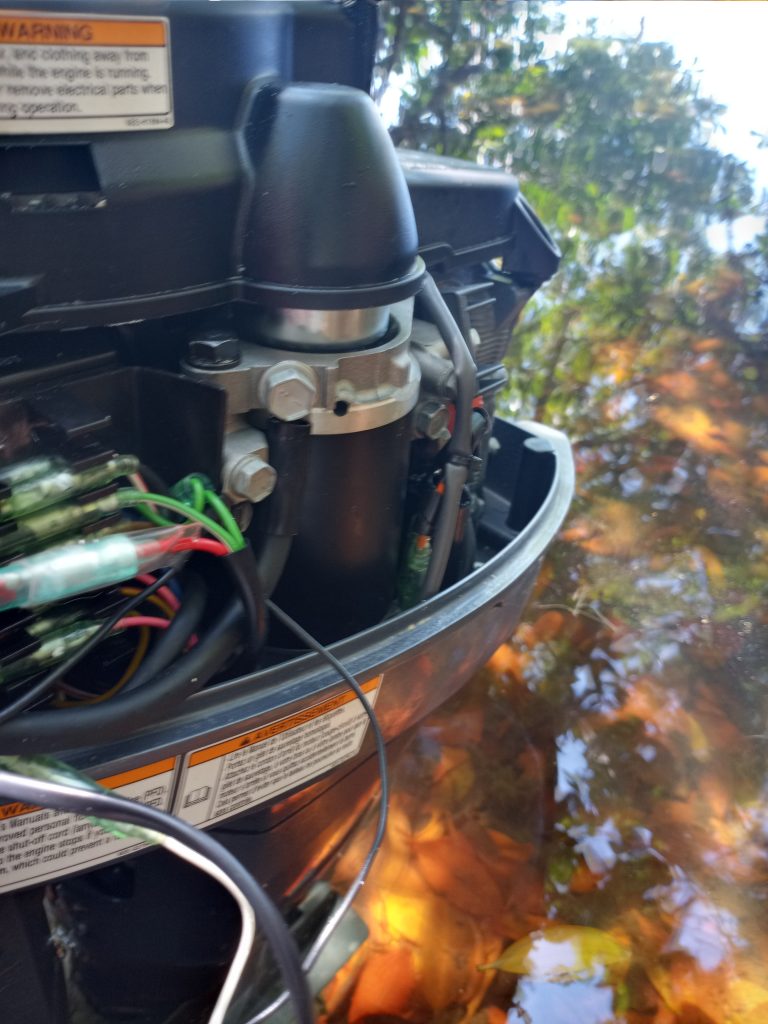
All done. The small motorcycle battery has no problem starting this engine and life has just got a little bit easier.