Spent Saturday morning working on the exterior teak on the sailboat Palani. It was forecast to be a sweltering day, so I started at 5 am. The teak was originally varnished but allowed to go bad over the last few years. The varnish (what little bit that was left) was spotty and coming off. I removed most of it on previous weekends with a putty knife. I don’t have a lot of experience refinishing wood so decided to start in the most accessible area – which is the side coping on the cockpit. Also as I know that I will need to rework this area when I remove the boom cradle for good (the legs for the boom cradle are on this teak piece) I knew I didn’t have to finish it to perfect the first time.
As I don’t like the work associated with varnish and when it goes bad, it looks horrible and makes a mess on the whole boat (I have little varnish chips everywhere), so the game plan, once I have it refinished, is to just treat it periodically with teak oil. This will require more frequent maintenance (vs. varnish), but it’s a much simpler process as you just wipe it down (or if too long between applications then paint on with a foam brush).
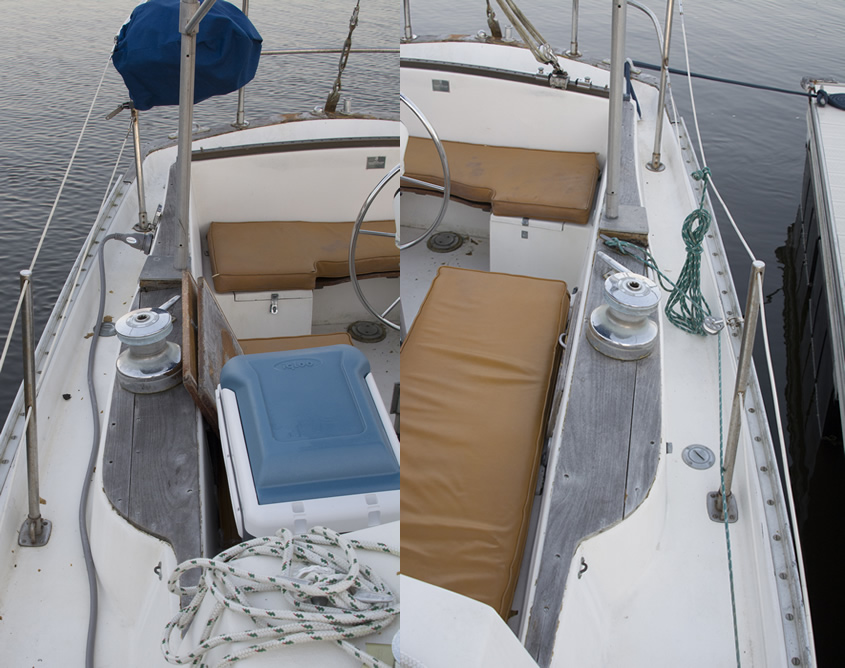
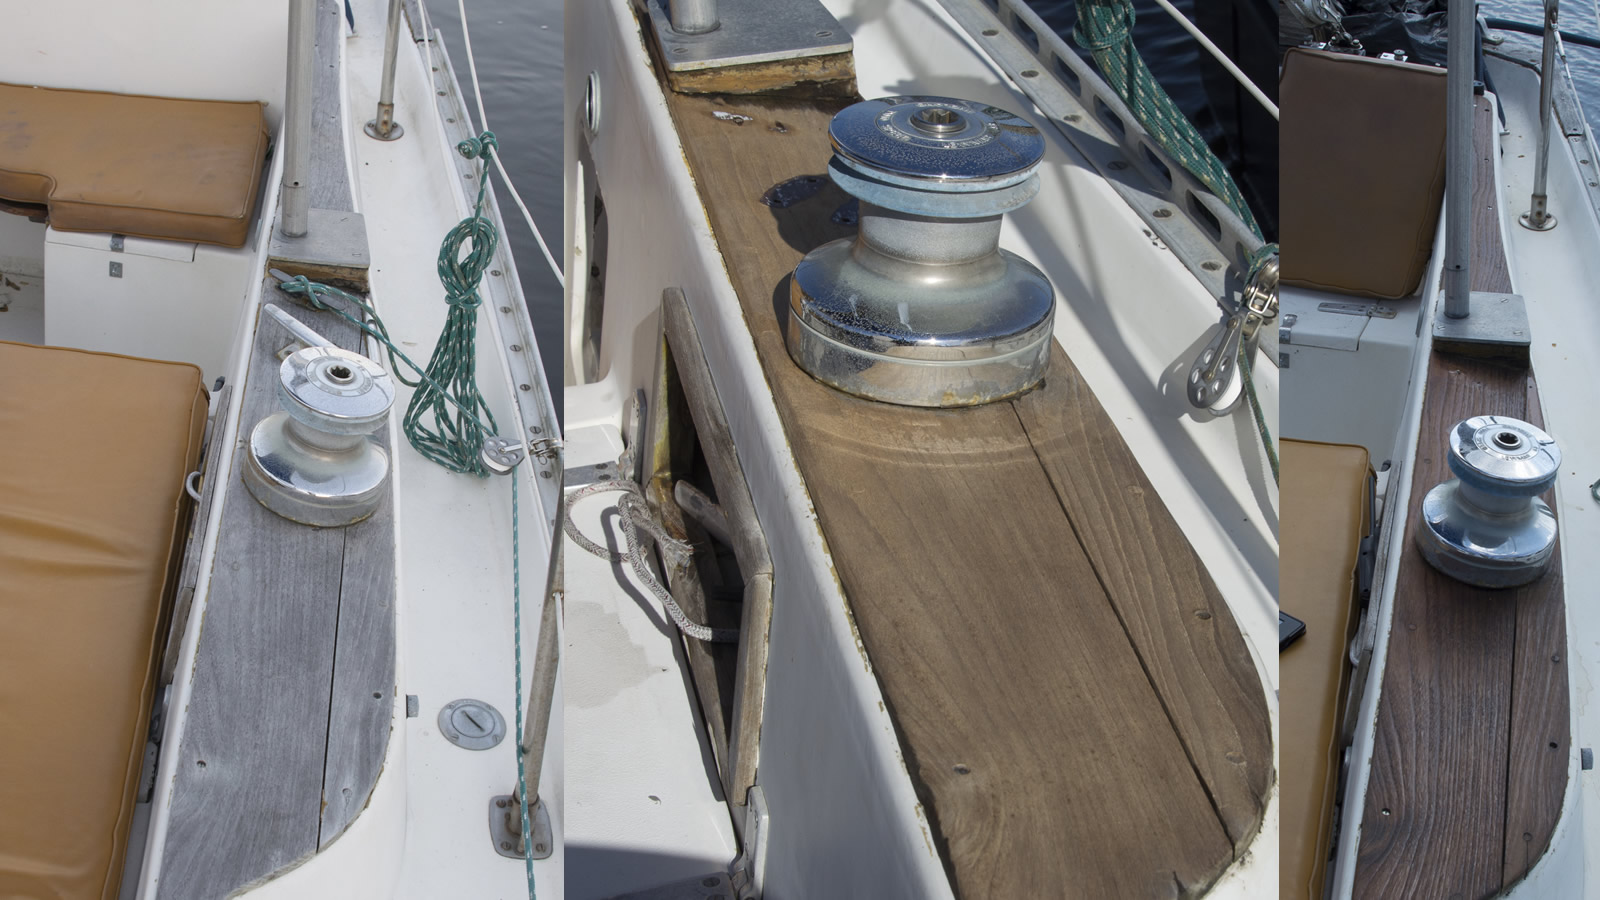
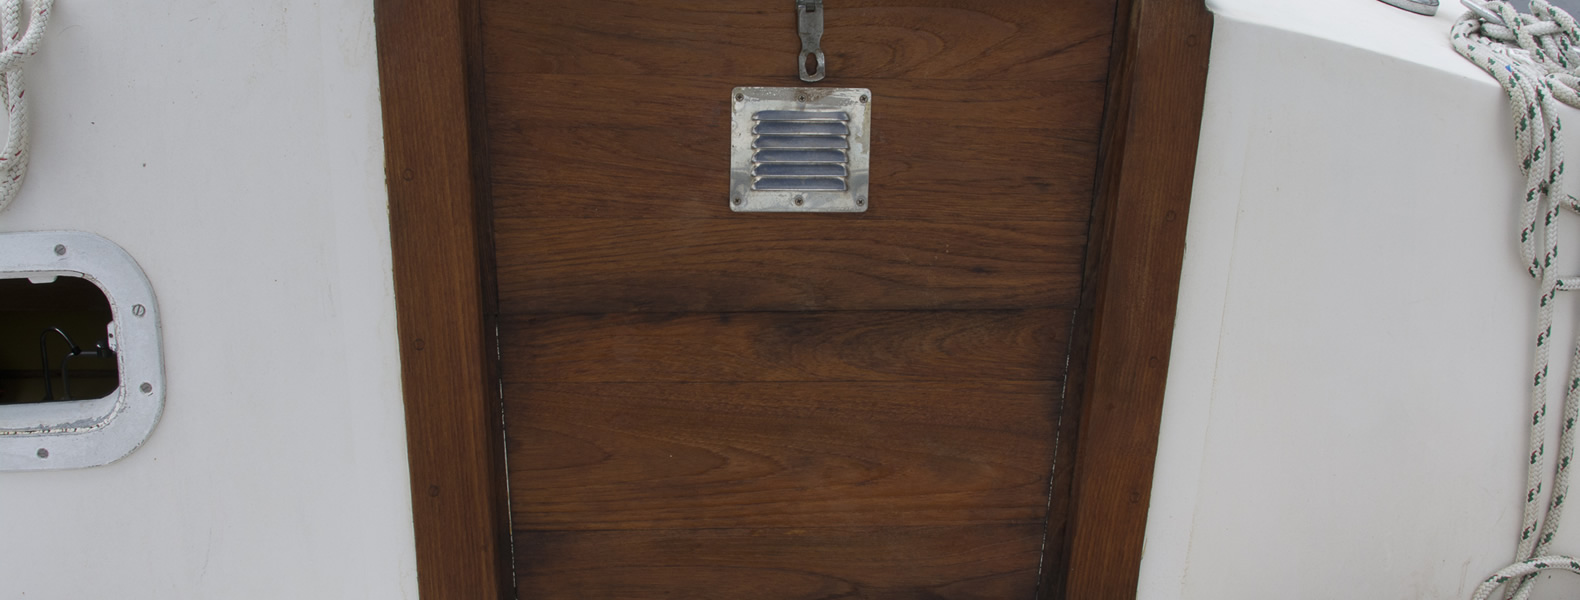
Here are some examples of what the areas look like before I did anything.
Wood Working Project
I started with Semco Two-Part Teak Cleaner. The reason I went with a chemical cleaning system vs. sanding was for two reasons. The first was less sanding (which removes wood and these aren’t that thick), and the second was the amount of work (because it’s less sanding). I outlined everything in painters tape, to try and keep the chemicals off of the fiberglass and paint. You wet the wood down good. Then, while wearing rubber gloves and goggles, I applied the first part to the wood. You just squirt it on and then use a soft bristled brush to work it into the wood. Let it set for about 5 – 10 minutes and then rinse it off. You then apply the second part (which is the lightener and counteracts the chemicals in the first part) with the same method. I left this on there for about 10 minutes as well and then rinsed good.
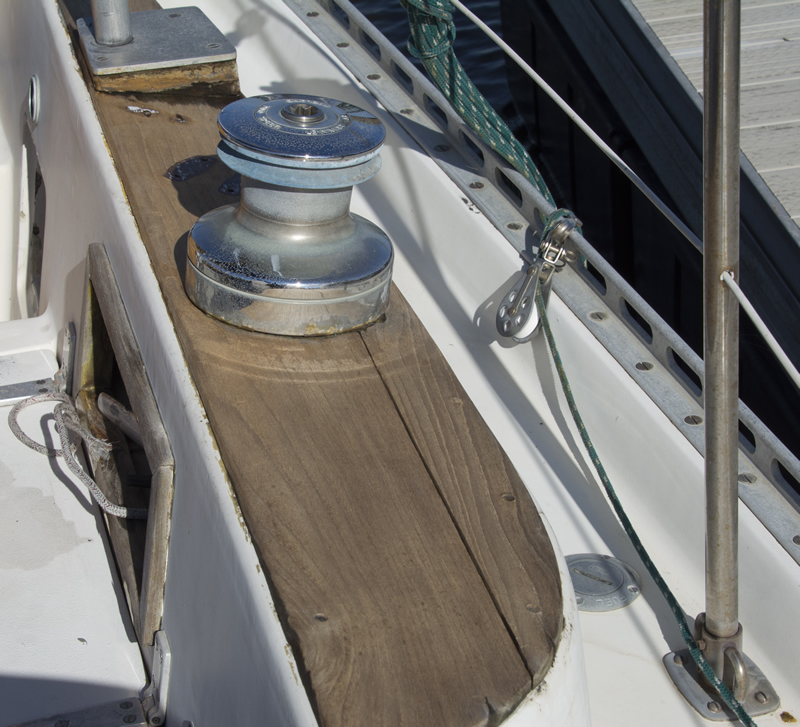
I liked the look after it was cleaned. I did a light sanding with 60 grit sandpaper, and then a follow up with 150 grit. I didn’t do too much as I knew I would be coming back to these pieces and would properly sand everything when I remove the boom cradle. Since the wood had been exposed and not protected for years, I applied two coats of oil liberally. I let them soak in for an hour and a half in between. The oil has added UV protectants, so that will help protect the wood between oilings. It was effortless to apply this using foam brush.
Overall I’m happy with the way this wood working project came out. There is a lighter color oil that I think I will go to when I run out of this batch. Now that I’ve done this and feel comfortable with the method I’ll do the rest of the exterior teak. This includes the rub rails (which are a 1 1/2″ wide bar that runs down the side of the boat), the hand hold rails that run up the deck on both sides and some pieces on the stern and bow. There’s not much wood on the outside, but it improves the looks of the vessel without being too much labor to keep it up.
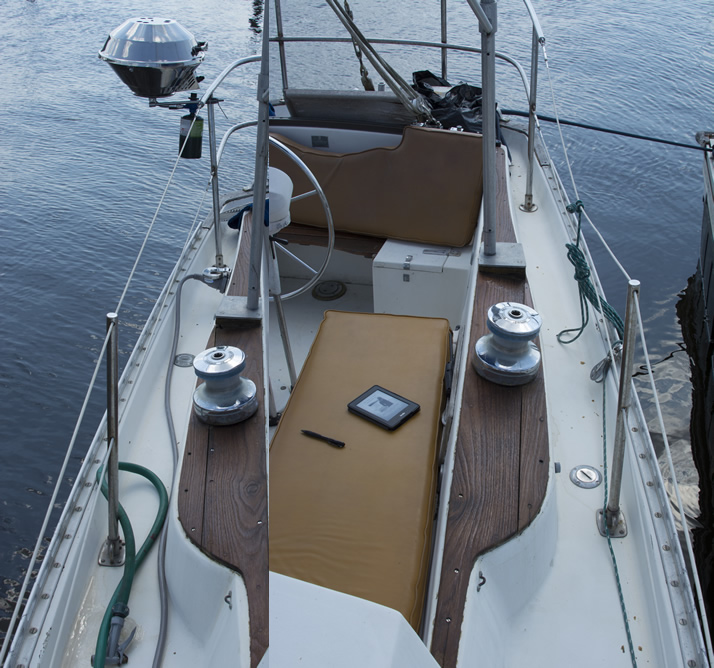
And yes the BBQ is hooked up on the stern in preparation for July 4th weekend.
Here’s another shot that shows all three stages of the wood working project combined.

[…] I wanted to get away from the 1970’s style of cheap plastic trim on shelf openings. So I used teak trim to outline the shelf openings. These are just oiled for easy maintenance instead of using varnish. […]
[…] off the last of the varnish on the stern toe rail but ran out of teak cleaner, so about 10 minutes of work left on the exterior […]