The first step in remodeling the forward stateroom is the v berth painting. The v berth will be the secondary sleeping area of the boat but in the interim, while doing the refit, this area will serve as my workshop and tool storage area. Right now, I have all my tools and supplies piled into the main salon and it is an organizational catastrophe. The sleeping berth on the port side will allow me to line up all my tool bags making it easier for me to locate what I need. The starboard berth (which will be used for bulk storage) will be where I temporarily store all the components for various projects that I’ve purchased already.
Removing Vinyl
The first step in preparing this area was to remove all the vinyl liner that was installed when the boat was first manufactured. After almost 40 years this vinyl is moldy, stained and just a mess (as you can tell from the pictures). After removing the vinyl liner there is the glue residue to deal with. I used a wire brush attachment on my drill to remove all the left over glue residue. While messy this step was quick to finish up.
Fairing Hull
The manufacturing process leaves pretty coarse fiberglass exposed after removing the vinyl liner. To make this easier to keep clean and smooth to the touch, I used TotalBoat 2 part fairing compound to fair the hulls. This compound is easy to mix and doesn’t slag like I found happens when I mix a fairing epoxy myself. I do a rough application to the hull. Then I sand with 40 grit on a 4 1/2″ orbital sander. I mark any areas that need follow up fairing with a sharpie. The hardest parts, in my opinion, are the corners. I can never get them as smooth as I’d like but I’m getting closer to that goal as I do more and more of this type of work.
I also faired the wood bulkheads. The fairing compound smooths out the wood grain and provides some waterproofing.
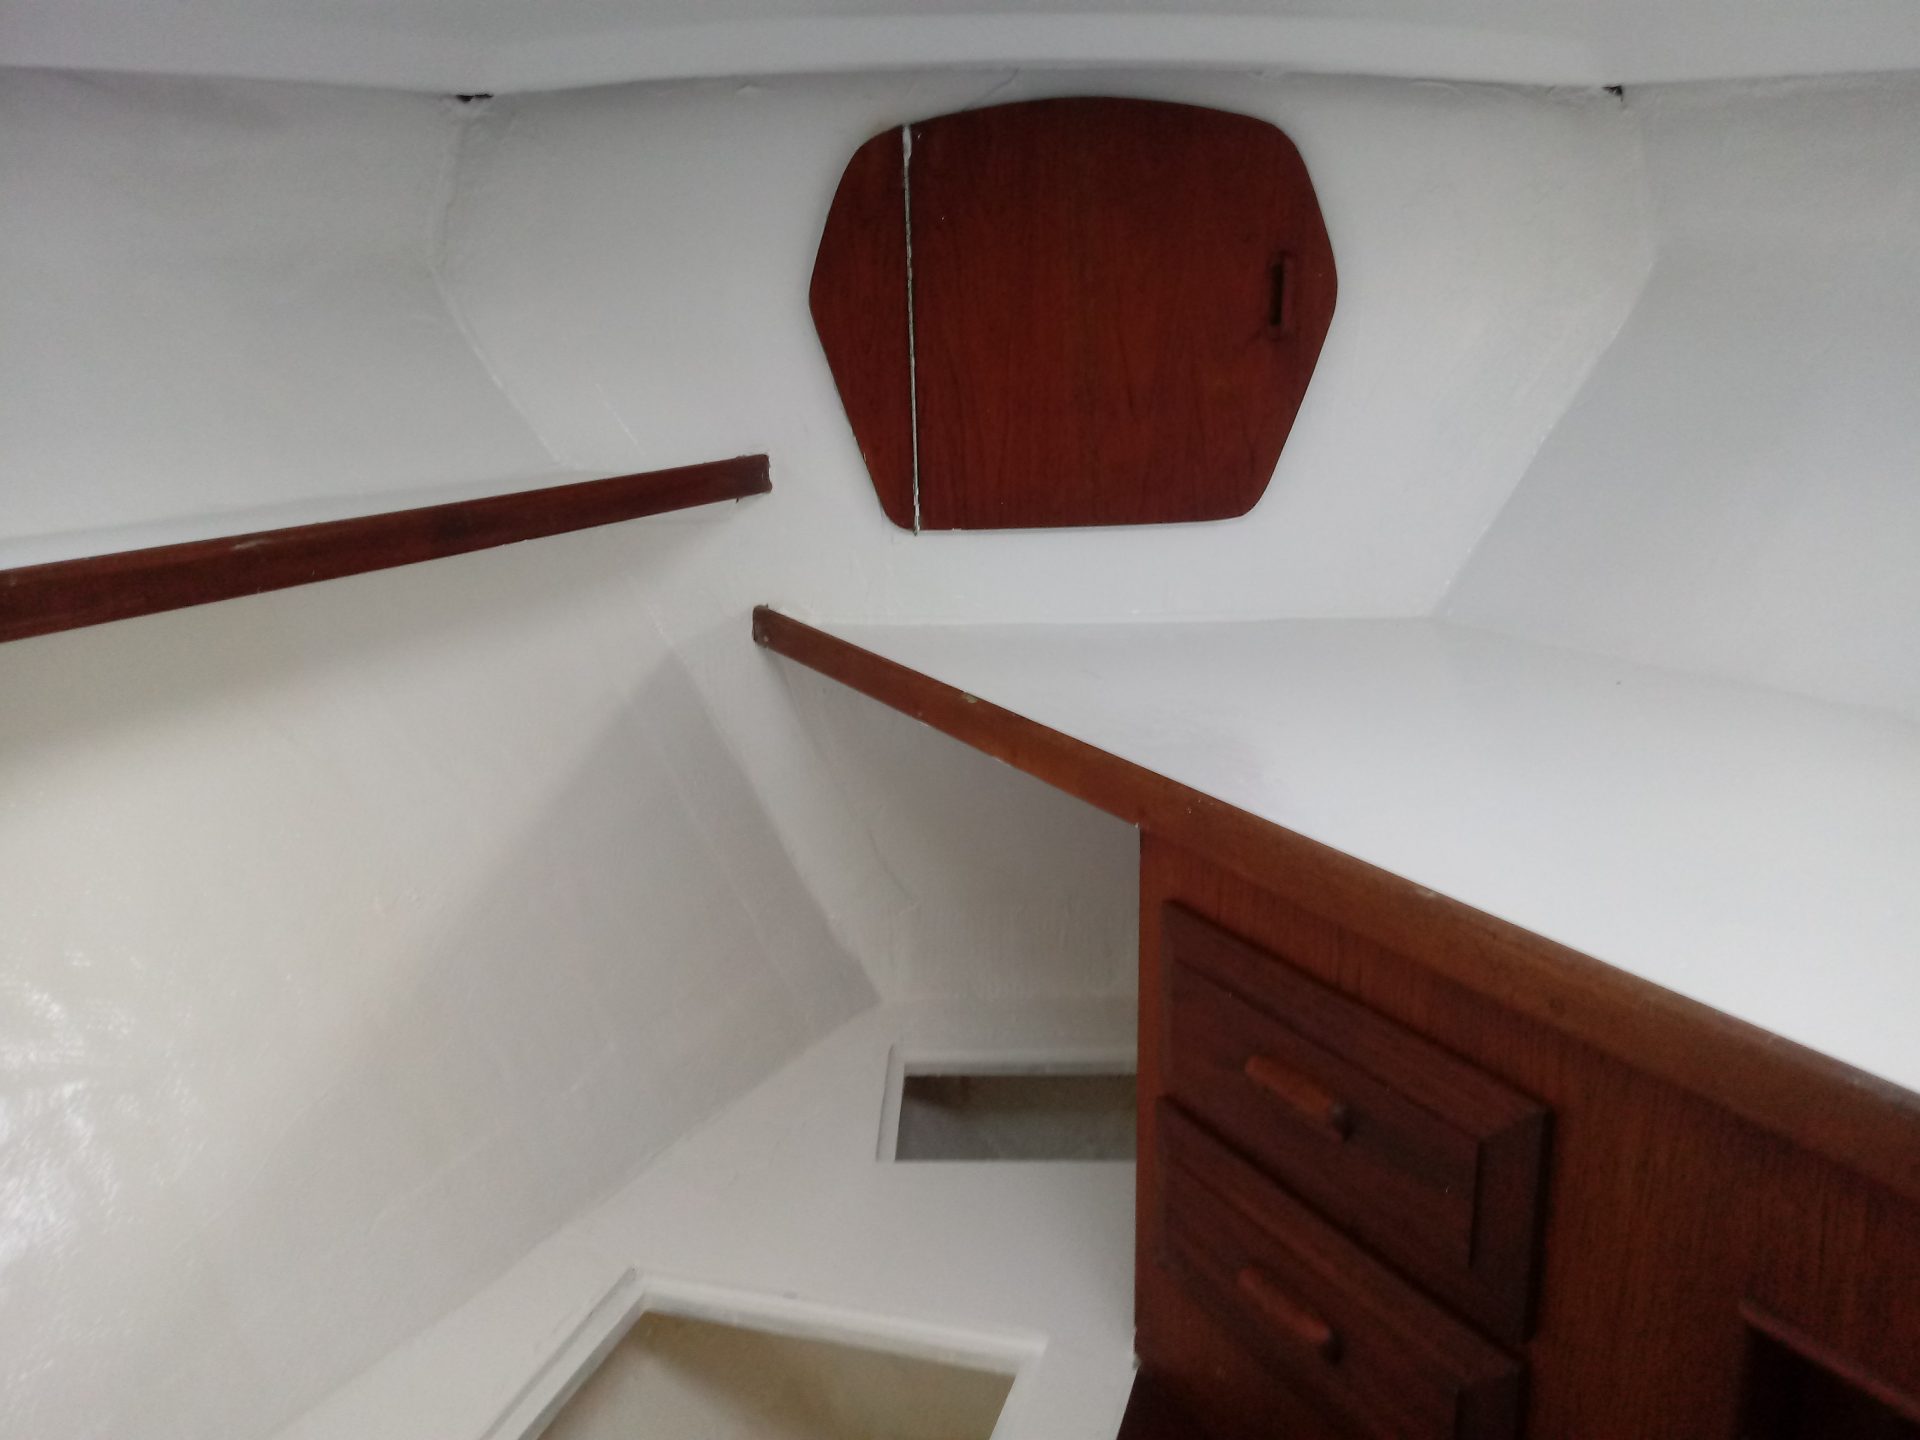
V Berth Painting With Primer Paint
I’ve been really happy with the Interlux paint system. I used it for the top sides and the aft cabin painting. It’s pretty expensive (most paints are around $100 per gallon) but I figure I’m only going to do this one time. Their Pre-Kote primer really sticks (especially if you get it on you or somewhere you don’t want it). I apply it with a 4″ sponge roller without tipping. After two coats I sand with 120 grit sandpaper in preparation for the Brightsides. It took just shy of a gallon of primer to do the v berth painting, including the two storage areas you can see in the pictures.
V Berth Painting With Gloss Coats
I follow up the primer coat with two coats of Interlux Brightsides. This extremely hard, high gloss paint will stand up to daily wear and make it easy to wipe down and keep mold from getting started in the boat. I roll and tip to get a nice smooth finish, sanding between coats with 320 grit sandpaper. I about 3/4 of a gallon of Brightsides to pain the v berth, I used Bilge Kote on the under-berth storage areas.
Timeline
It took me 4 days, working for a couple hours after the day job, to remove all the vinyl liner and prepare the v berth for painting. The first primer coat took me 4 hours, and as I started later in the day during the hot Florida summer I lost at least 10 lbs of water weight. Each of the coats after that were a quick 2 1/2 hours. As you need to give at least 8 hours between coats it took me two full weekends (primer coat on one weekend, gloss coats the next) to finish up the project. I then sanded down any mistakes where I let paint get on the wood and started oiling the wood as the it had been neglected for a long time. Oil once a day for a week, then once a week for a month, to a regular schedule of once a month.
Before And After Pictures