
The first step in getting Pomaika’i to a livable condition is sealing up all the leaks and making it watertight. The most obvious was the leak where the mast passes through the deck. Pomaika’i has a keel stepped mast, meaning that the mast passes through a hole in the deck and sets directly on the keep at the bottom of the boat. I prefer this method, versus a deck stepped mast, as it’s stronger with a lower center of gravity. Making this hole waterproof though can be a challenge as the mast needs to be flexible where it passes through the deck. One method of sealing the mast is to attach a rubber boot that encircles the mast and the hole. This is problematic as it’s difficult to get a tight seal to the mast and over time leaks develop again. The other is to use material to “plug” the hole around the mast. The previous owner tried to do this but used inferior materials and an inadequate method (cutting corners to save costs I’m sure). I used a product called Spartite. This is a rubber-like material that seals tight to the mast and because I covered the inside of the deck collar with vaseline will allow the mast to be removed with this plug intact.
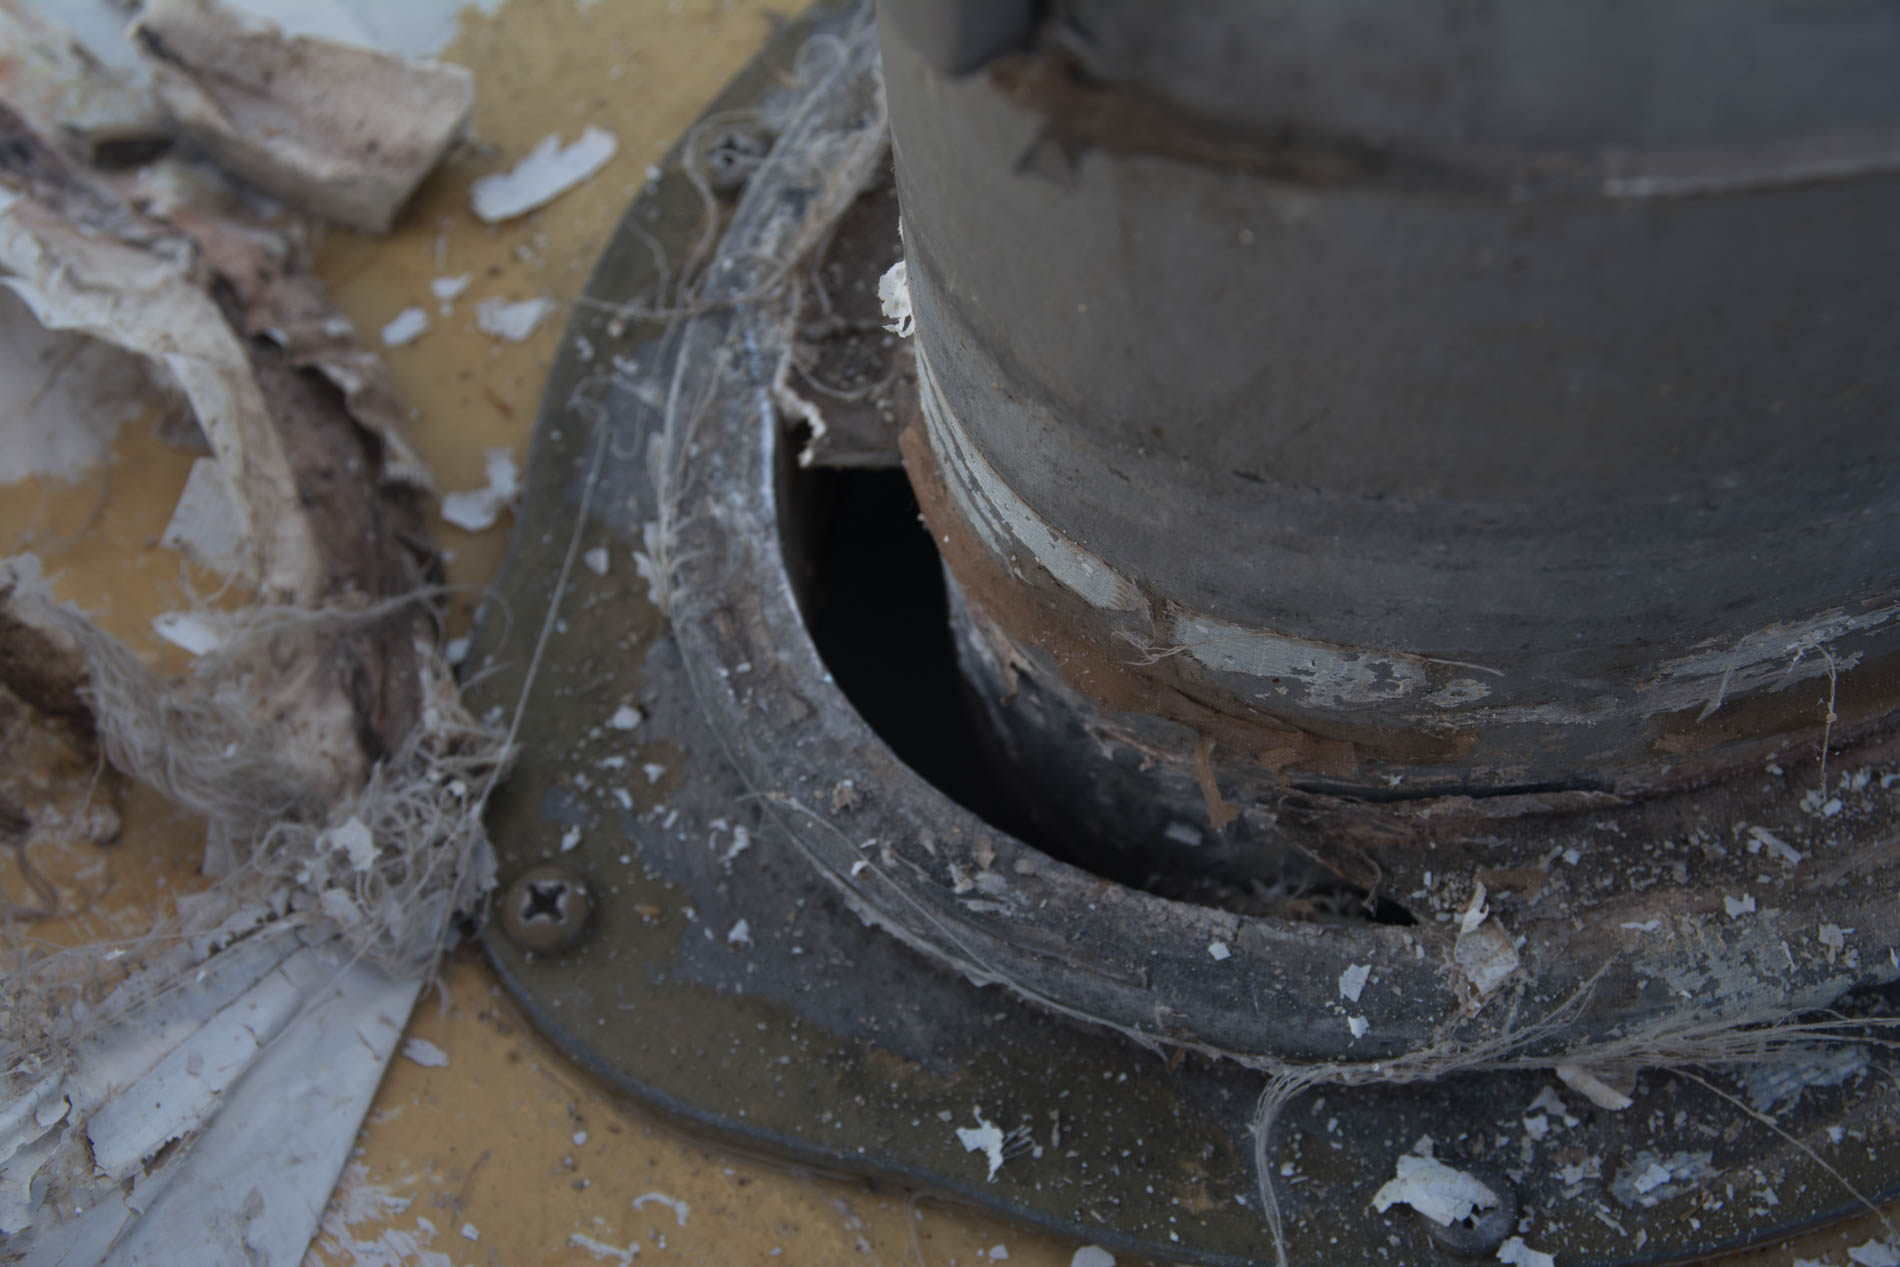
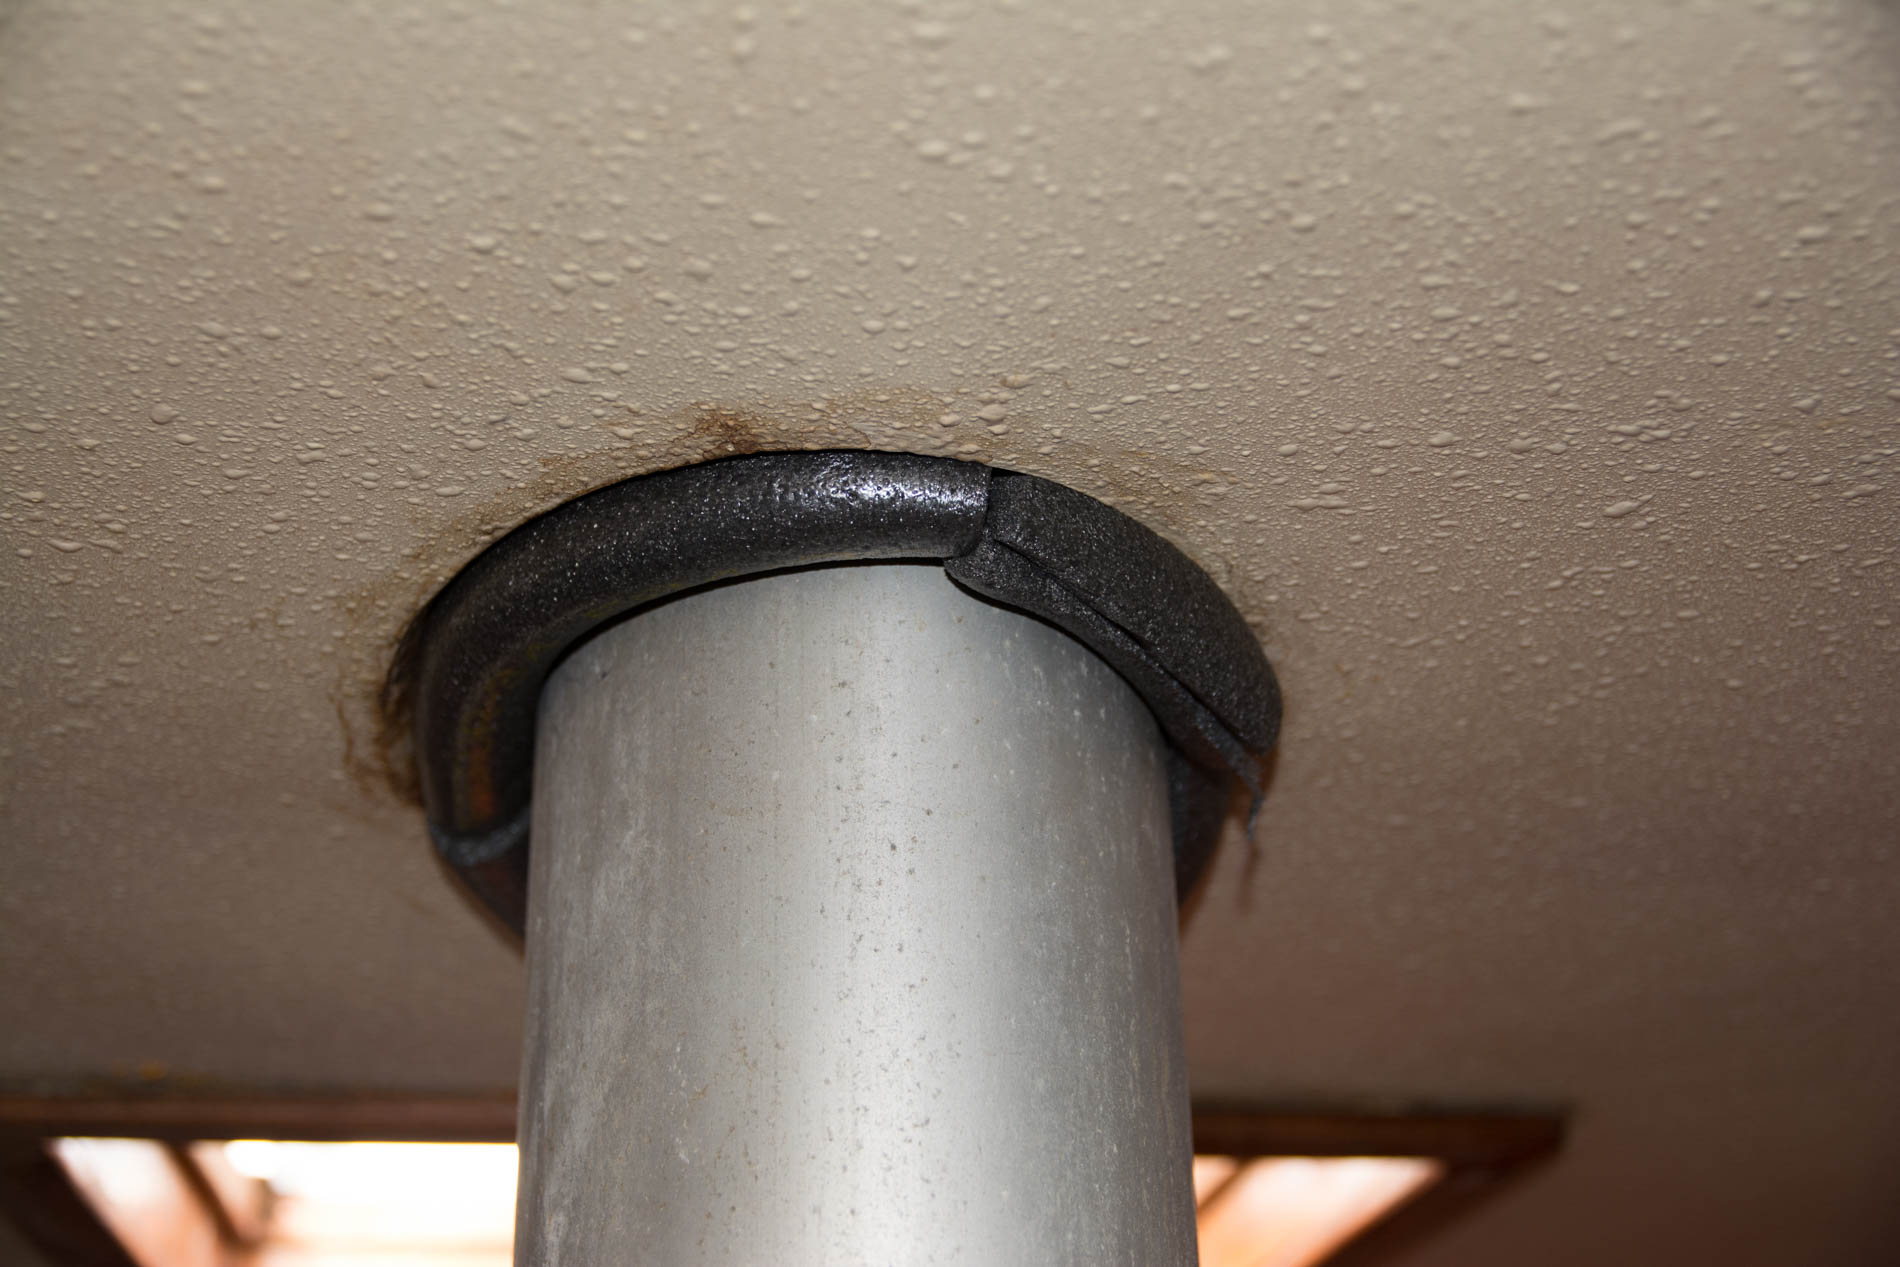
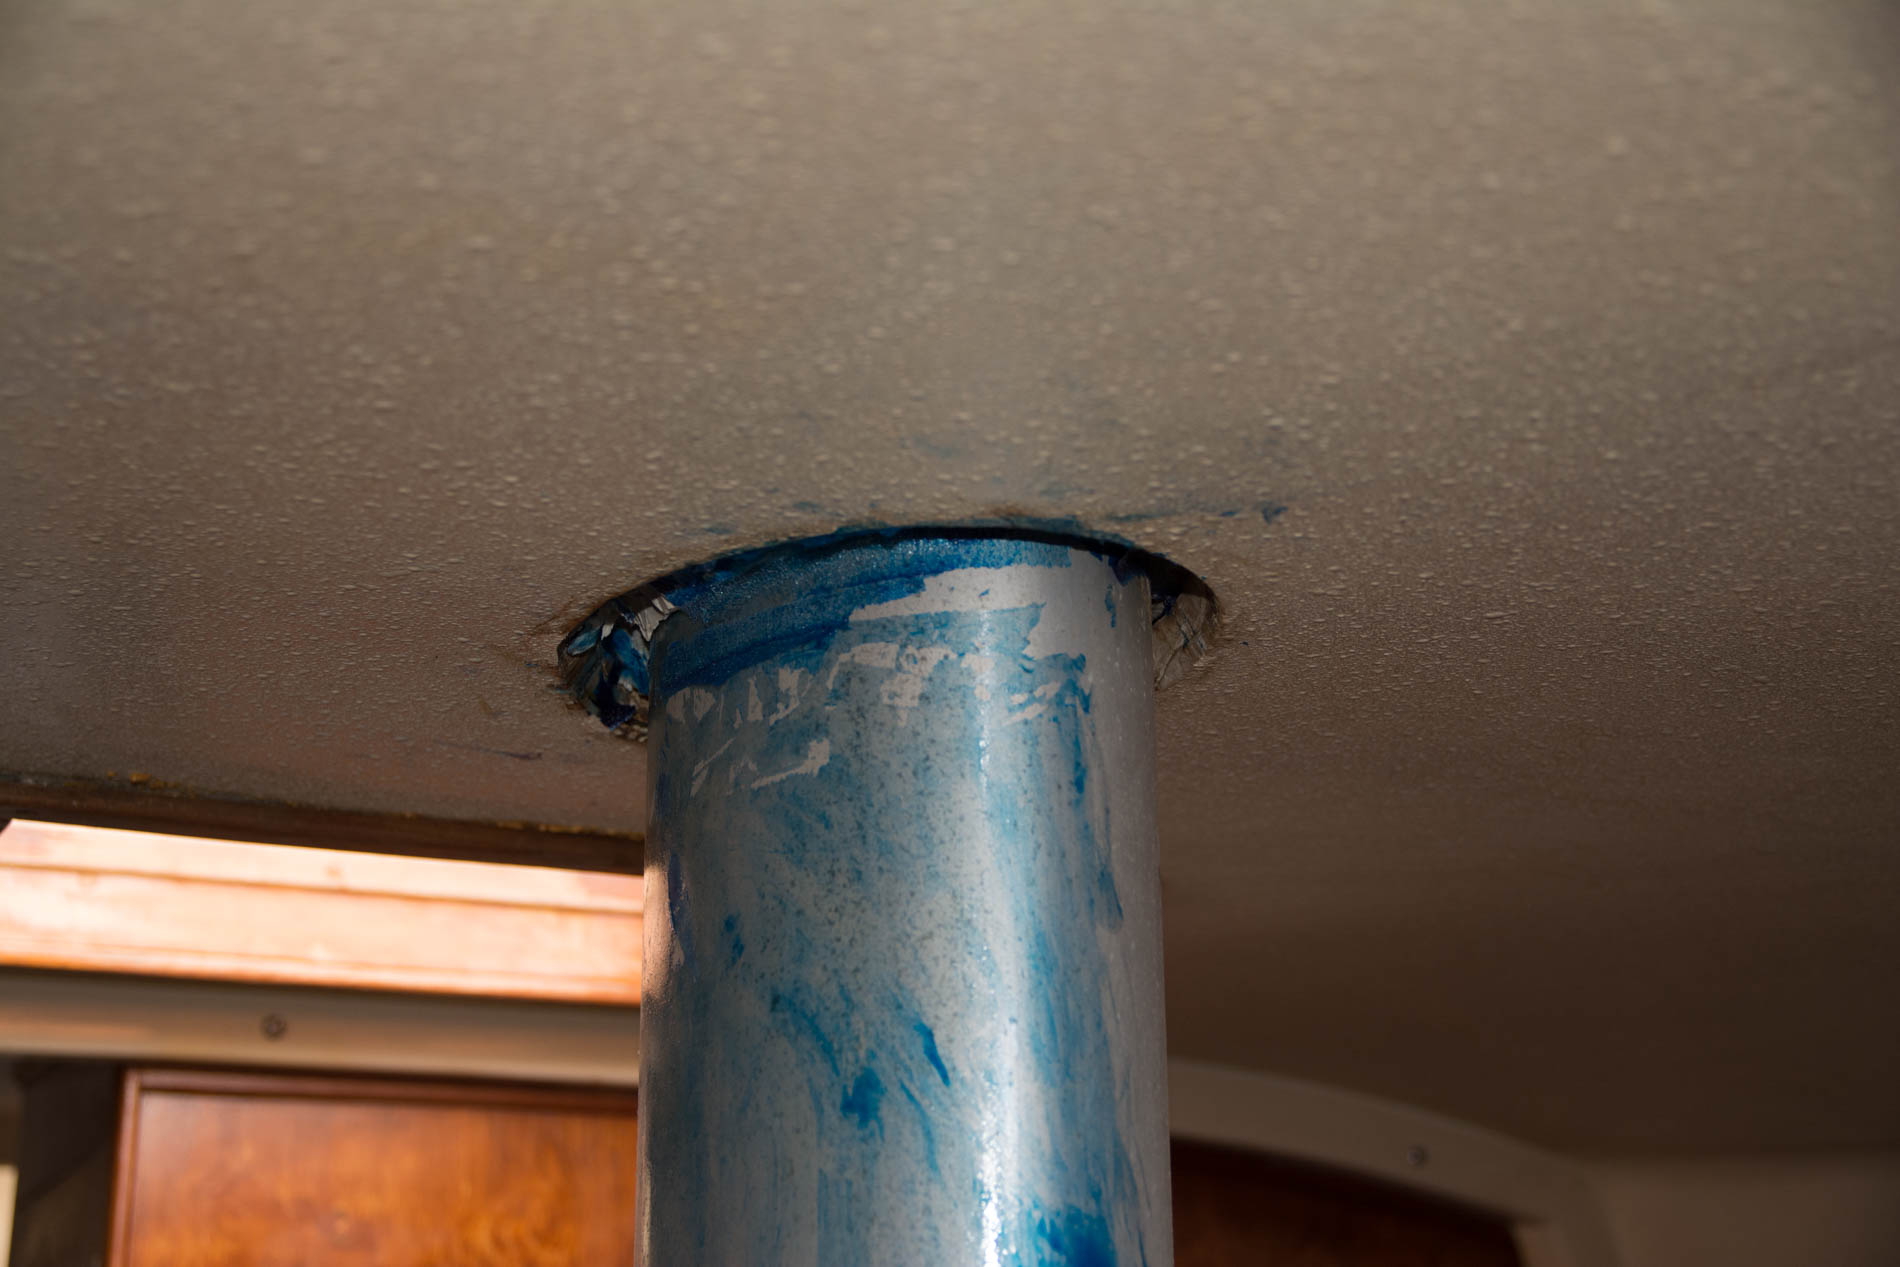
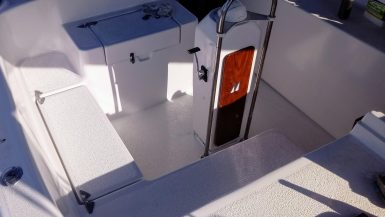
This picture shows the previous owners work from inside the boat.

After filling the hole with some hard (no flexibility) sealant, he then wrapped the mast/deck junction with a tape, probably to stop the leaks that formed. This tape did not stand up to the sun at all and quickly pulled apart.

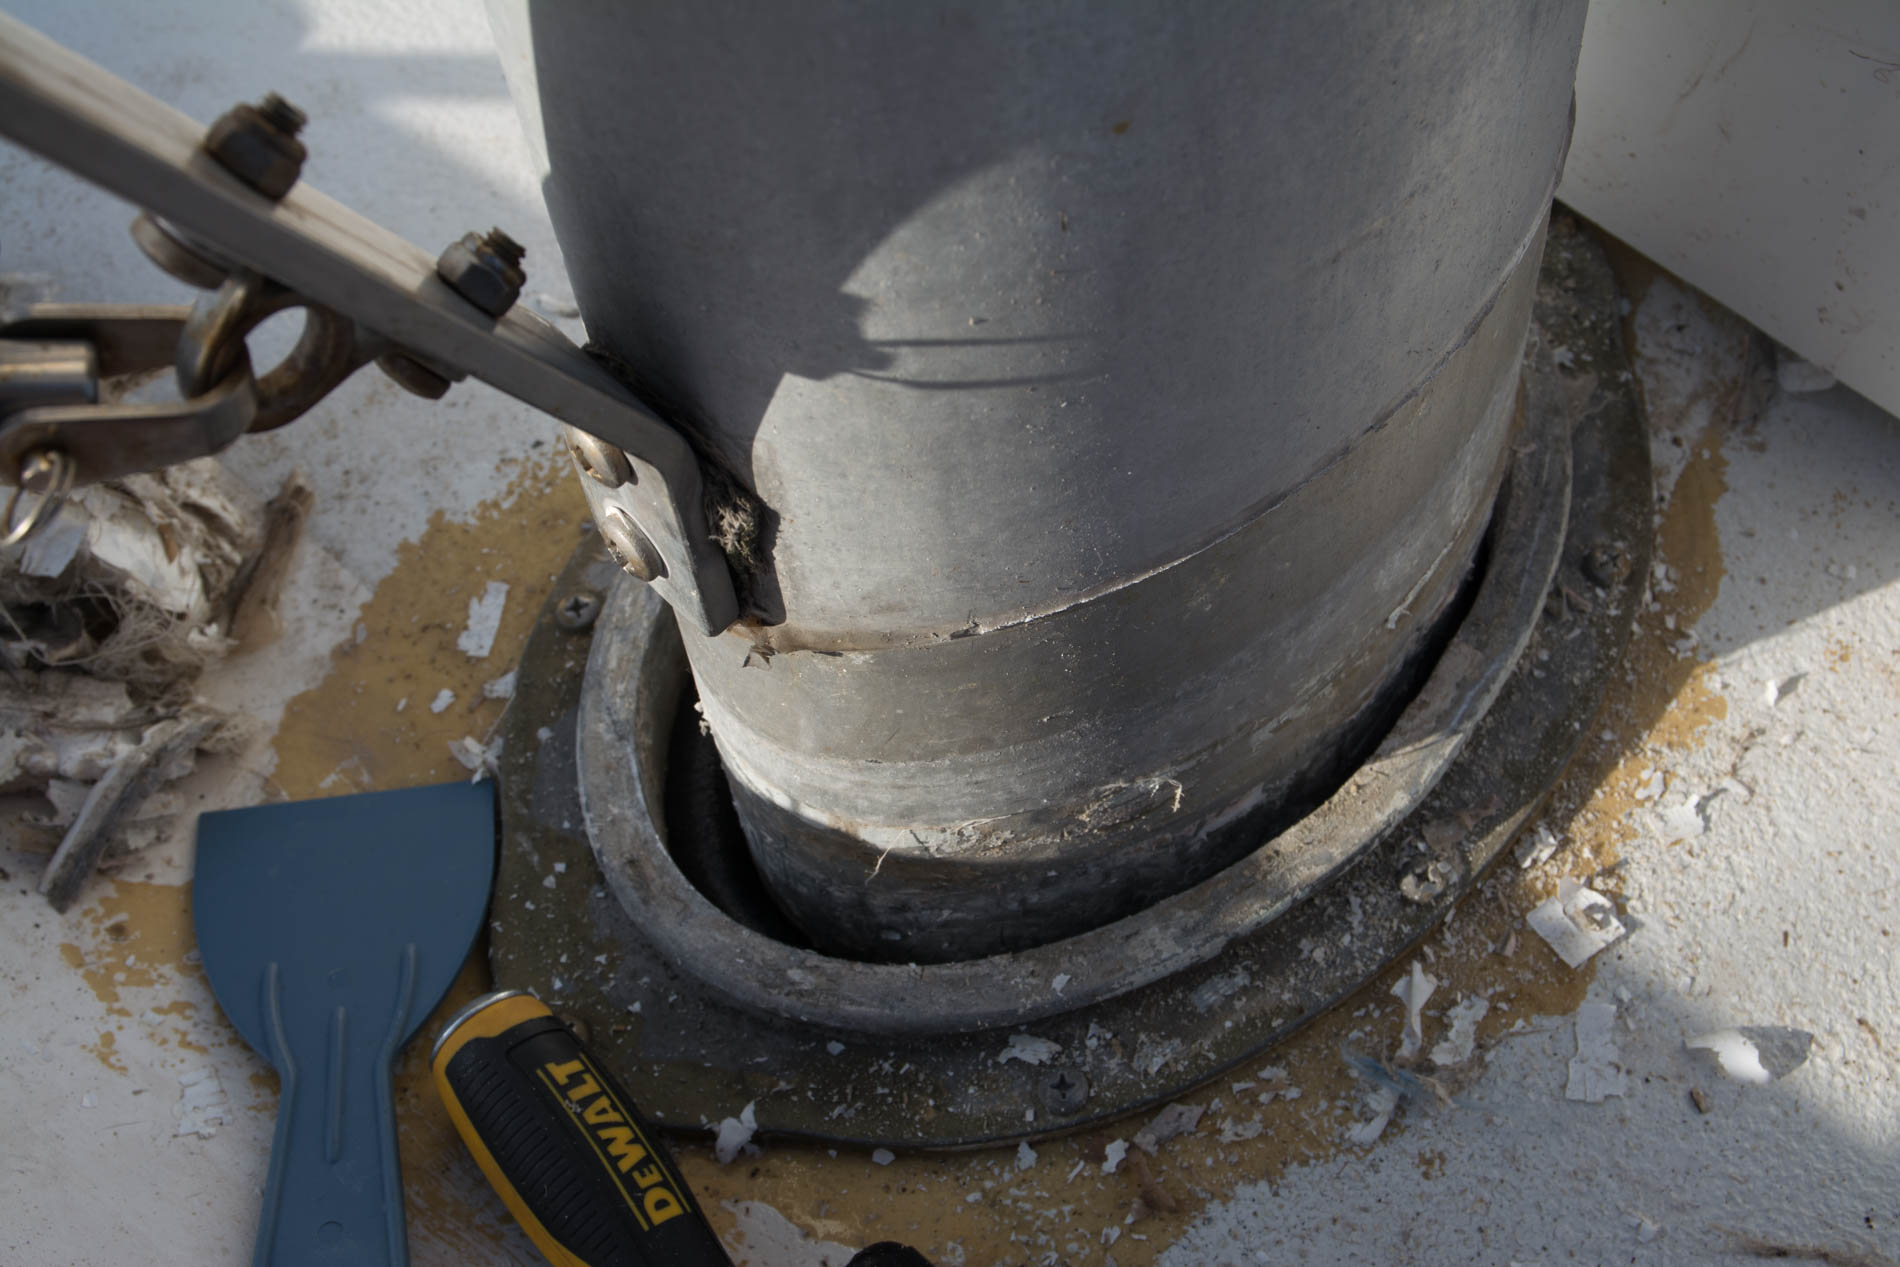
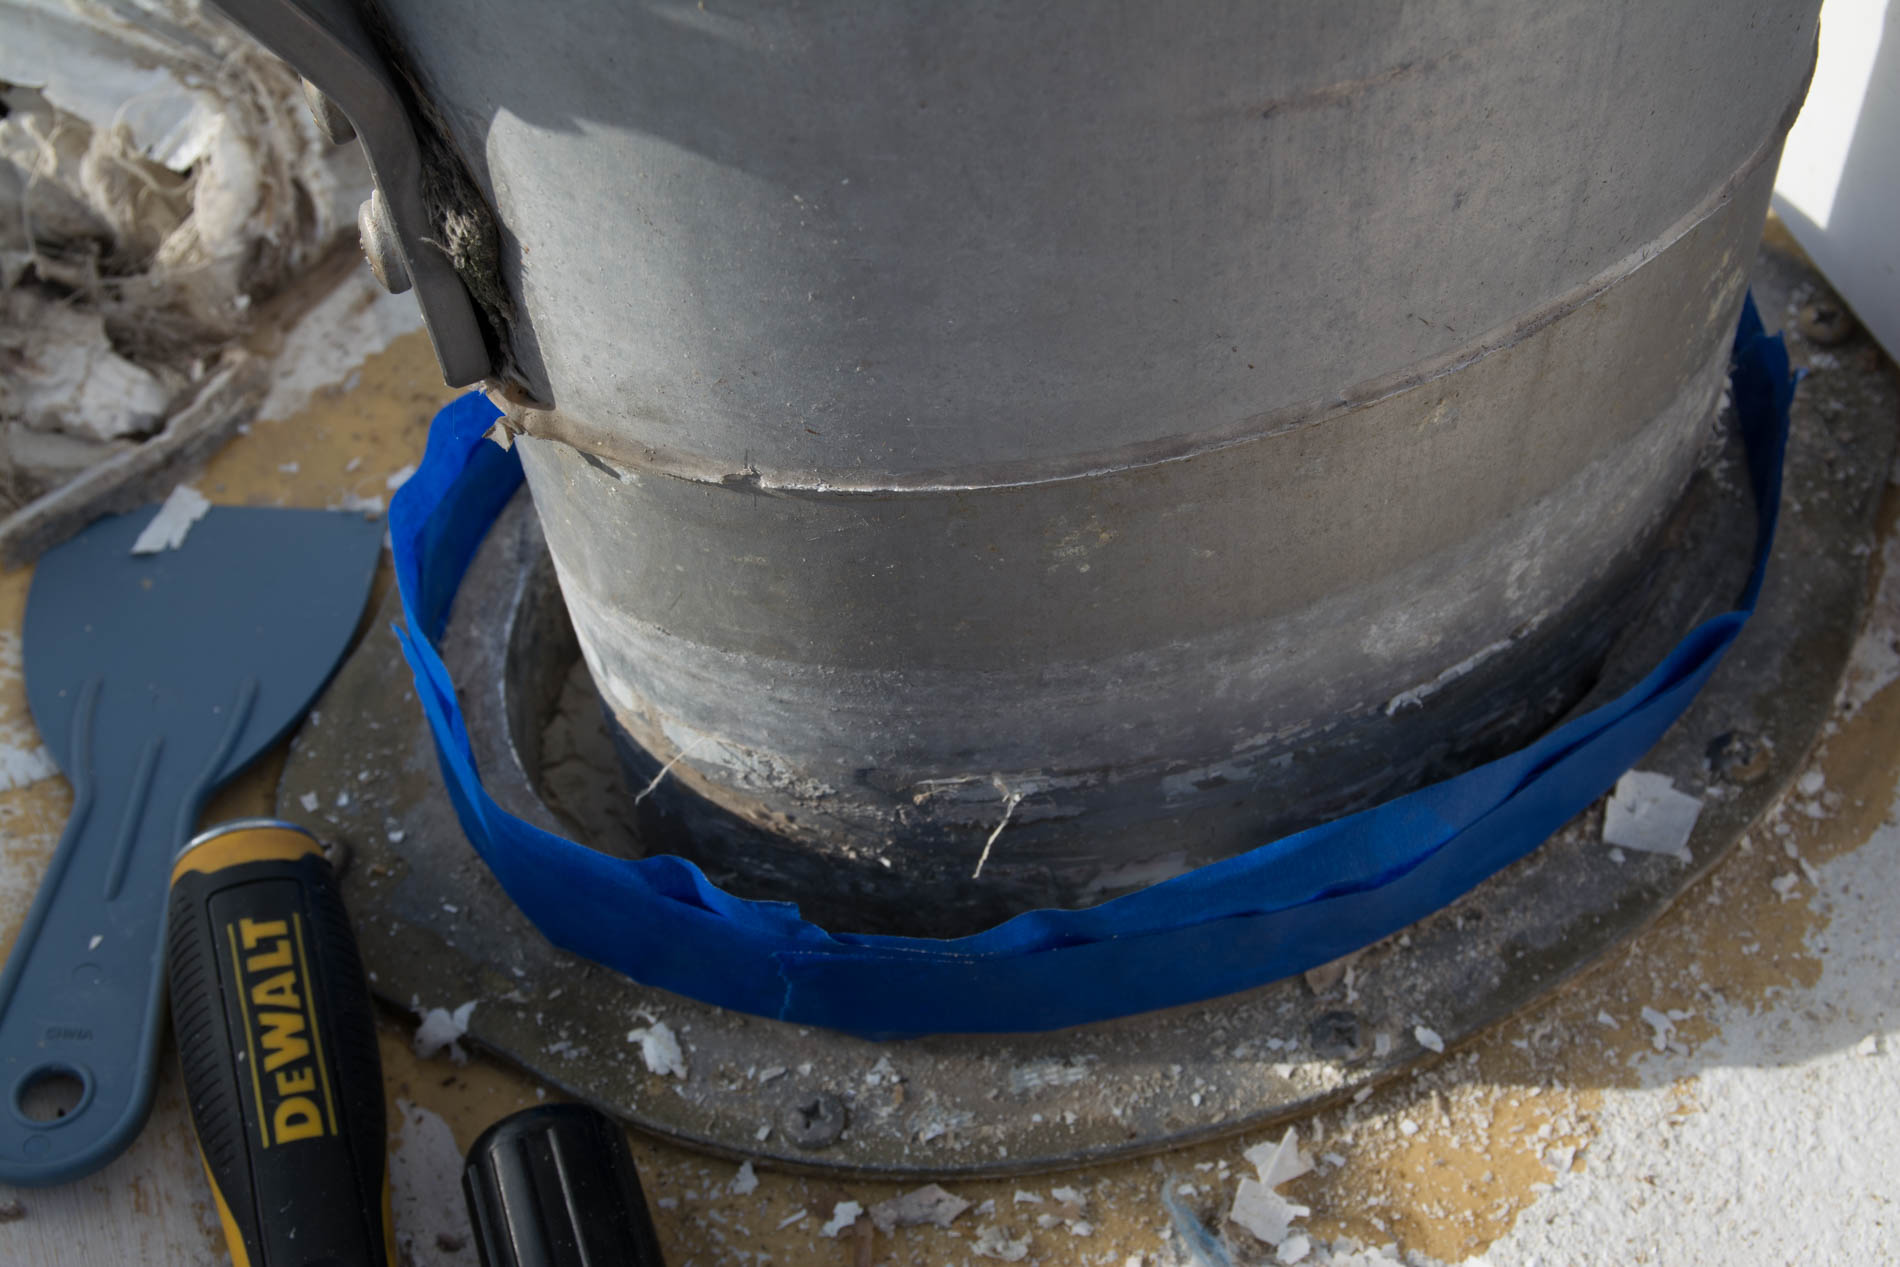
Using a chisel and screwdriver, I was able to cut all of this out.
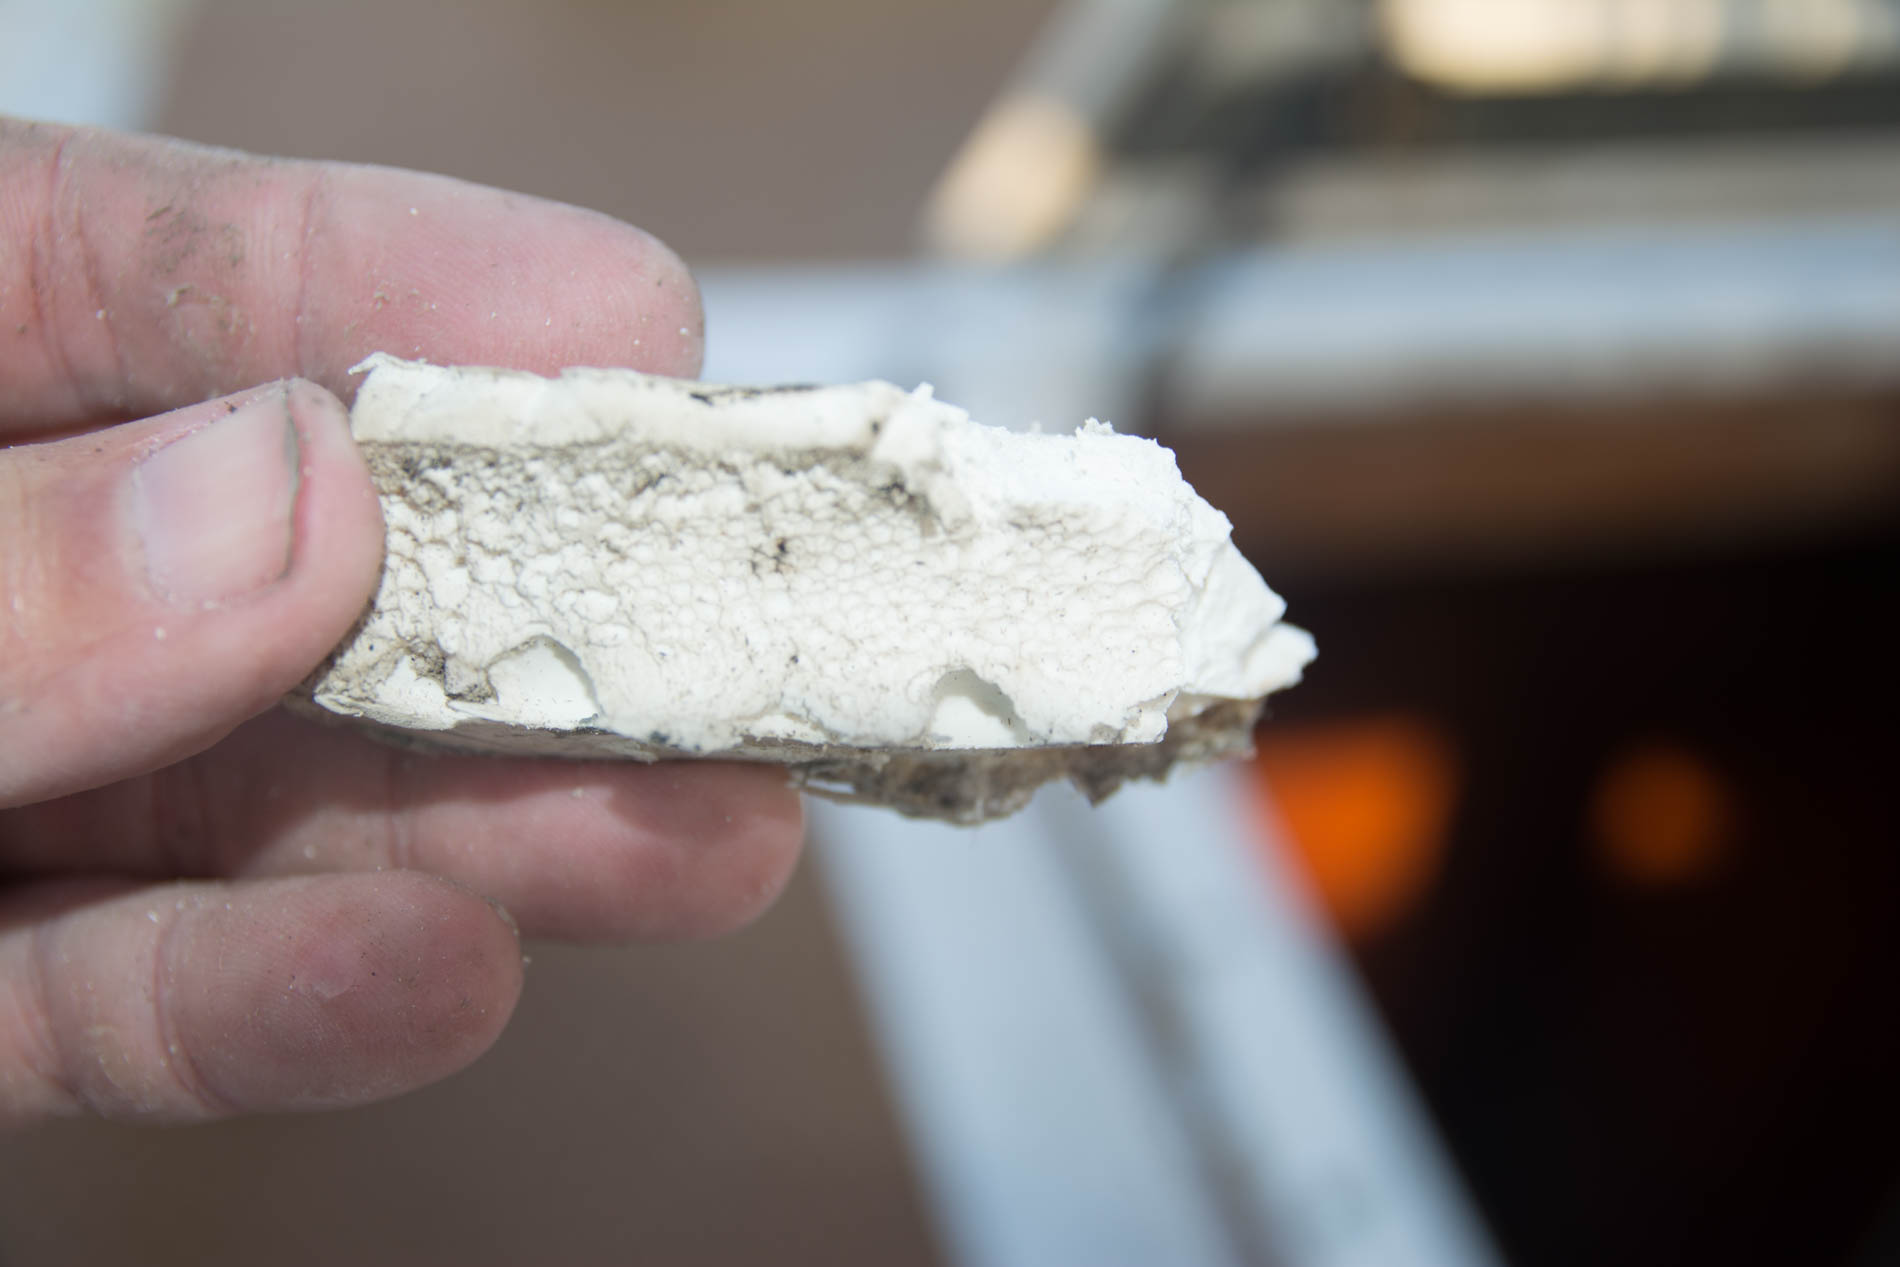
As you can see there wasn’t much structure to the “plug”, he installed.
I returned the mast/deck connection its original state.
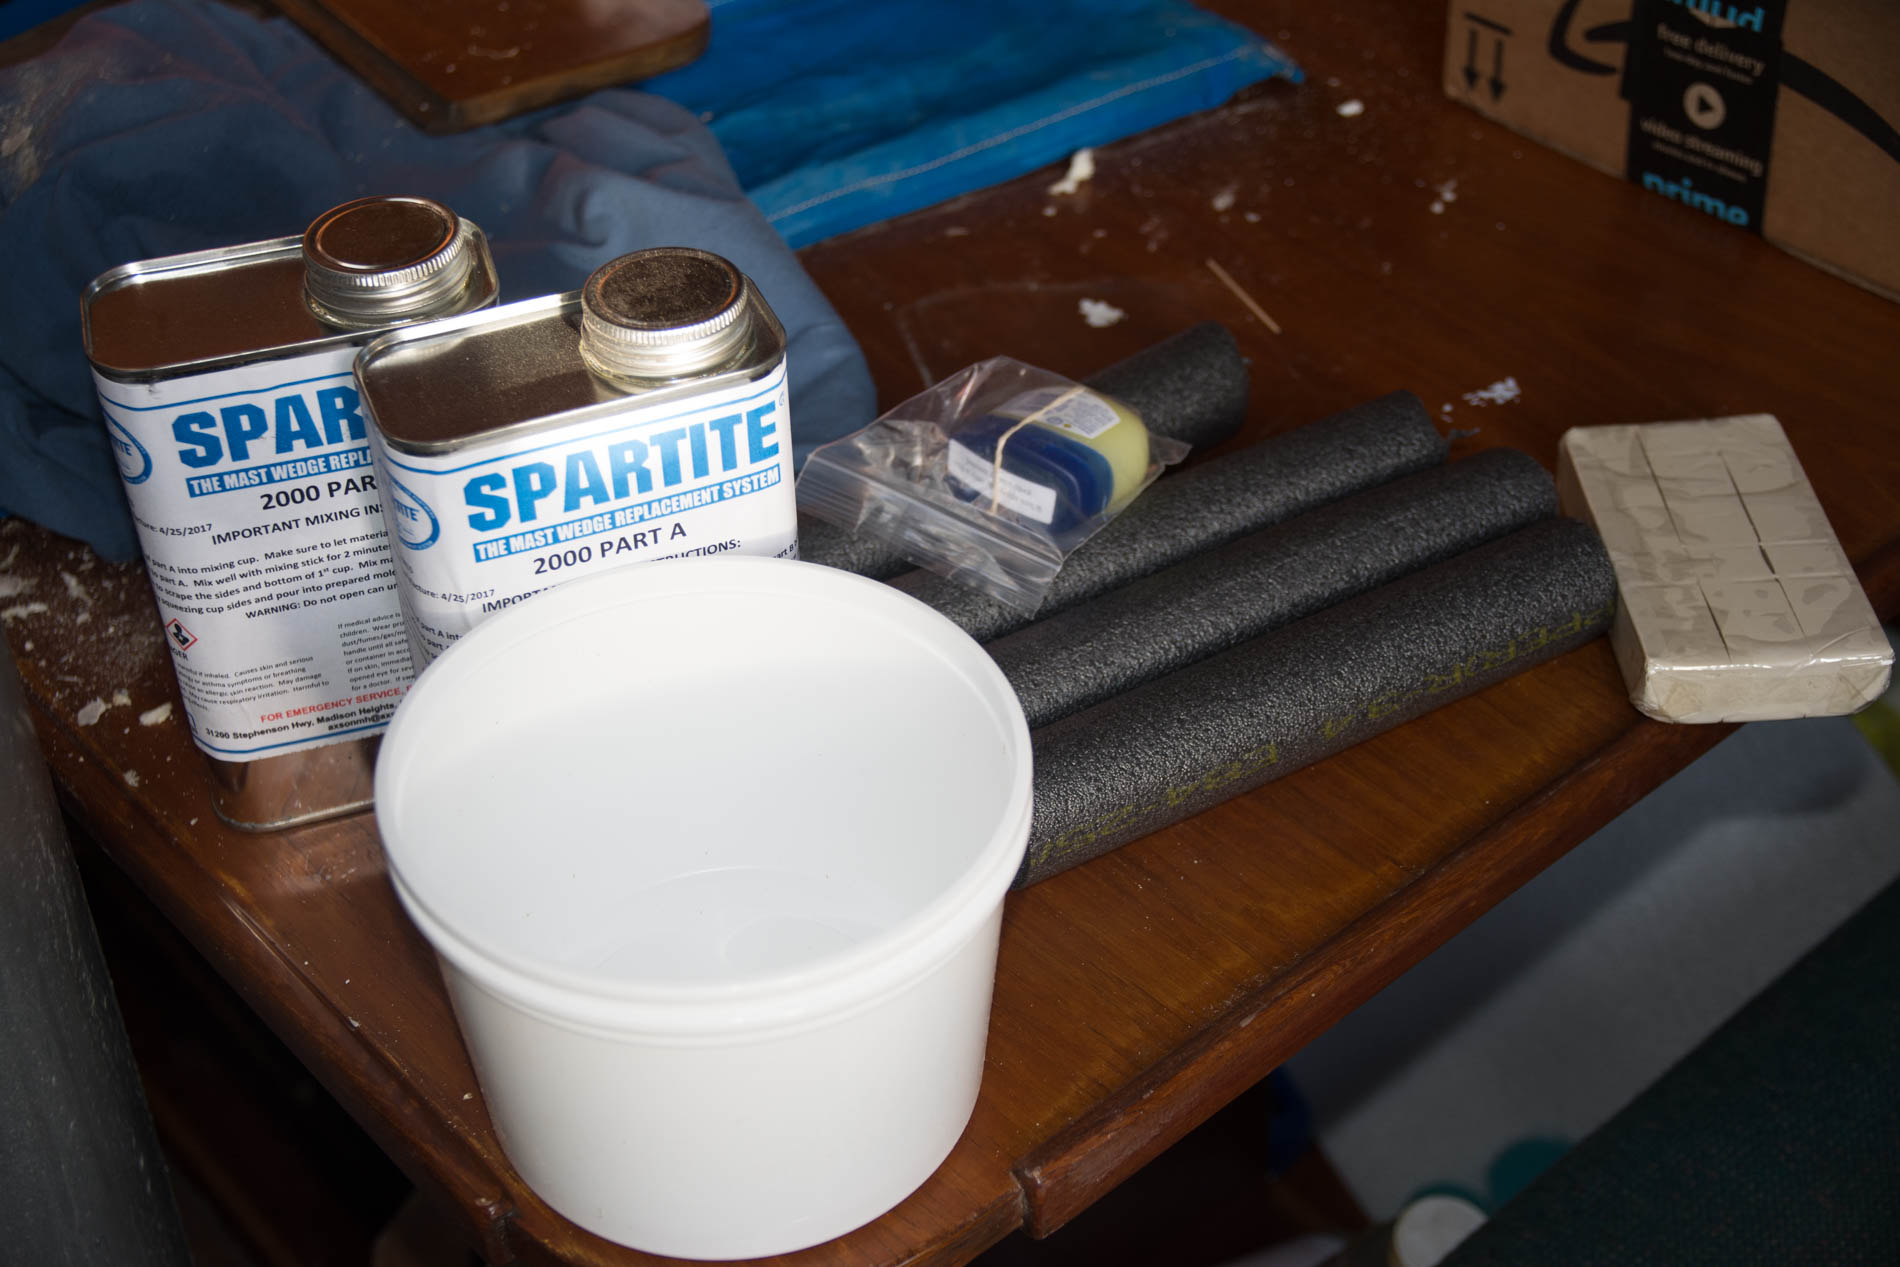
Spartite Kit
The Spartite kit comes with a two-part compound for sealing the hole, mixing buckets, foam to create structure at the bottom of the hole, modeling clay to form a watertight layer between the foam and the compound when you pour it in the hole.
Here I’ve used the foam to create the bottom “floor” of the hole. I made a mistake and didn’t tape this foam to the ceiling to add support. The weight of the compound causes the foam to slide out and leak the first batch of mixture out (see picture below).
Next, I made a dam or mold at the top surface to allow a 1/4″ thick seal on top of the deck hole. I then worked the clay around the bottom of the hole to form a watertight seal between the foam and the compound.
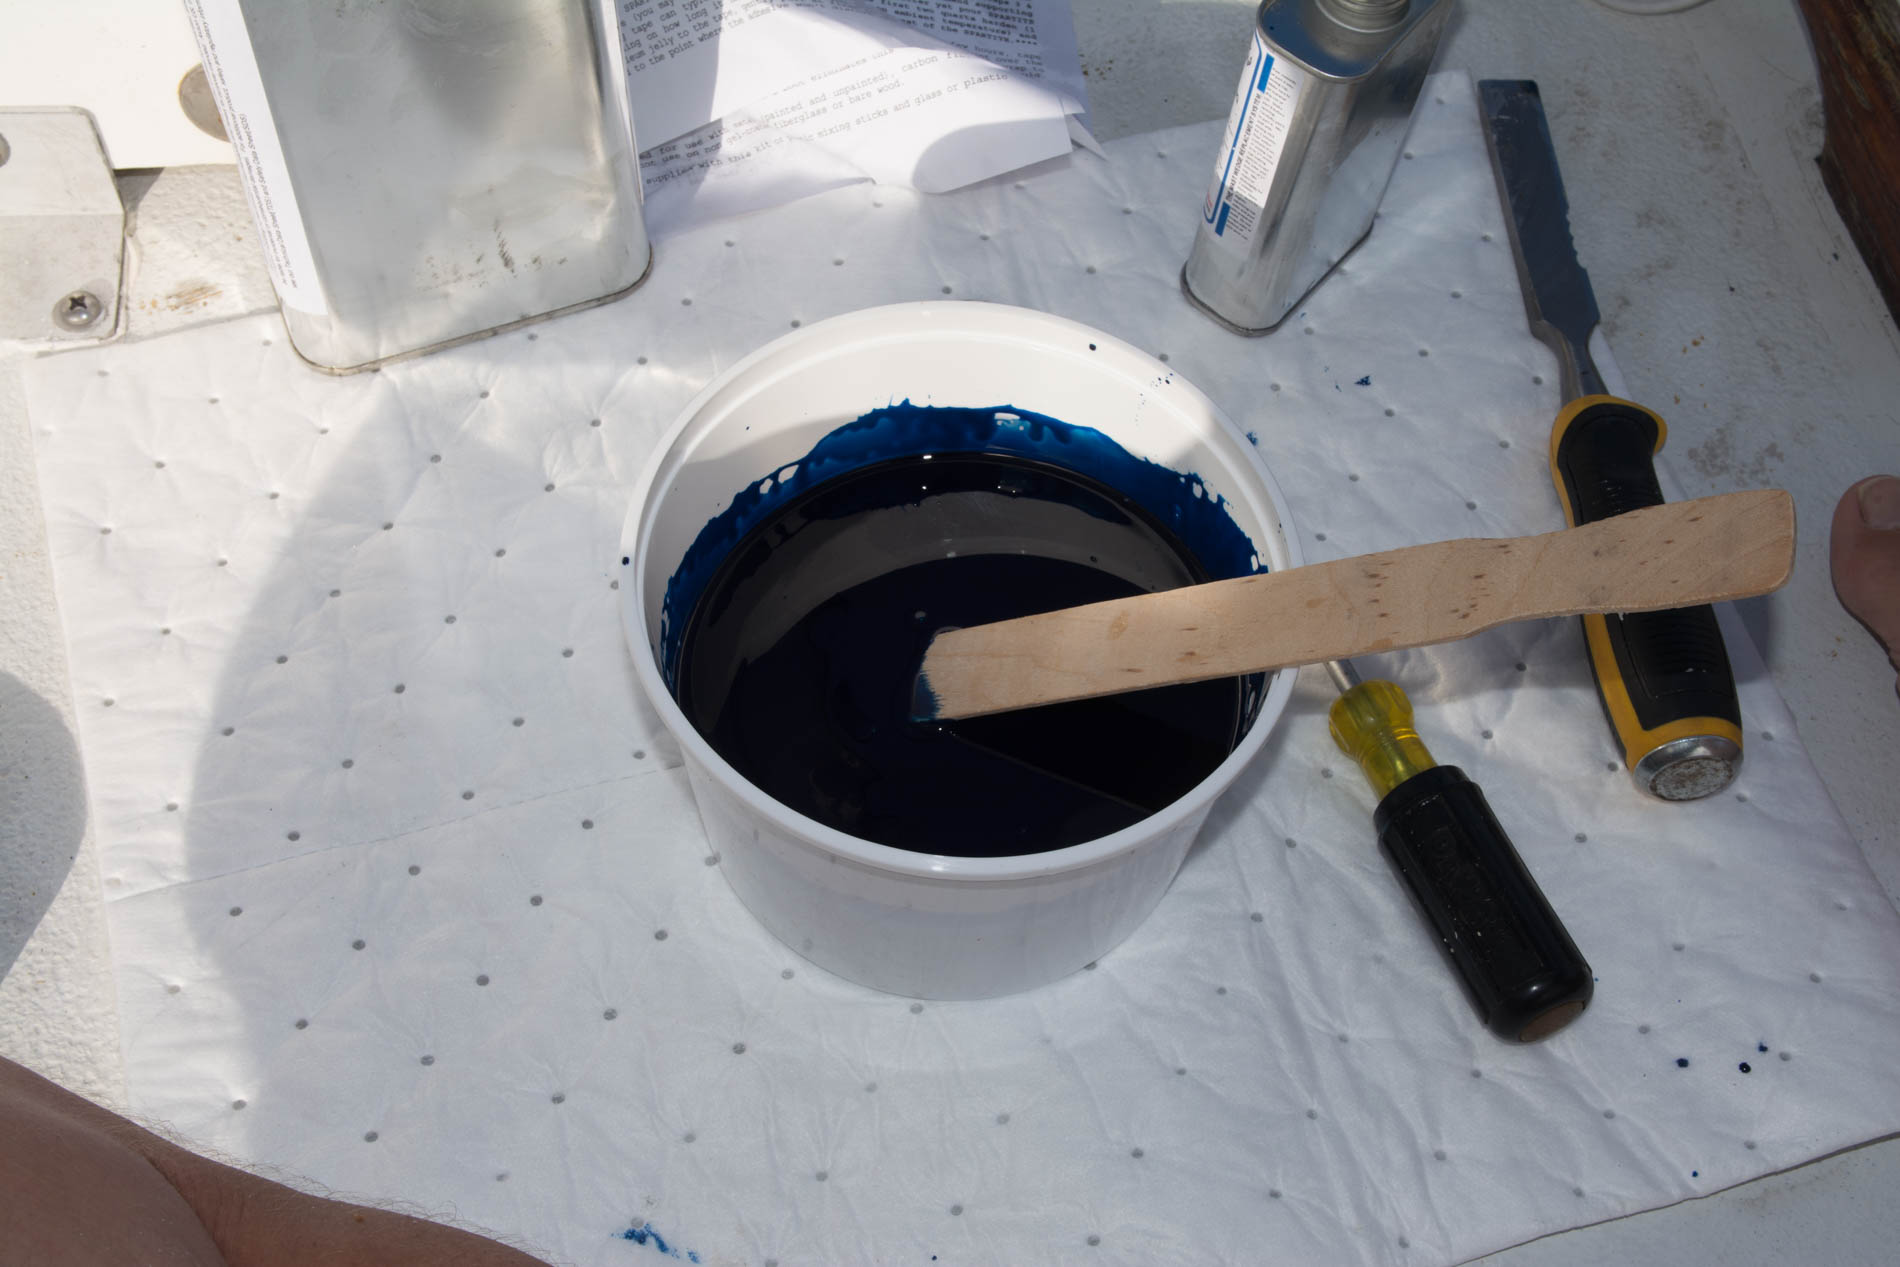
The Spartite material comes in two pre-measured cans. Merely pour Part A into the mixing tub followed by Part B then stir for about 2 minutes. The consistency of the two materials are different, so it’s easy to tell when it’s mixed adequately as the batch will be smooth and of one consistency.
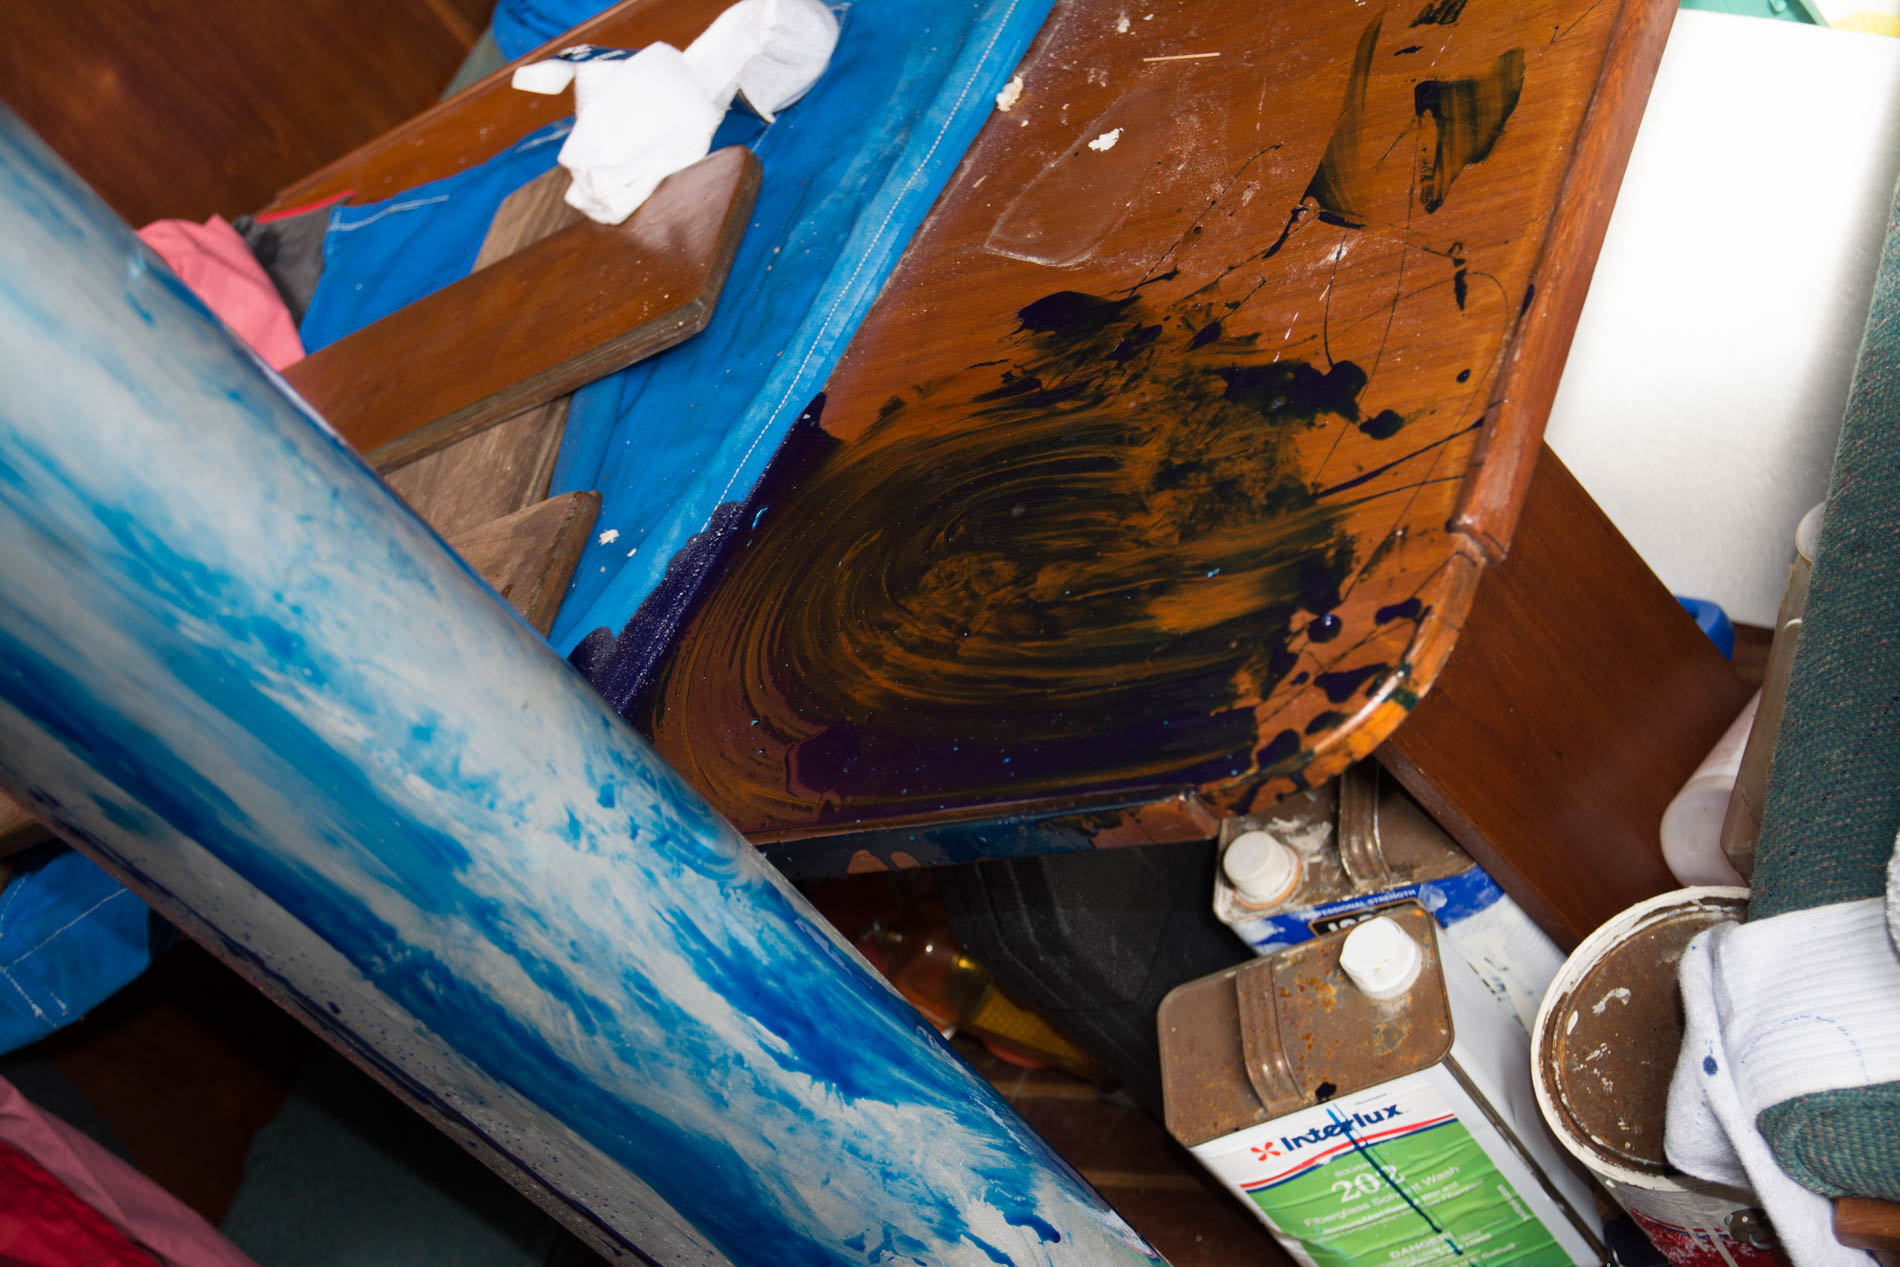
This image shows the mess I created by not securing the foam floor. Luckily the Spartite is thin enough here that after it dried, I was able to just pull it off the mast and table with the help of a plastic scraper.
Before applying the second and third batches, I secured the foam with tape. The tape didn’t adhere well to the ceiling, so I had to get creative to get it to work.

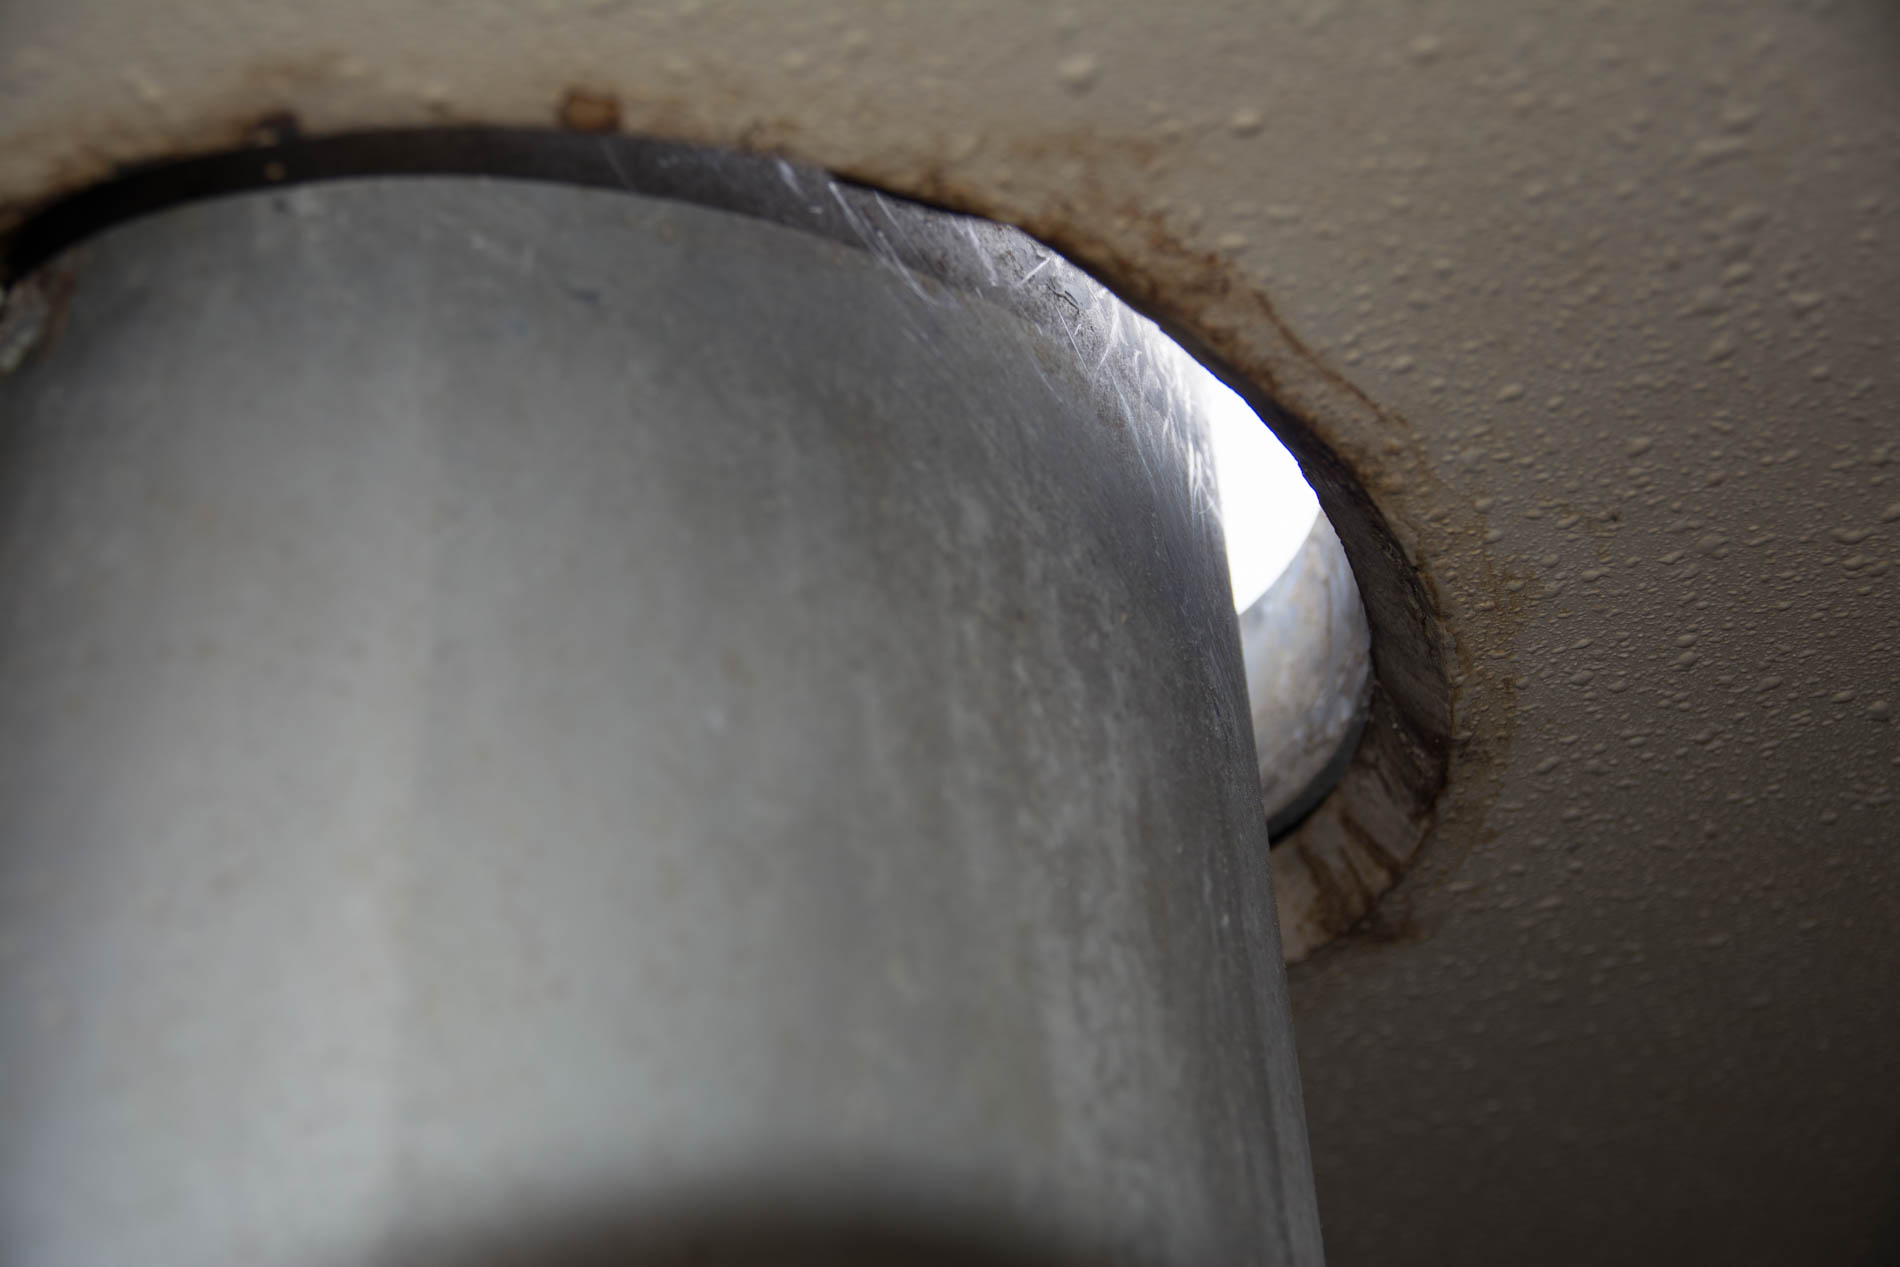
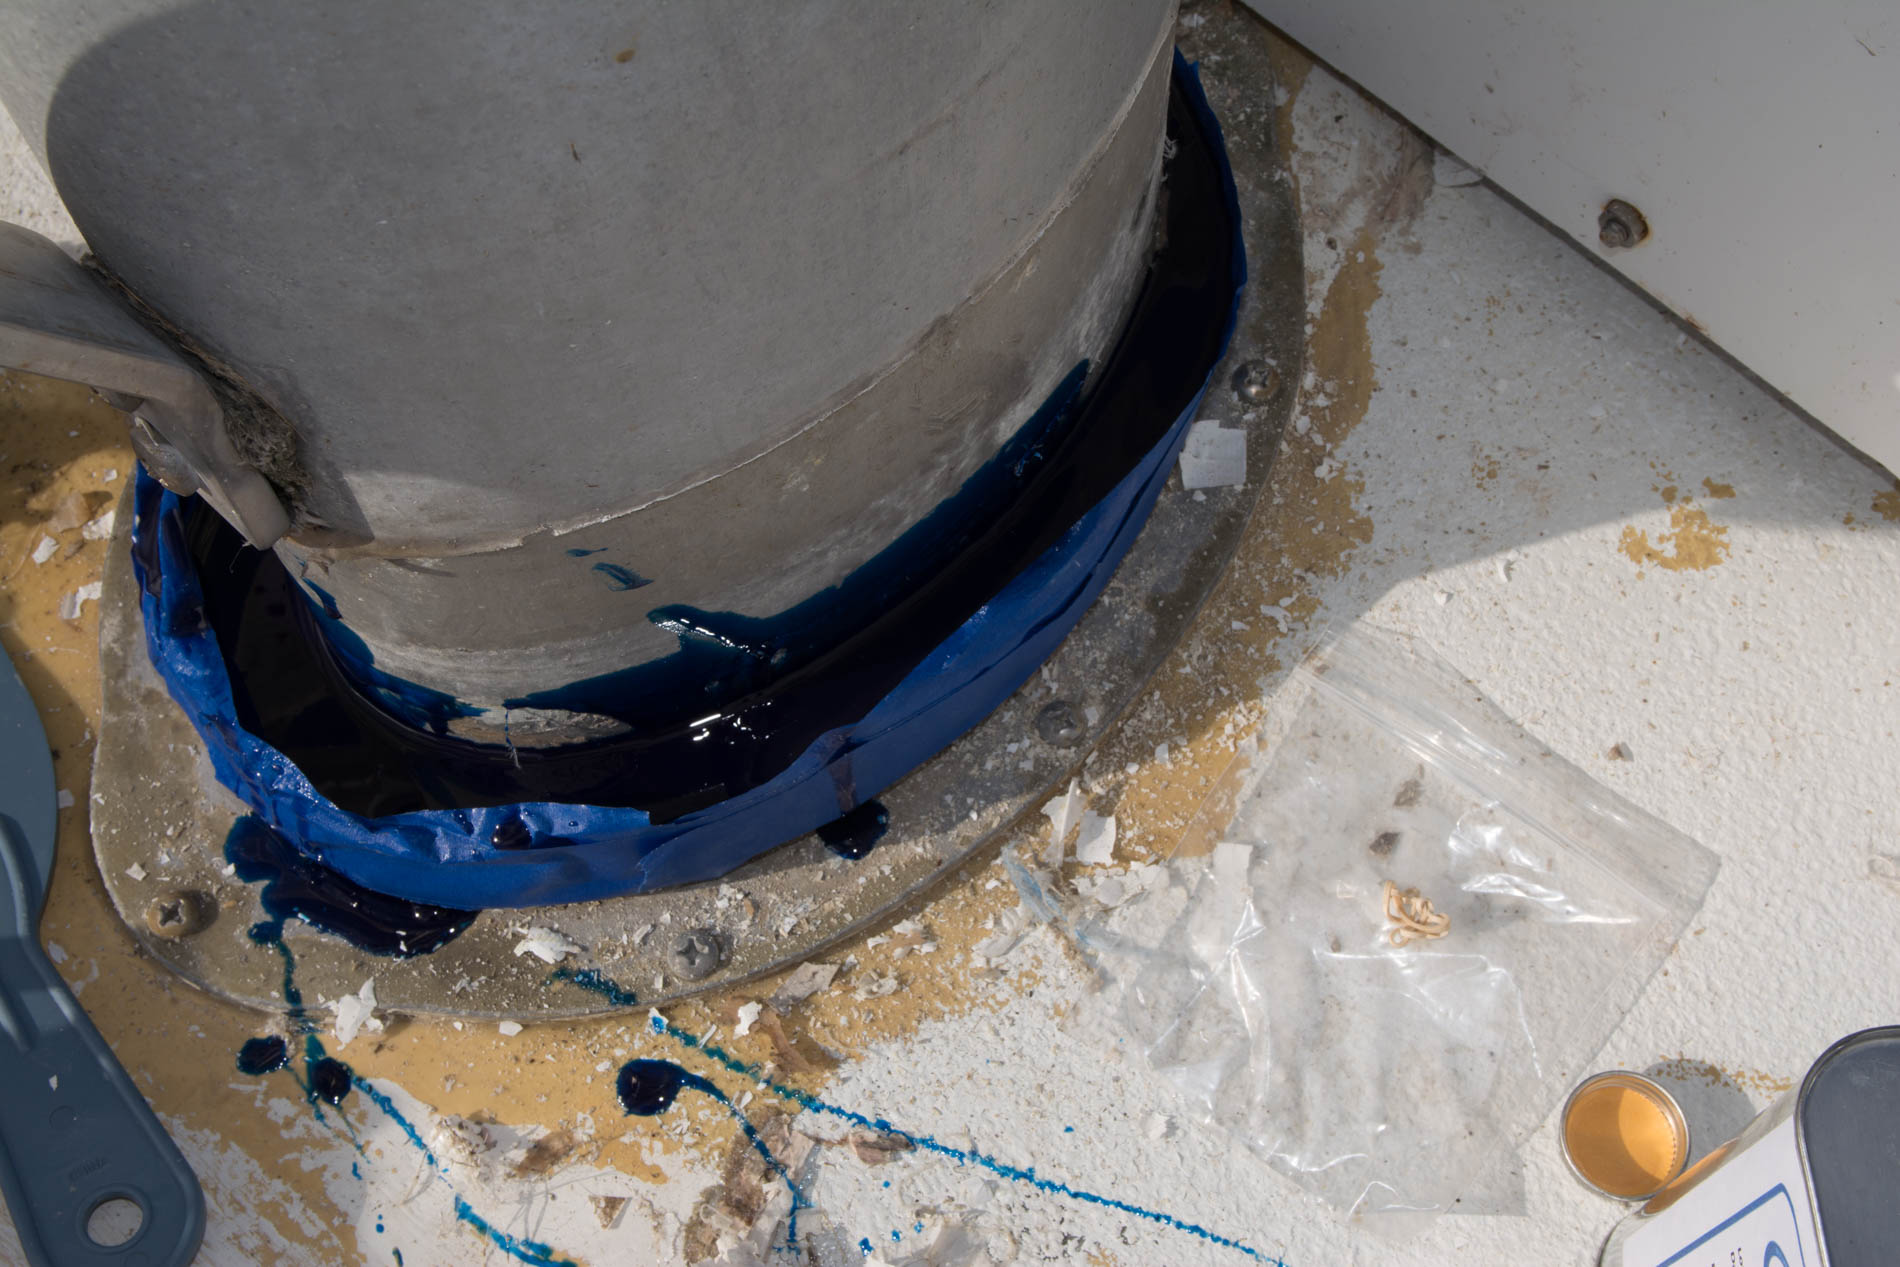
I poured the material in to fill the tape dam, so there was little more than a 1/4″ of a seal on top of the mast hole.
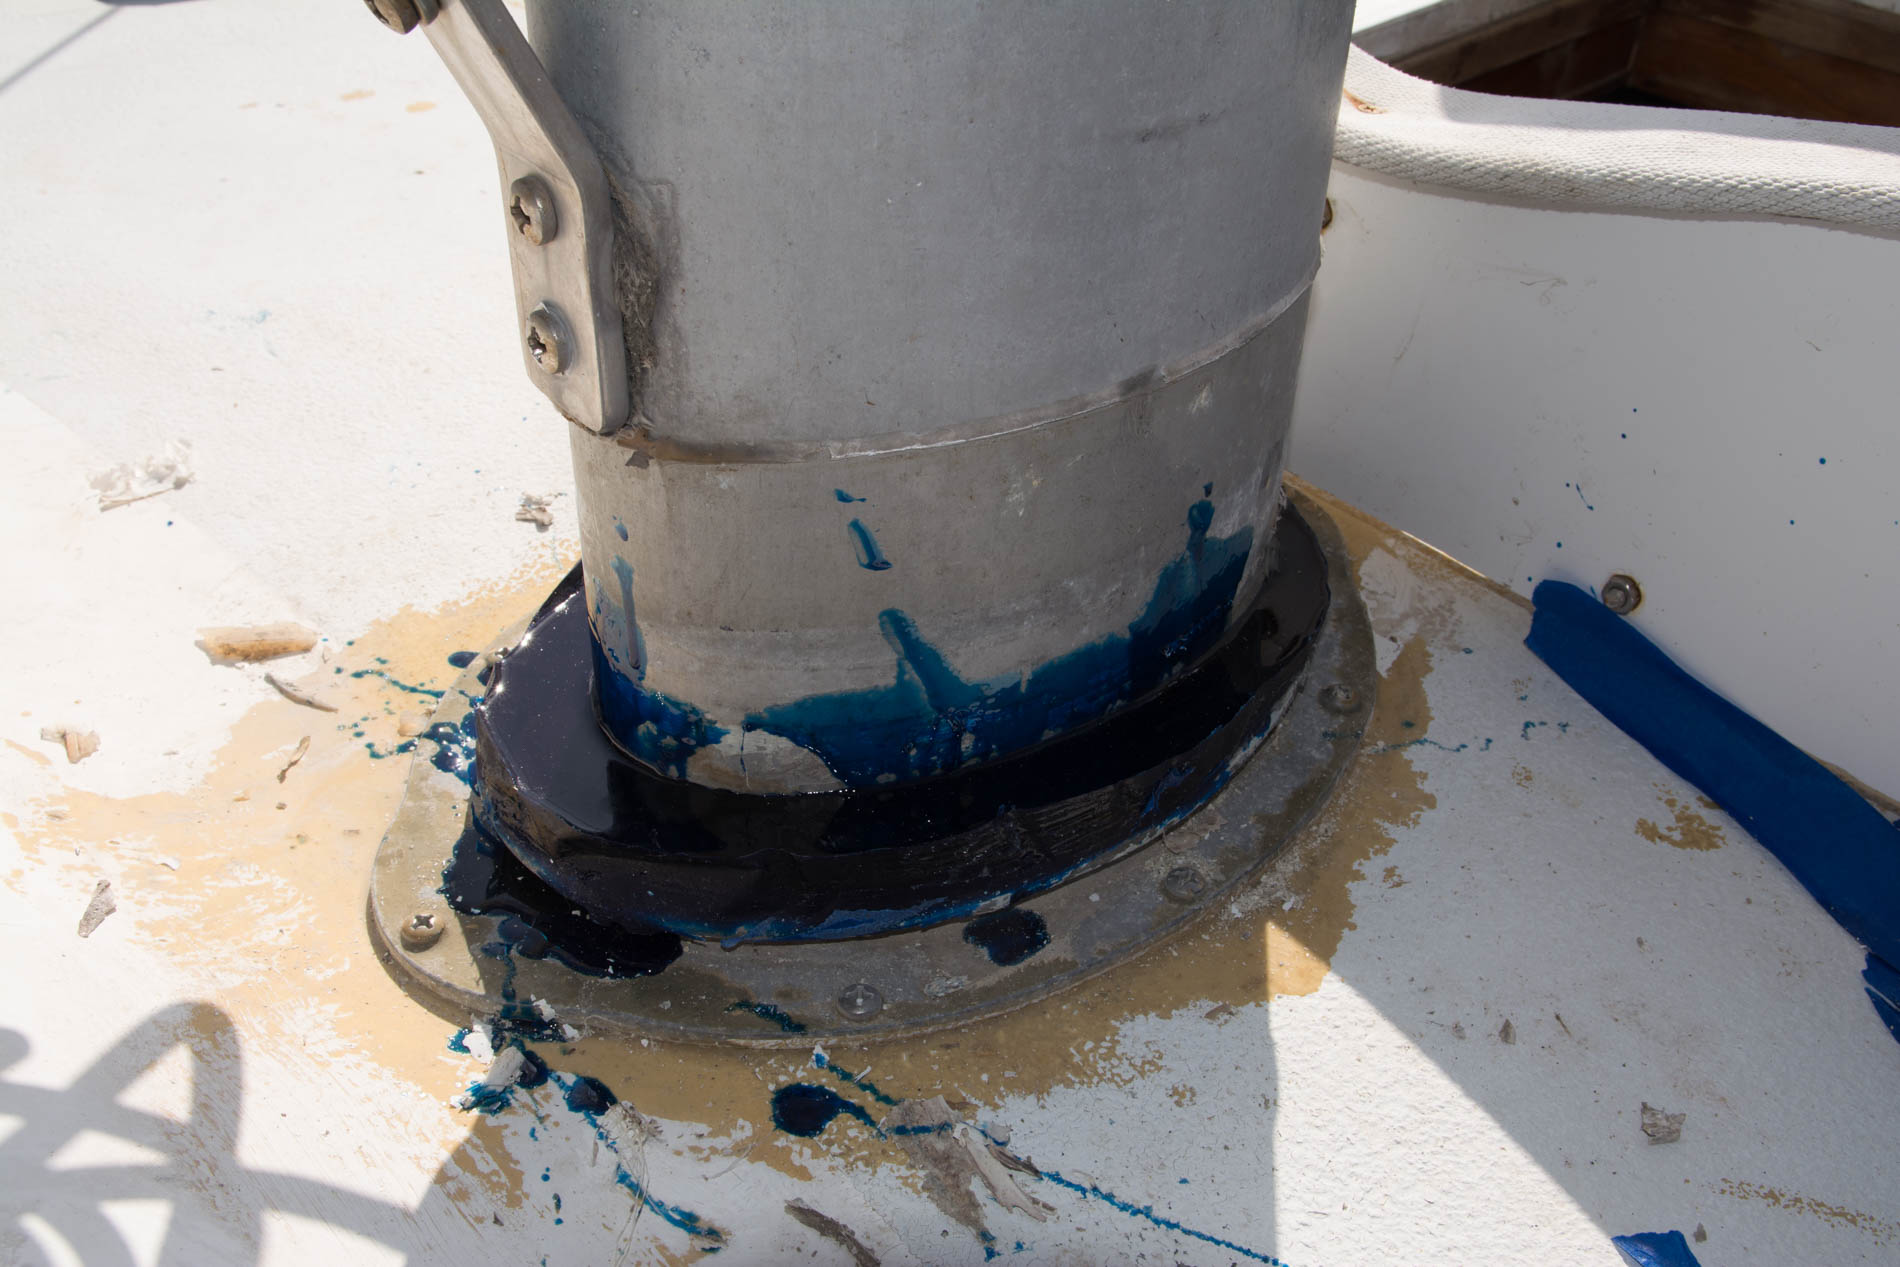
The day after completing this project we got a good rain, and there were no leaks around the mast. Now to tackle re-bedding all of the port lights.
[…] mizzen mast which is smaller and just in front of the aft cabin. I’d already sealed up the main mast using Spartite which helped with rain getting into the main cabin. This weekend I sealed up the deck hole […]