The final area in the forward stateroom renovation was to clean and remodel the forward head. For starters, the head had a horrible mold issue as it was closed in with almost no airflow for a few years. Also, the previous owner never finished the install of the electric toilet. This project was a little more complex than the head remodel on the original boat I owned.
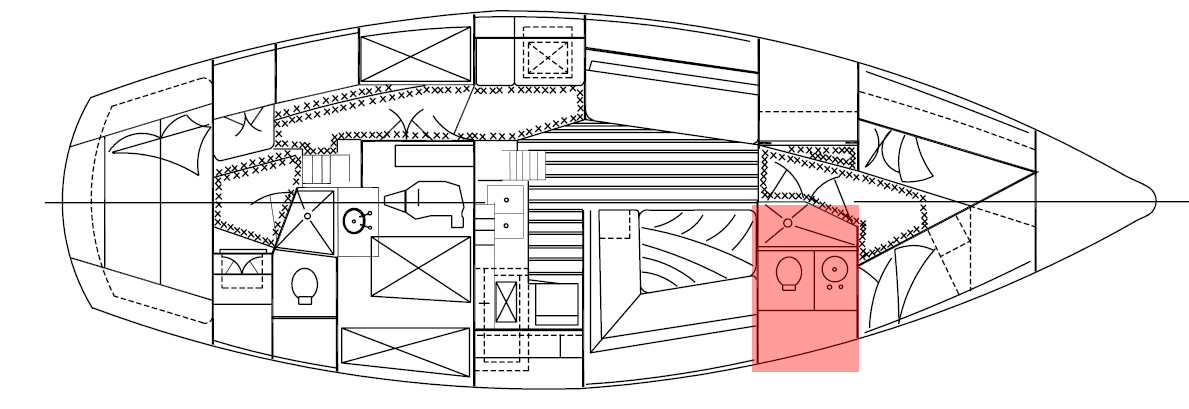
 The Head Remodel Plan
As with the rest of the boat, I would need to start by removing all the old fixtures, vinyl wallcovering, and mold. Repainting with primer and gloss white paint after fairing all the walls and repairing holes with epoxy. Then, I was going to replace the toilet, lighting, mirrored doors for the cabinet and the primary wall mirror.
Head Demolition
I removed the weathered teak mirror and all the lighting from the forward bulkhead. Also removed all the teak tracking used to hide the wiring for the lights. I’ll replace with a LED dome light mounted to the headliner so all the wiring is well hidden and no longer needs the teak tracking. The plastic mirror sliding doors were highly corroded, so I’m replacing those with glass mirror doors. I removed the teak grab handle and will replace it with a Plasteak fake wood handle. Faucet and sink were also corroded so out they went. After I was done with that, I sprayed everything down with a bleach/water mixture to remove all the mold.
Fairing and Painting
The head was a non-fun room to work in. The doors naturally want to close as the boat tilts to the starboard side (due to the generator being on that side, and currently the water tanks on the port side are empty, so the boat is unbalanced). It’s the middle of the Florida summer so with only a small upper hatch and side hatch there was little air flow. An hour working in here ended up soaked clothes and the need to rehydrate.
After removing all the fixtures and vinyl, I used TotalBoat fairing compound to fill in all the screw holes and damaged areas. This had the double action of adding a little waterproofing to the wood bulkheads.
I applied two coats of Pre-Kote primer to the room. The old wood soaked up the paint, and that first coat was a test of endurance. I spent the following 30 minutes sitting outside guzzling two large glasses of ice tea to recover.
I followed this up with two coats of Brightsides glossy white paint, as I’ve done with all the other areas of the boat. This will make it easy to keep this area clean in the future.
Putting It All Back In
I replaced the partially installed electric toilet with a Raritan PH SuperFlush Manual Marine Toilet. I preferred the manual toilet because it lowers my reliance on electricity. The manual toilet pumps in water from outside the boat to fill the bowl, which is then either pumped overboard (when offshore) or stored in a holding tank (which luckily the previous owner had installed brand new). Pulling the water source from the water outside of the boat reserves the onboard fresh water storage for other uses.
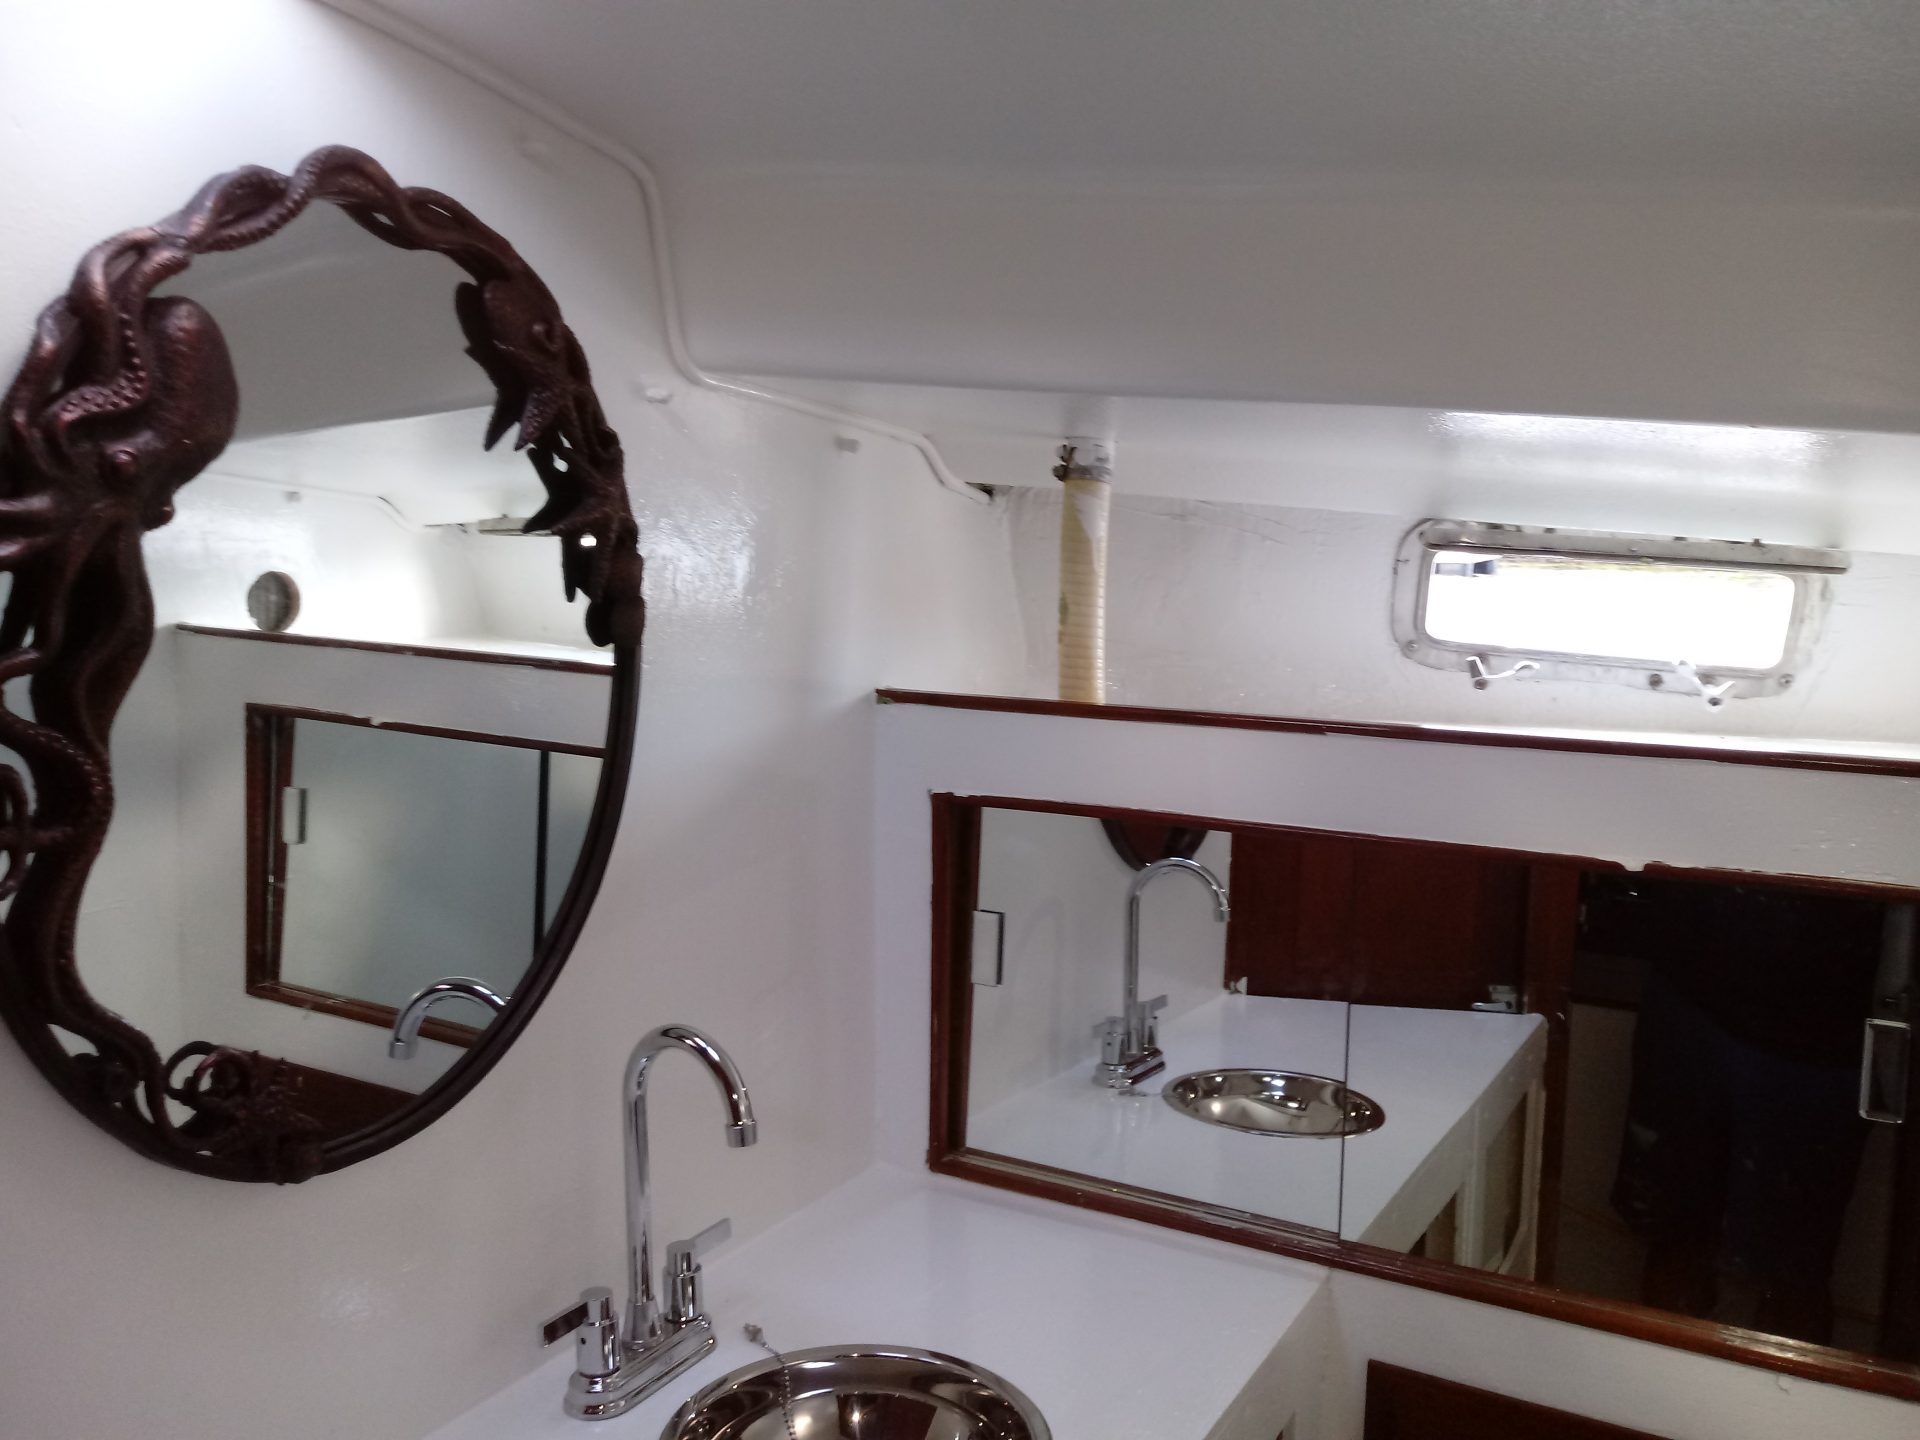
I located a cool sea creature themed mirror for the main bulkhead. I also replaced the sink bowl and fixtures as well. The mirrored doors for the enclosed cabinet were corroded (and flimsy as they weren’t glass but rather some covered plastic) so I also replaced those with real mirrors.
I’m really happy with the final head remodel result.