2017 was a challenging year. Between having a trawler crash into my previous boat, dealing with insurance payout delays, shopping for a new boat, getting it moved to Jacksonville and dodging a hurricane or two I was stretched financially and spent the last three months focusing on rebuilding my cash reserves. This boat project is being done on a cash available basis. This has limited the projects I could undertake and the rate that I could work on them. The aft cabin makeover was one of those low budget (relatively) projects that I decided to tackle this year.
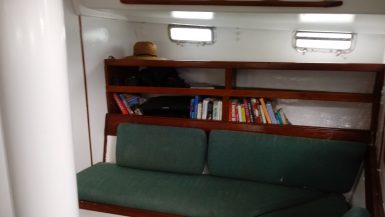
Aft Cabin Makeover: Before
One of the issues with S/v Pomaika’i has been water intrusion. She’s been sitting exposed to the weather with little maintenance being done for years. Water has seeped in around the mast, leaked through the portlights and dripped from the hatches. Hurricane Irma passed within 10 miles of where she was berthed in Fort Myers which didn’t do any favors.
I’ve been working on plugging these leaks by sealing the mast holes and adjusting the portlights. Eventually, I’ll rebed all the portlights. But this left me an issue with a lot of mold and rot build up.
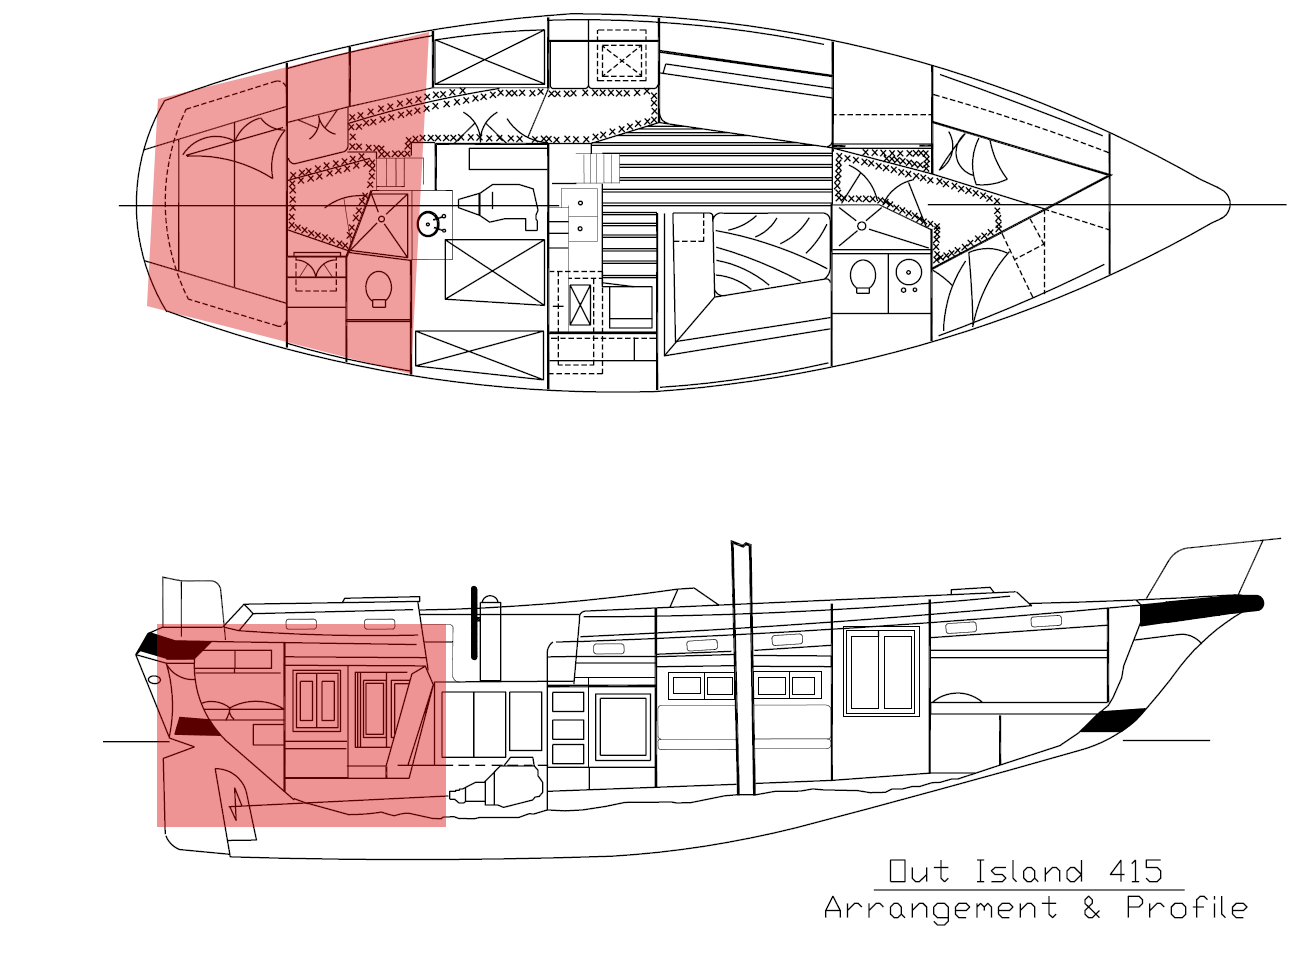
Here are the before shots. The Morgan Out Islands have a fabric liner inside the hull. While this saved them money during construction (they didn’t have to finish the fiberglass on the inside of the hull) it was now wet, moldy and out of style. I also didn’t like the “checkered” pattern of the liner as it was more difficult to wipe down.
Aft Cabin Makeover: Demolition
The first step was to remove all liner and wallpaper, taking it down to bare fiberglass and wood. I also removed the enclosed cabinet on the starboard side. When I lived in the jungle on Hawai’i (high humidity), I learned that enclosed cabinets collect mold. The port side had to stay as it held the electric connections and reading light.
I also removed all the portlights. When I finished painting the outside of the cabin, I’ll rebed the portlights correctly. The portlights were installed according to manufacturer specs (with most of the sealant on the inside edge of the portlight hole). Unfortunately, if you don’t properly seal the outside the portlights leak but only to the plywood layer inside the cabin which has caused wood rot. I’ve rebuilt the core in areas around the portlights.


Aft Cabin Makeover: Fairing and Priming
The next step was to sand down all the fiberglass; it was smooth as a cheese grater, and fairing with epoxy to smooth out the finished surface. I also sanded and epoxied all the wood surfaces. This smoothed out the areas where removing the wallpaper removed some of the wood and provided a layer of waterproofing to protect against further rot. There were small two areas, about the size of a baseball, of rotted wood that I rebuilt with epoxy and fiberglass cloth. The surface isn’t perfectly smooth as you can see in the pictures. I could have spent another two days making it perfectly smooth but felt that this was good enough, and I’d spent enough time and expoxy on the project.
Then I applied two coats of primer in preparation for painting.


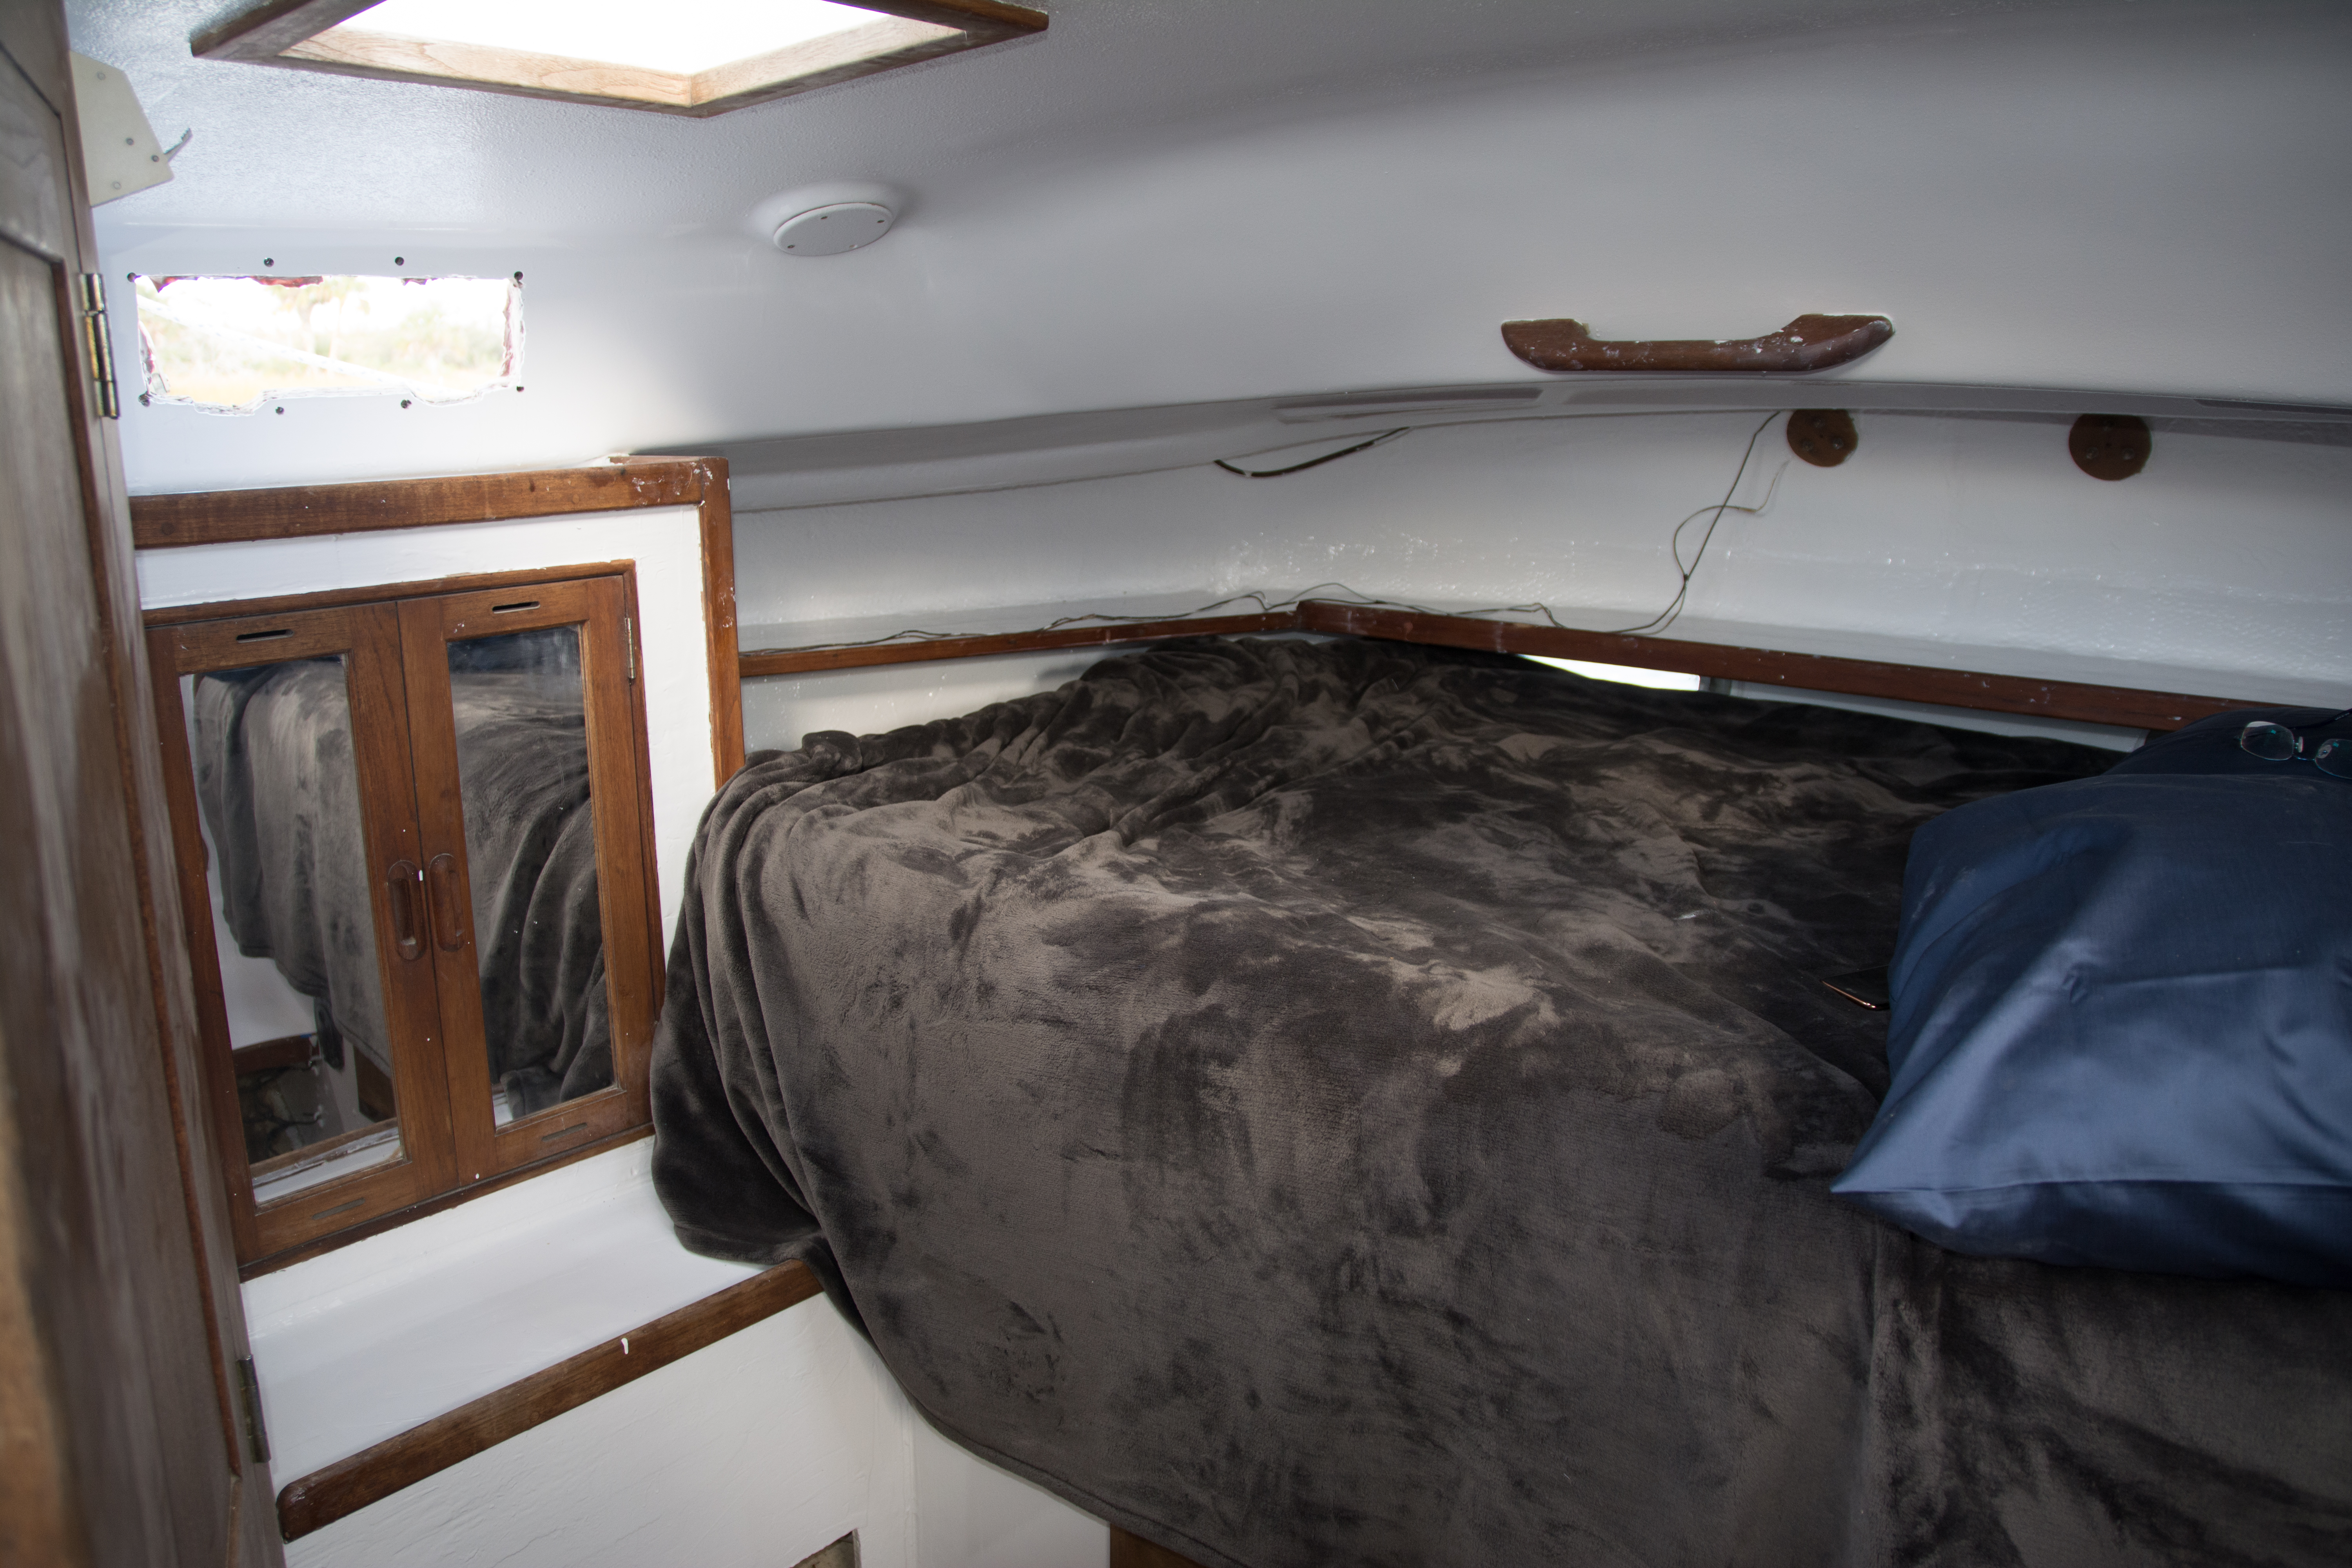
Aft Cabin Makeover: Finished
The final step was to apply two coats of high gloss Interlux Brightsides paint. I like this paint for interior exposed surfaces. The high gloss white is easy to wipe clean, hard as nails and makes the cabin light up. I even eliminated one of the reading lights as I didn’t feel I needed that much light. I’m not a fan of the “man cave” feeling of most sailboat cabins. The white makes the cabin feel more open than the 1970’s dark wood-heavy style.


Aft Cabin Makeover: Time and Materials
This was a fairly inexpensive project, and it only took so long due to laziness and procrastination.
Supplies:
1 Gallon of Interlux Pre-Kote (used all of it)
1 Gallon of Interlux Brightsides (high gloss white, left over was about 1/2 a quart)
Various brushes, rollers, and painting supplies
Time:
Demolition – about 4 hours
Sanding and Fairing: I did this over two days, total of about 8 hours
Painting: Sanding, masking, and painting each coat took about 4 hours each. Two layers of primer and two coats of Brightsides. 16 hours total.
I am happy with the finished product, but as I’m cheap labor, you can see minor issues with the finish. If I had to do this over, I would have broken the cabin in half and only worked on one half. For me, this would have allowed me to focus on the details more and done a better job (even though it would have taken longer).
I also need to sand and oil the wood, but this might be a project that would be better done anchored off some Caribbean island in between scuba dives.
Next, I’ll start working on the interior of the cabinets with the same process.
Is it possible to skip the fairing step? How do I determine that fairing is necessary?
It depends on your boat. On Pomaika’i the boat builder used a vinyl liner to cover the raw fiberglass. This was a cheap and easy way to mask any irregularities in the finish and allowed them to use a thicker cloth (fewer layers). So when I pulled off the liner (which was moldy and damp) the finish was as smooth as a cheese grater. This is why I faired. Also the epoxy covering waterproofed the wood shelving and cabinets, which protects things in case of water ingression down the road. As an example in the Vberth there is a shelf directly under the portlights. I epoxied this shelf to remove any slight gaps between it and the hull, this way if I forget to close the ports in a rain shower the water will sit on the shelf and not go under to the sleeping area.